
Making it Legal - The Final Installment
/
It's finally done! Well, fortunately this project was wrapped a couple weeks ago but with the Holiday Season upon us I've been less than punctual with our posts.

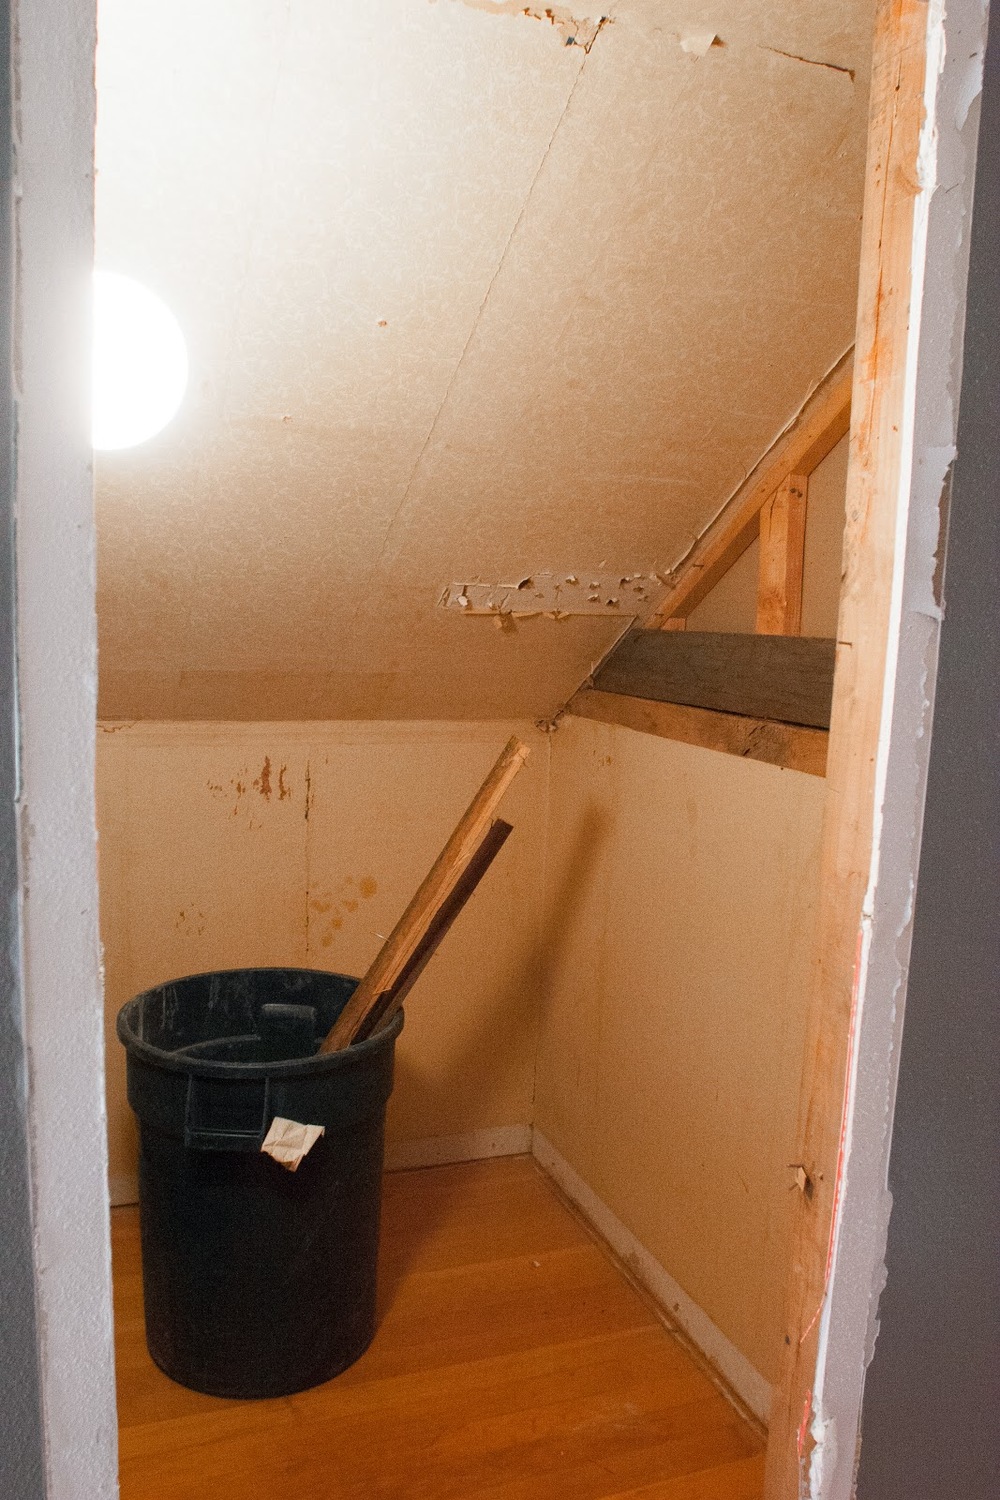
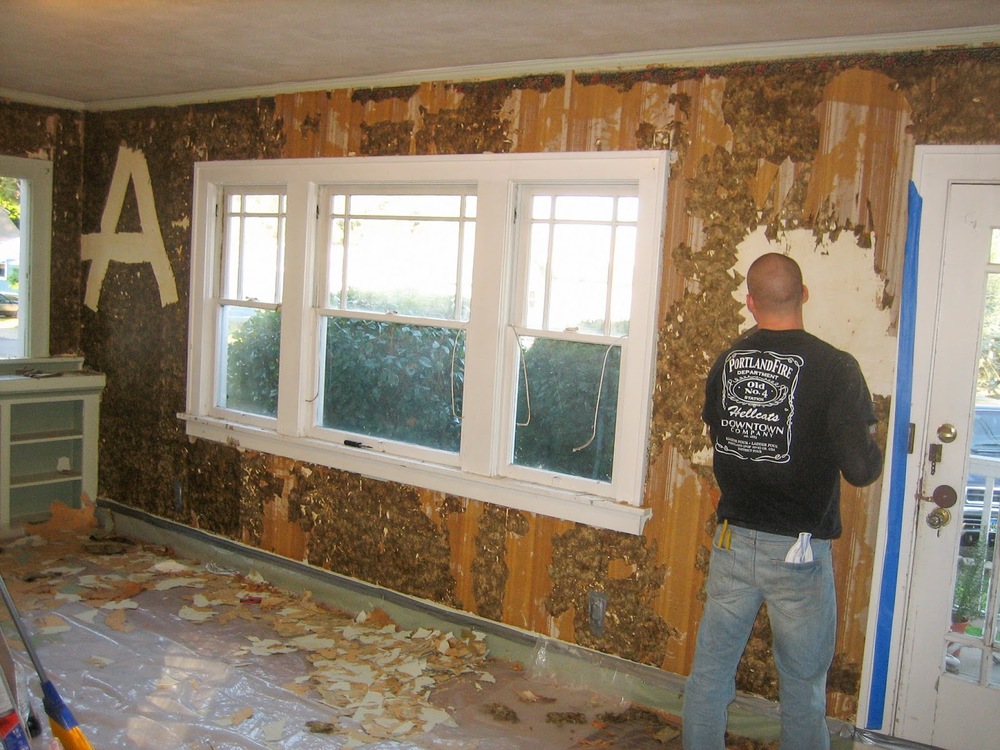
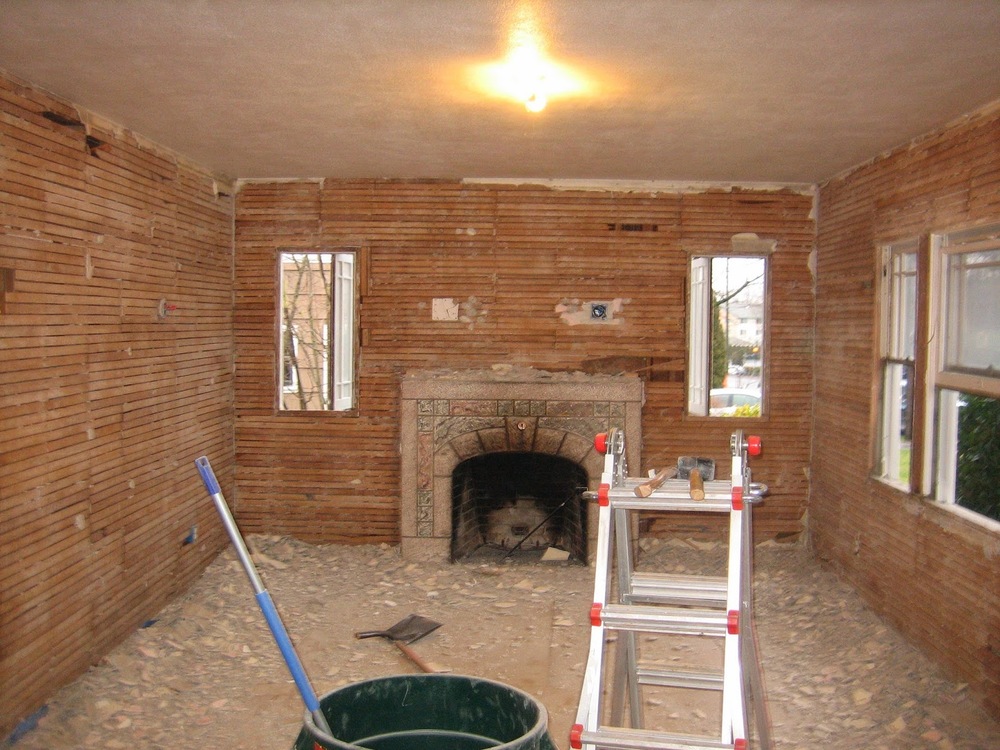
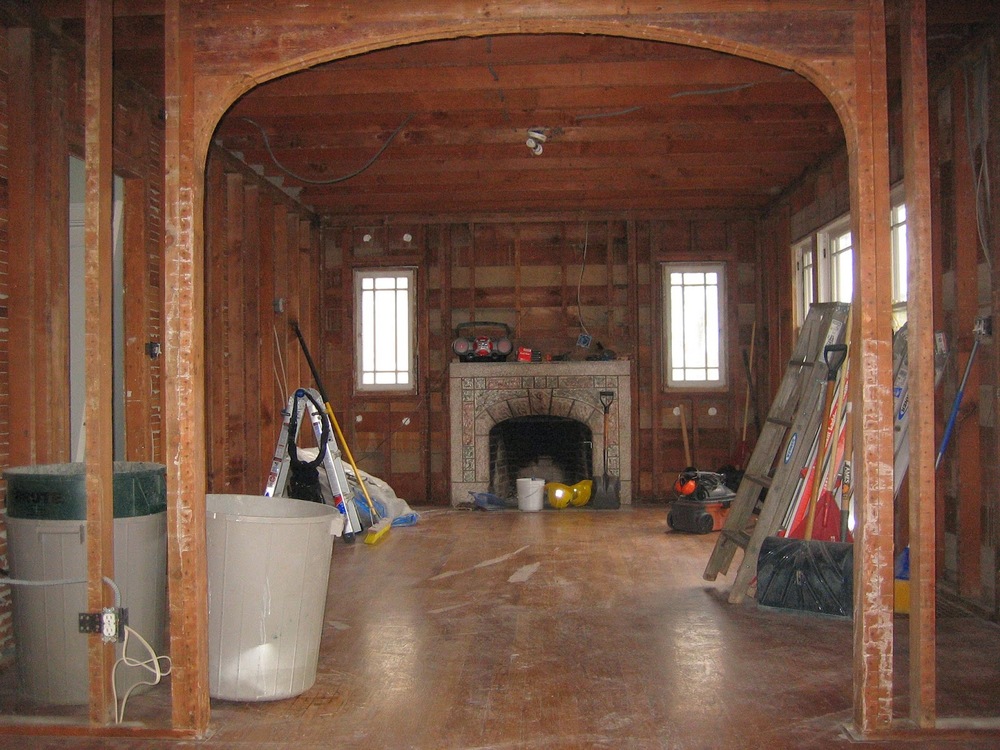
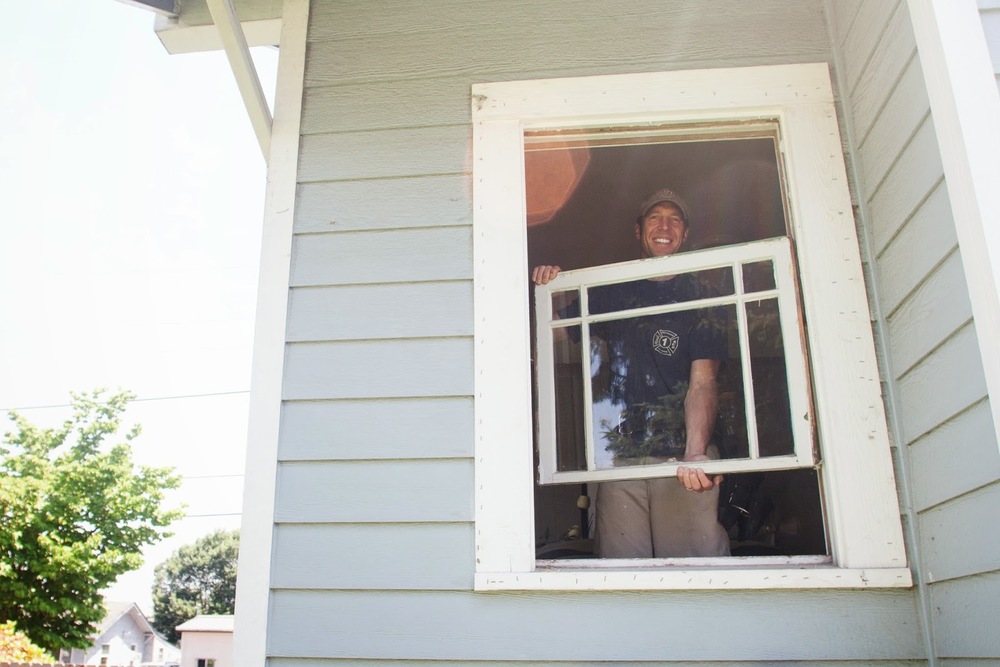
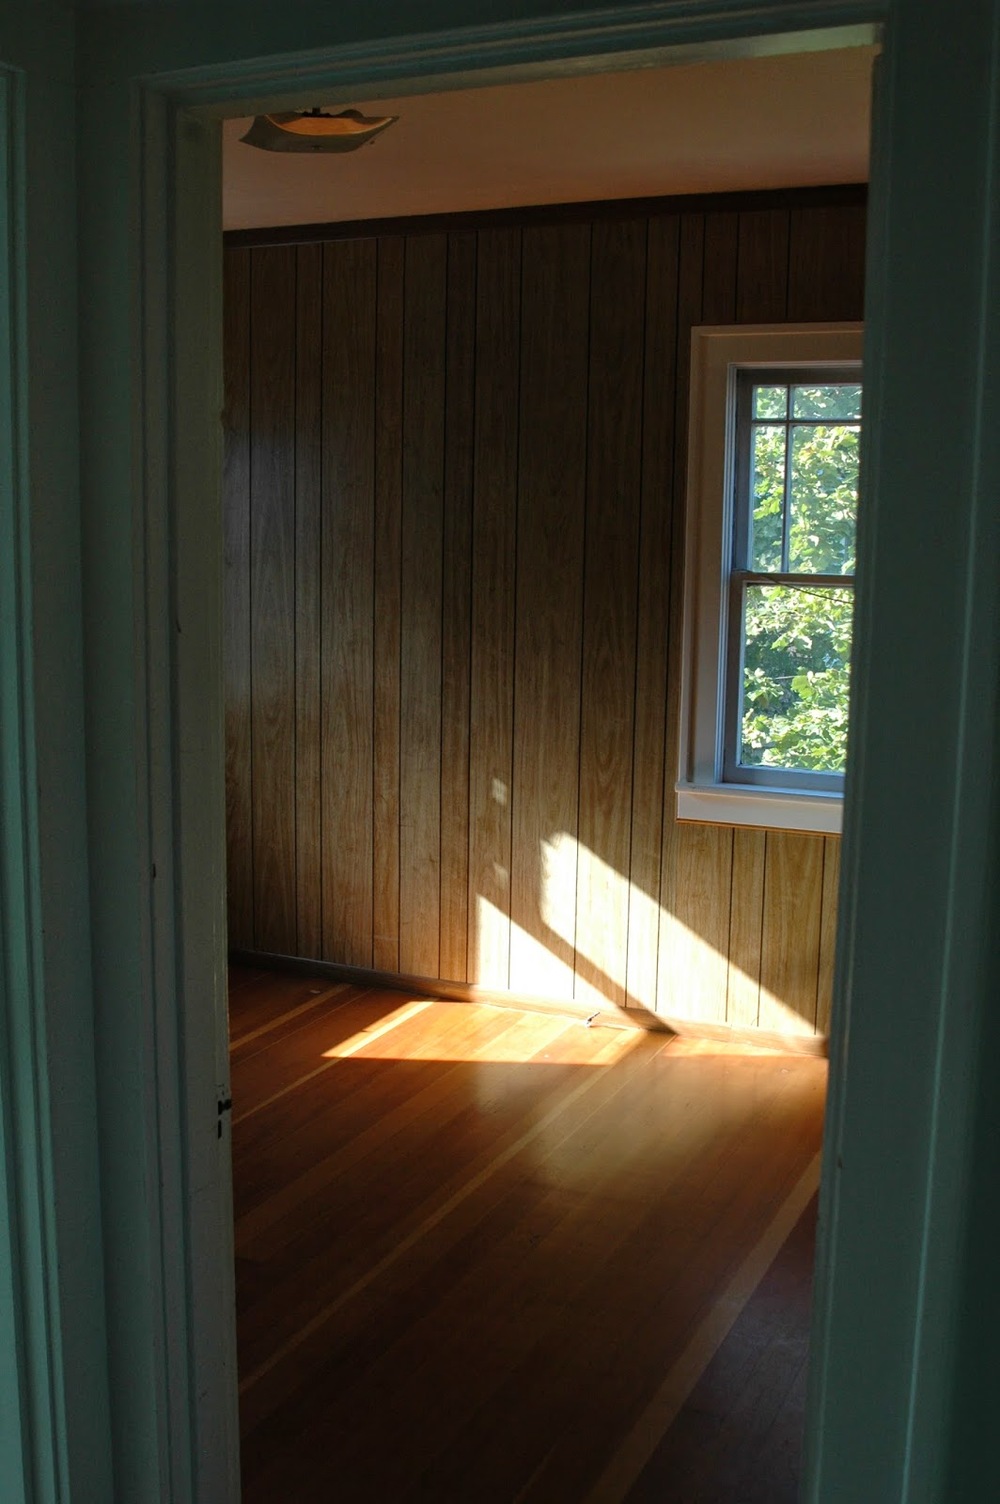
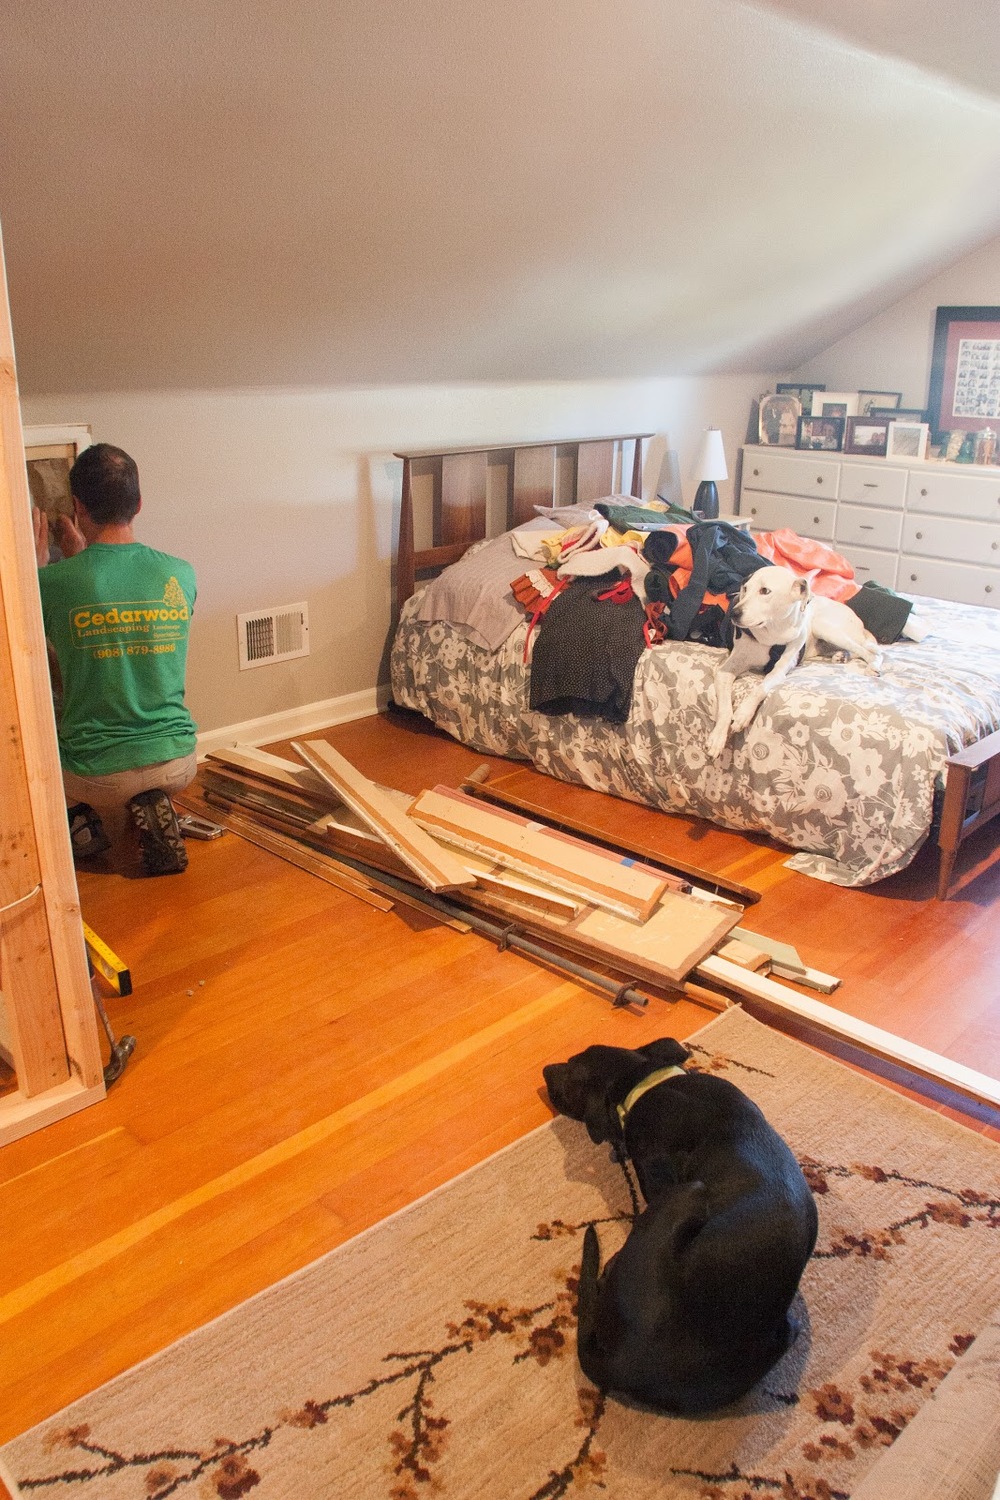
After ripping out the existing walls Adam went to work sanding down the newly exposed floors as they stood a little higher than the rest of the floor since they'd never been refinished. (This photo was taken after we started the framing but he did the sanding beforehand.)

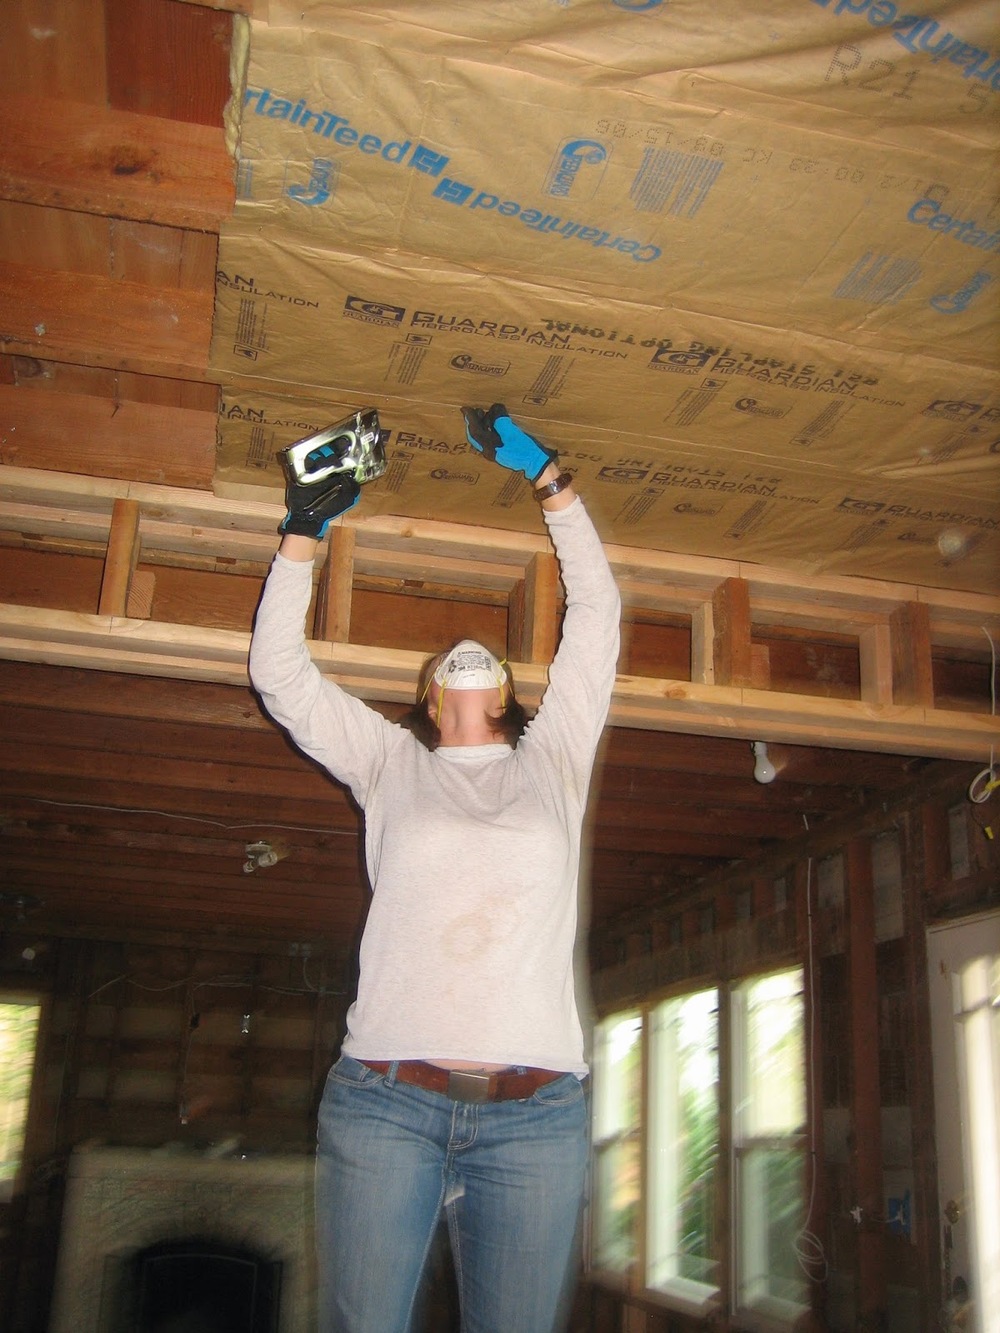
We also quickly threw some insulation into the ceiling and walls in the closet since there was none before.
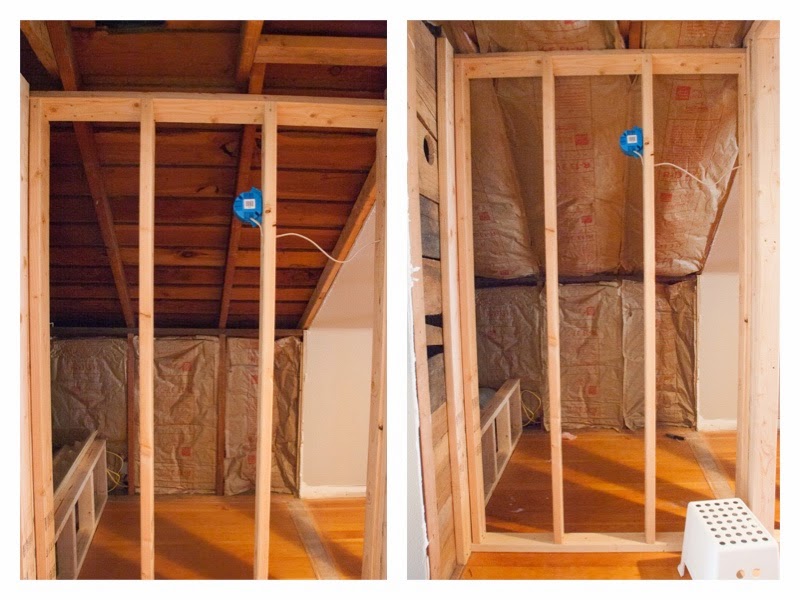
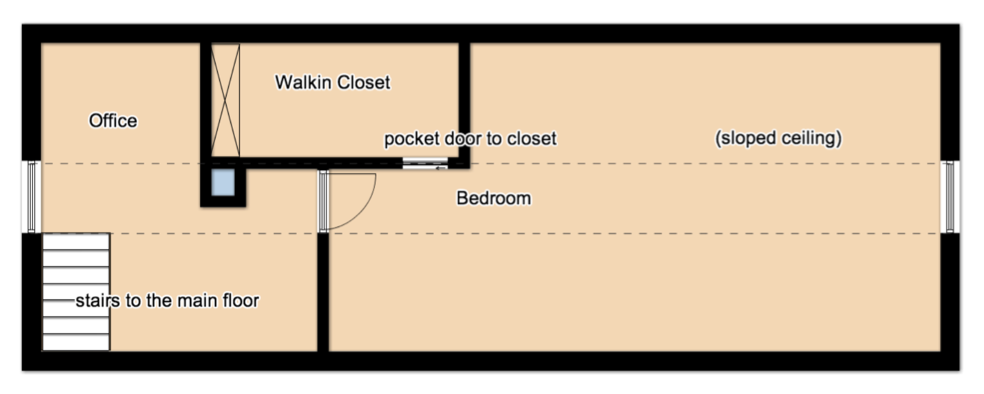
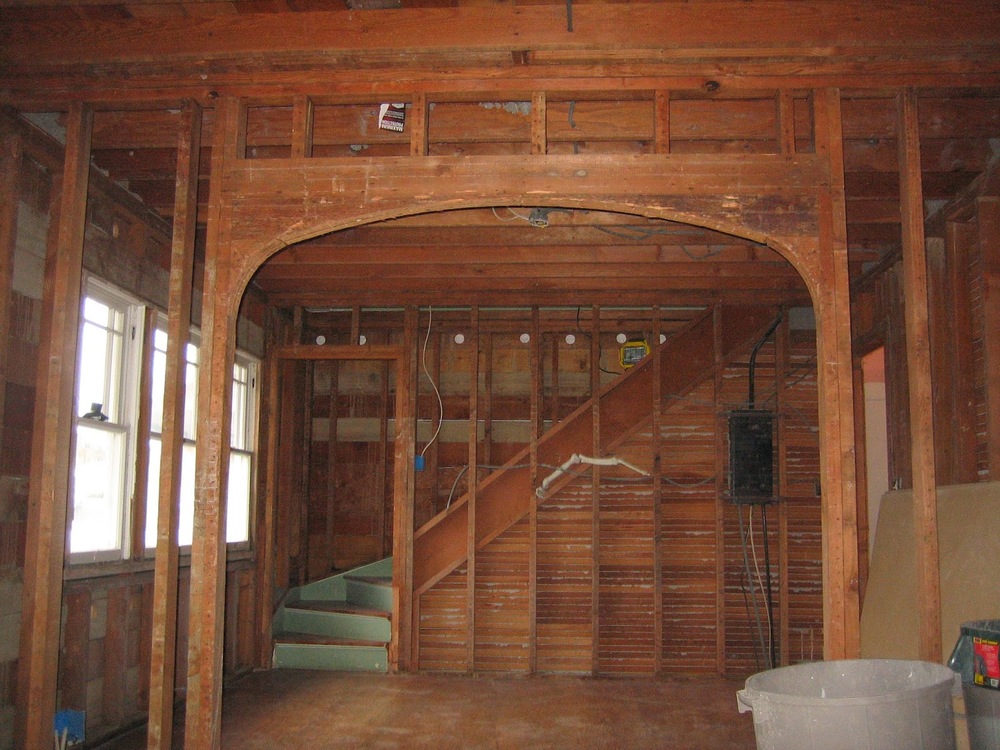
We started the framing with the wall that would house the bedroom door before branching off of that to create the new closet wall.
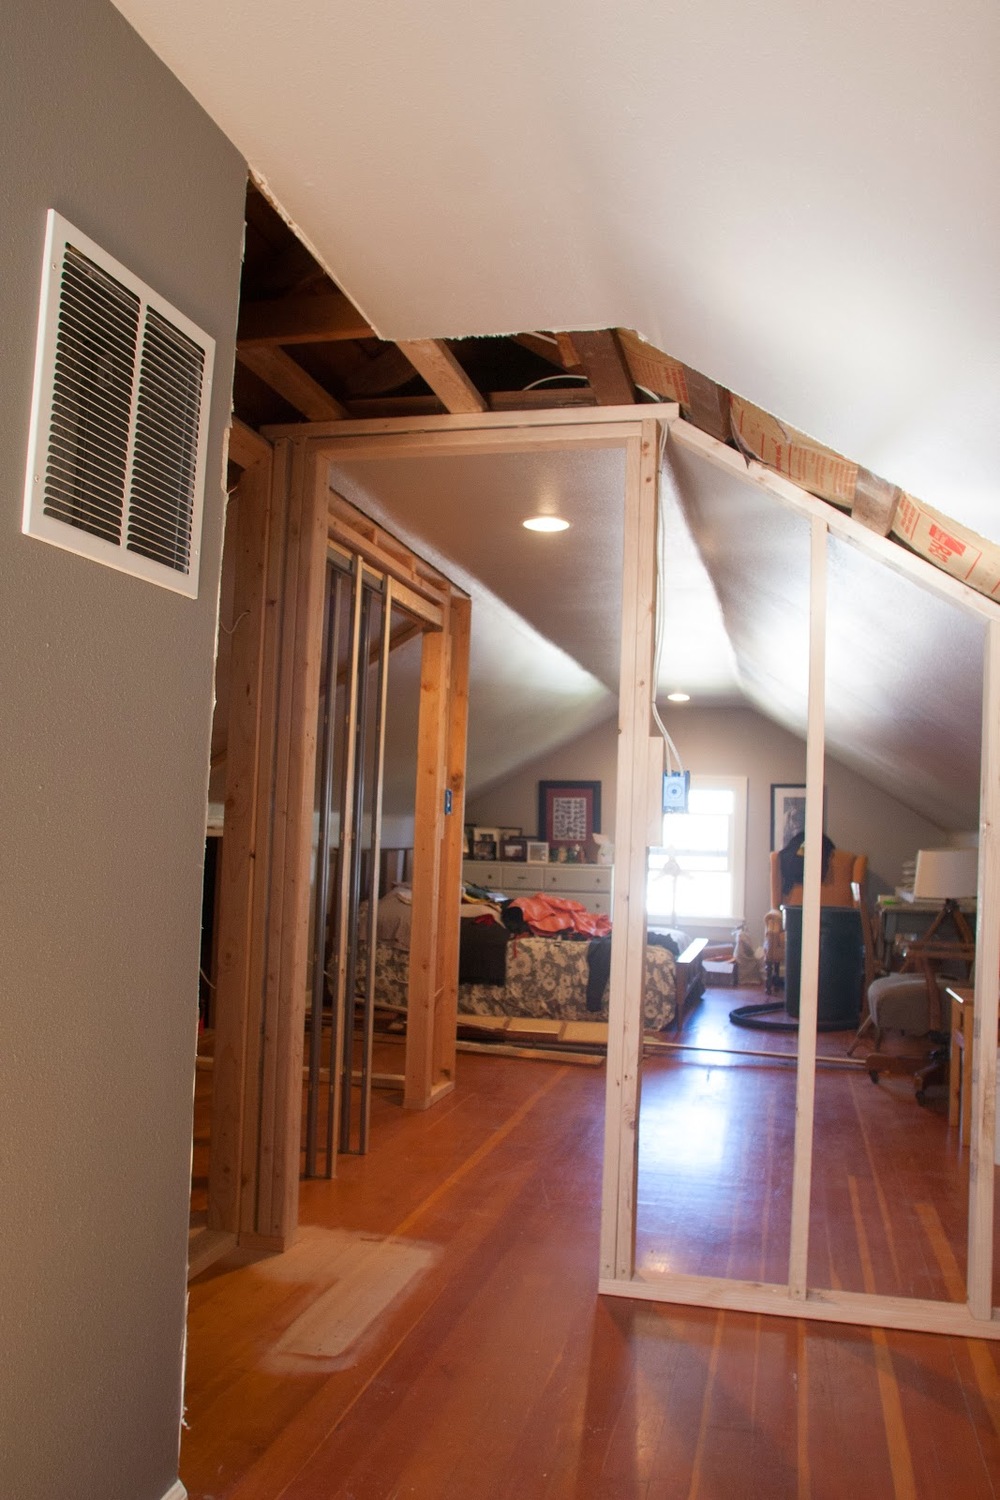
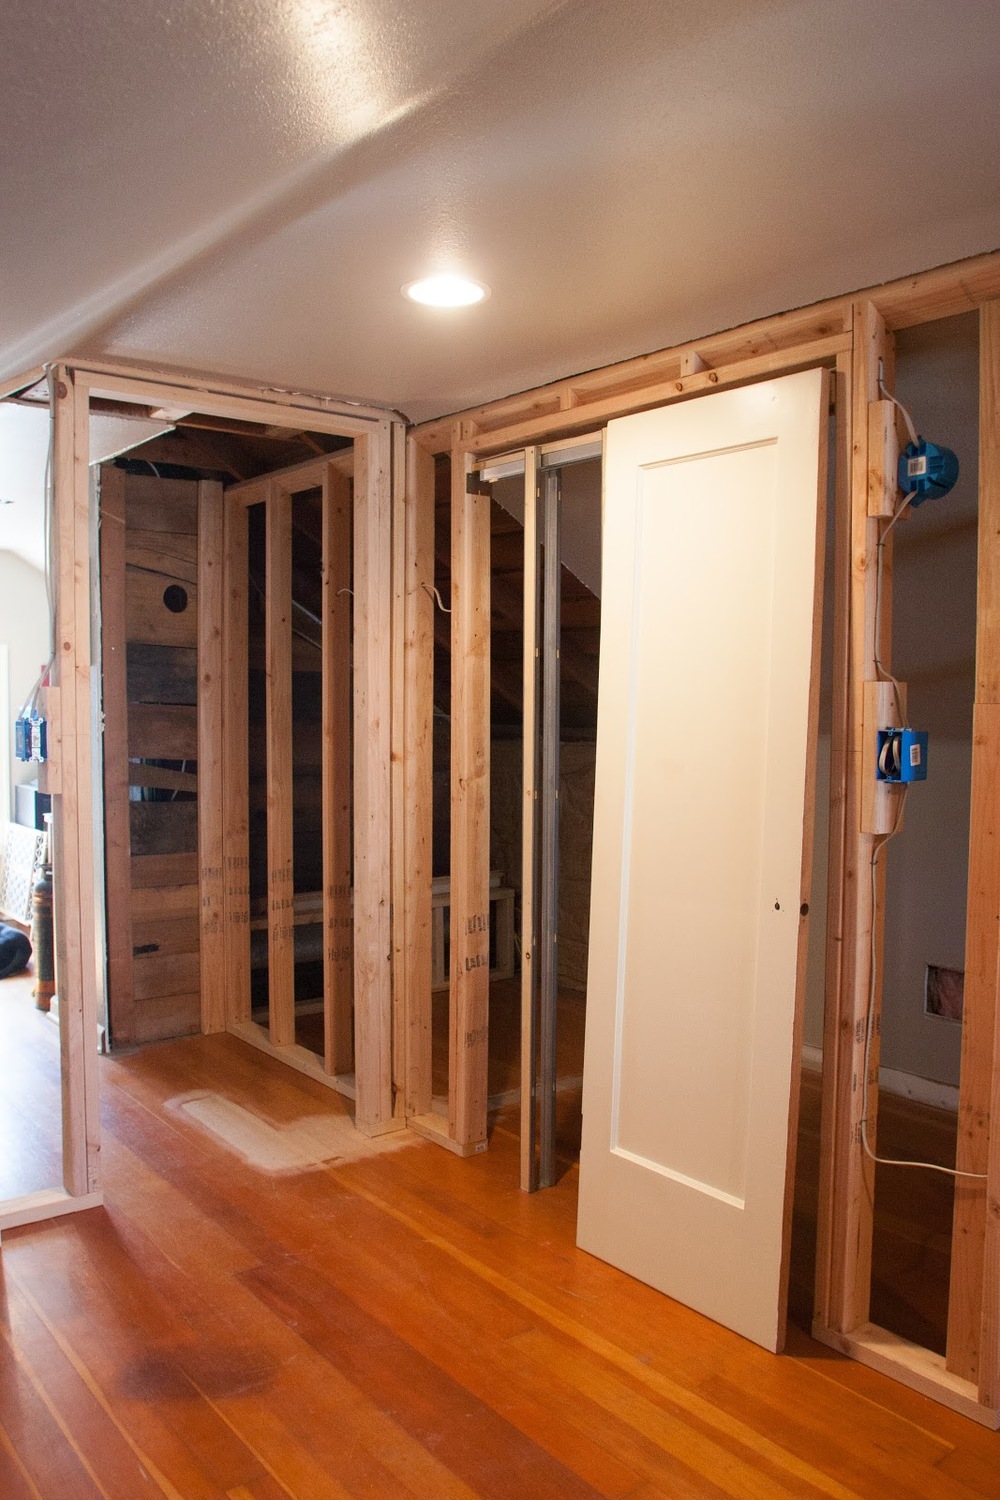


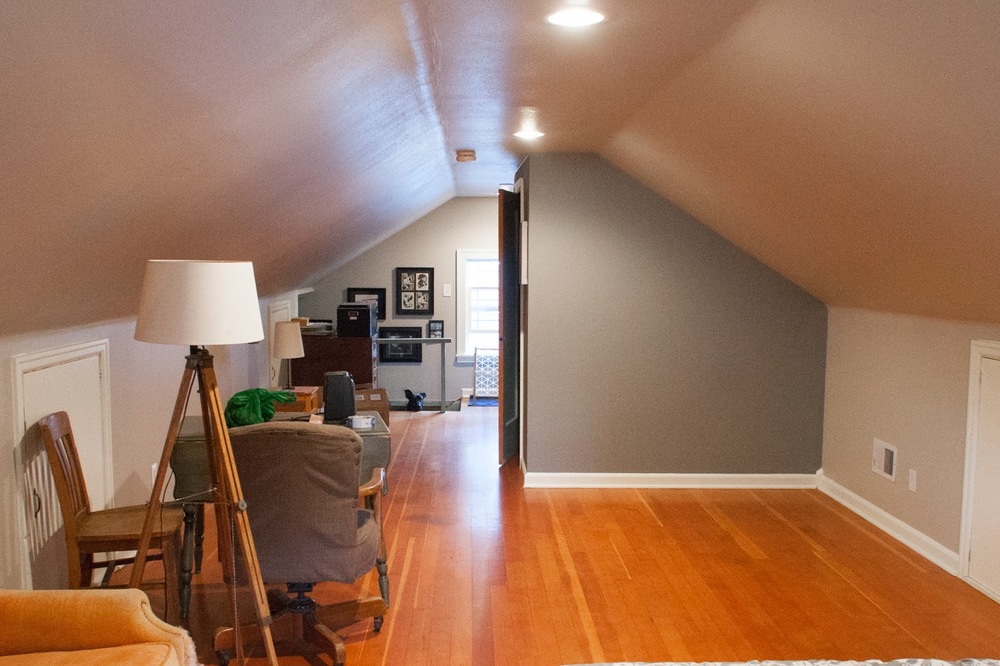
Another decision we made while framing was to get rid of the knee-wall access door on the west side of the bedroom (there's still one further south on that wall in my office) because it would have bumped right up to the new closet wall and I wanted a clean corner for a dresser or a reading chair.

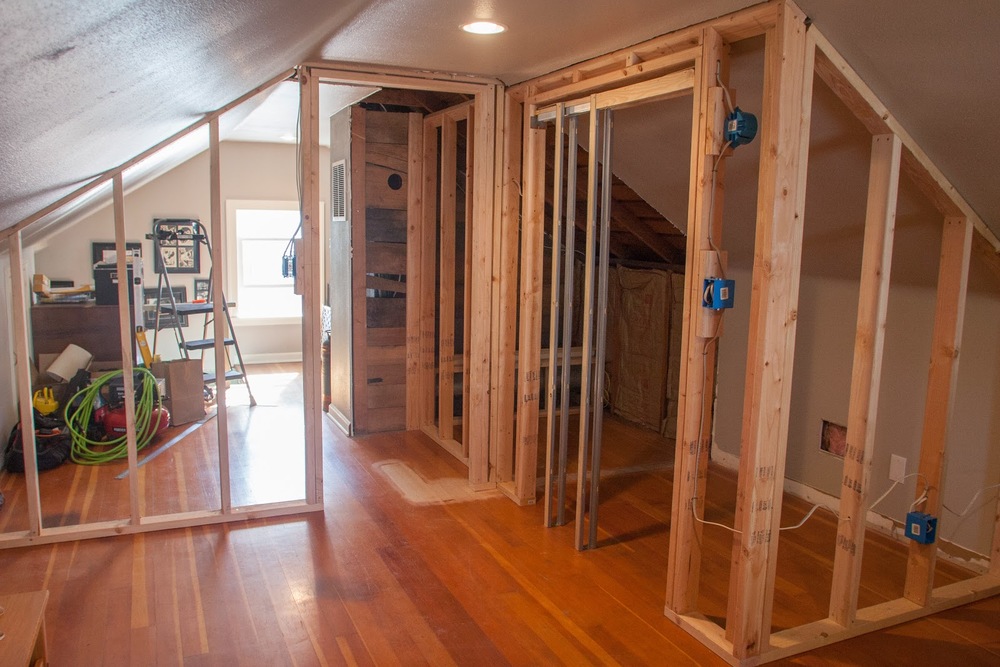
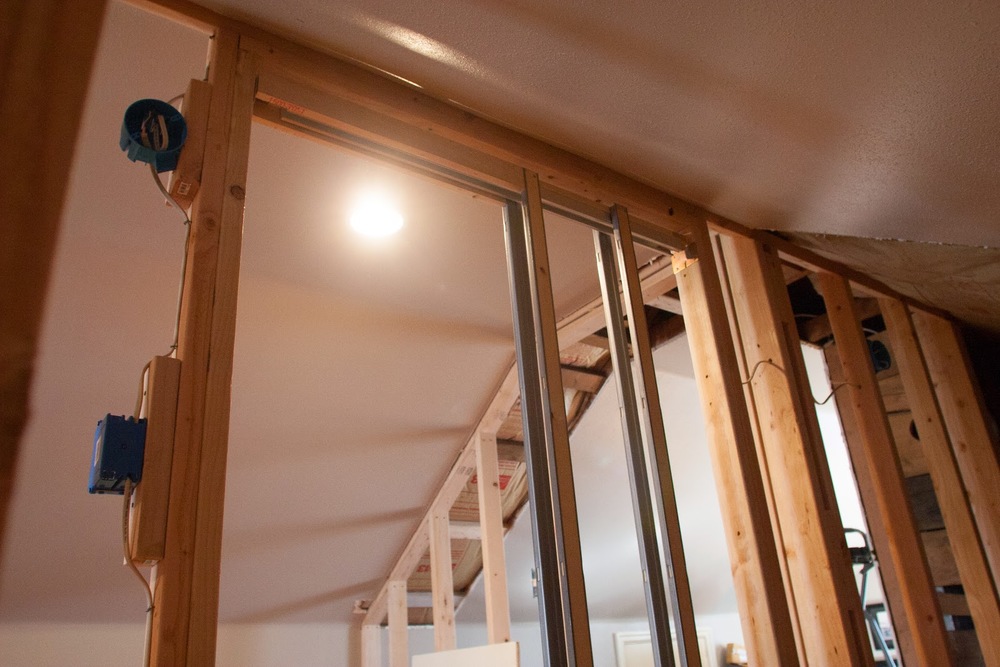
Last step before drywalling was to modify the electric slightly. Originally all the ceiling lights were operated on one switch at the top of the stairs, so Adam split that so the three lights in the bedroom are now operated by a new switch installed next to the door.
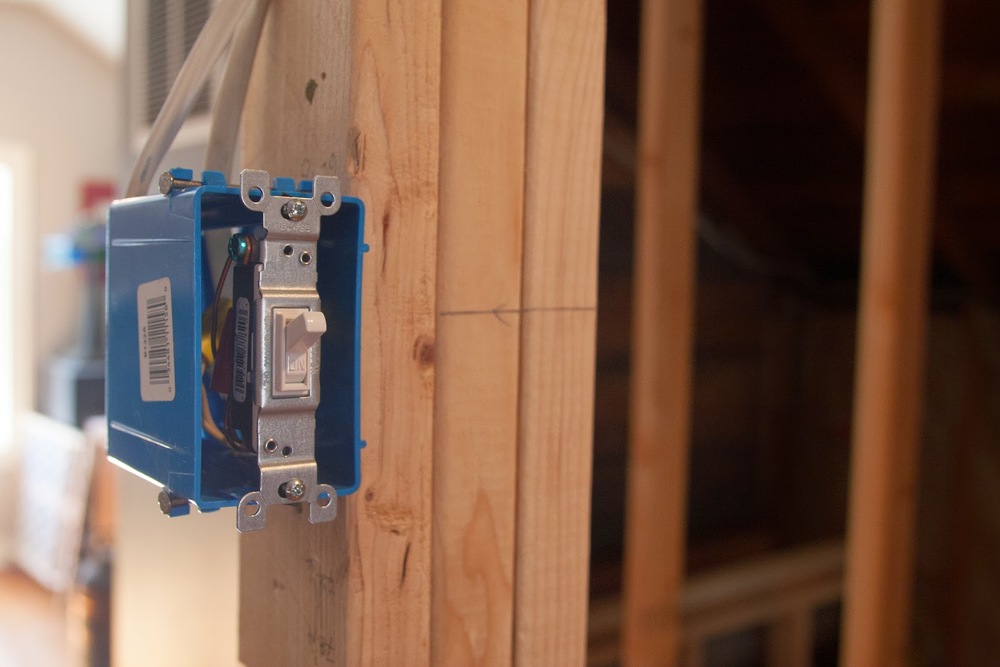
We also installed two closet lights with a switch just on the outside of the closet door.

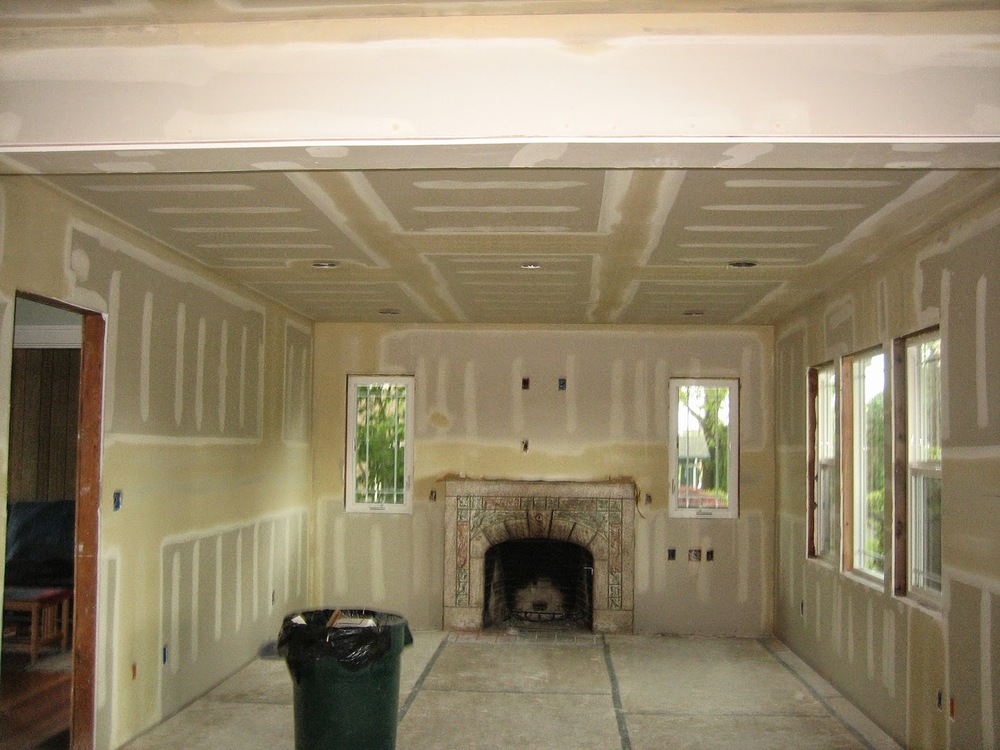
Framing and insulation complete we contracted out the sheet rocking. With the many slanted cuts and needing to match the texture to the existing walls we figured it would be worth our time and money to have it done professionally. Three days later and we were ready to prime and paint.
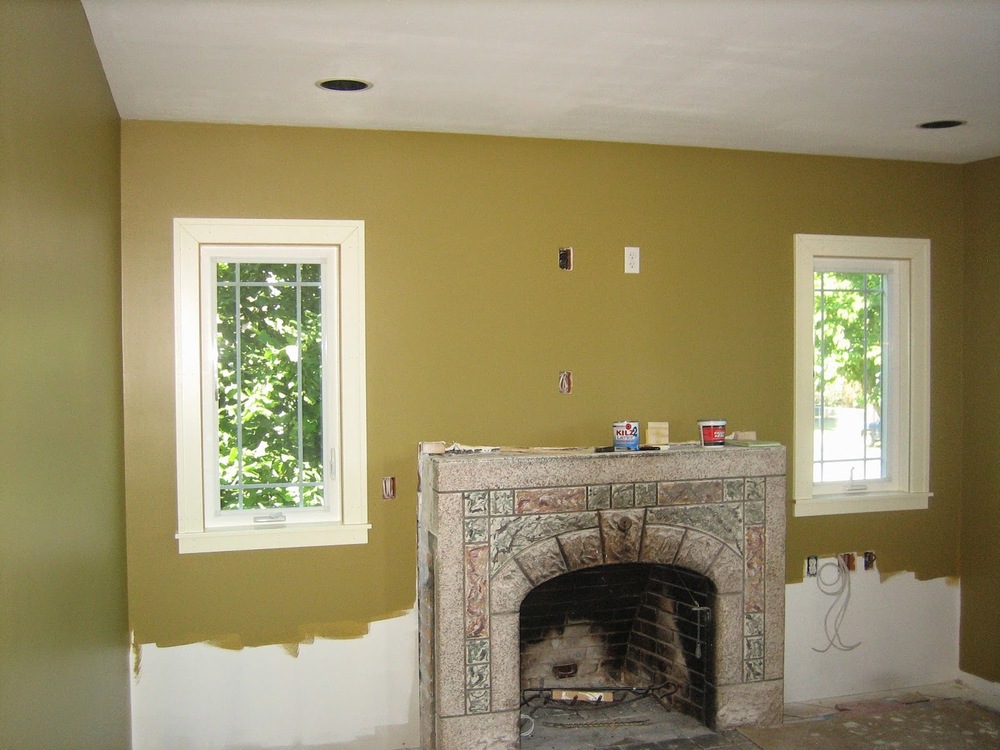
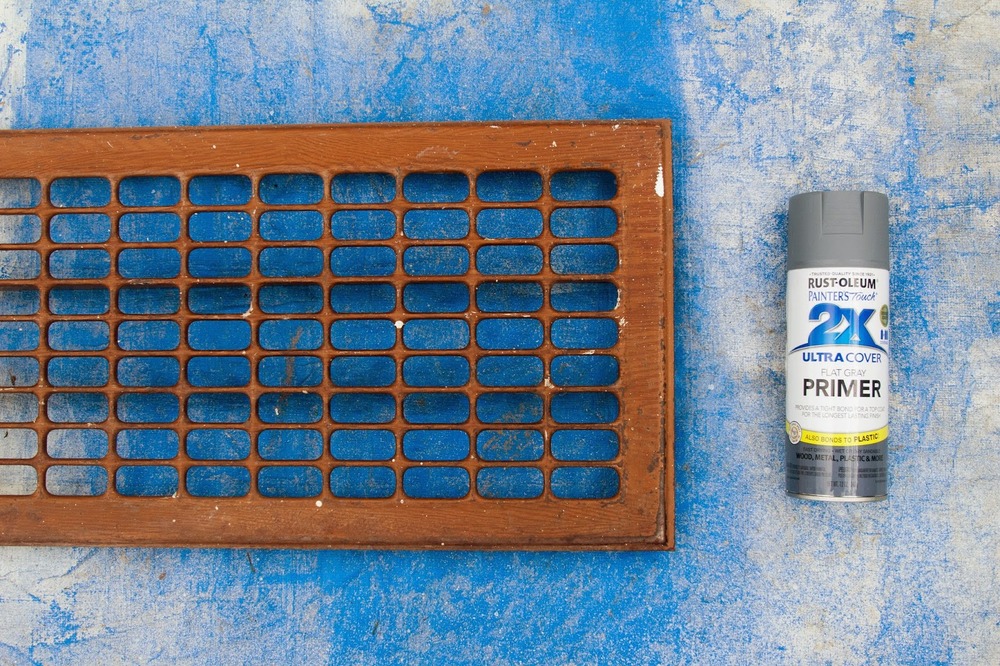
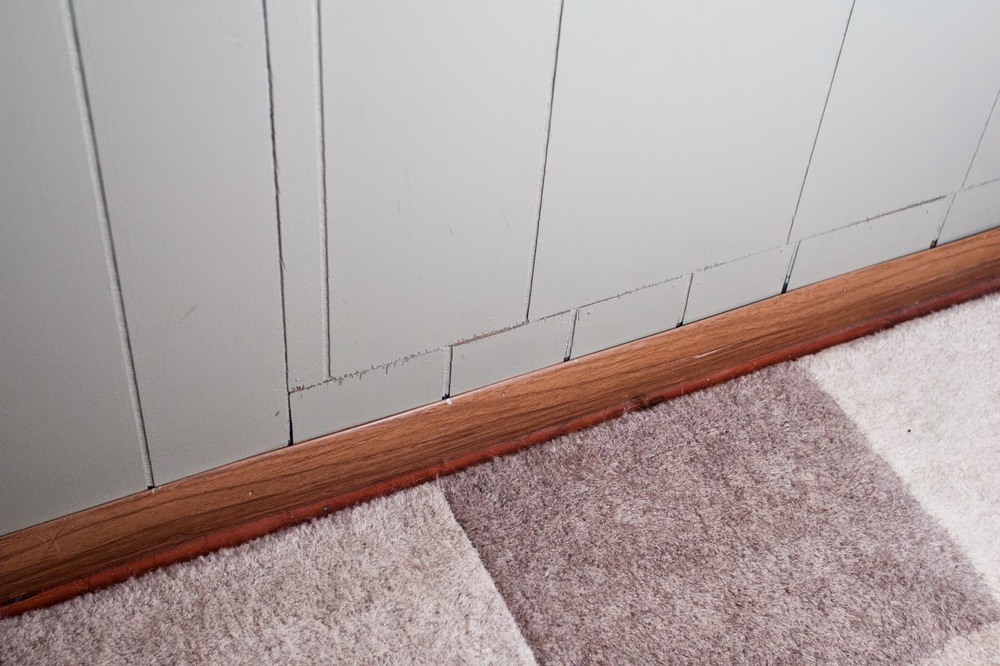
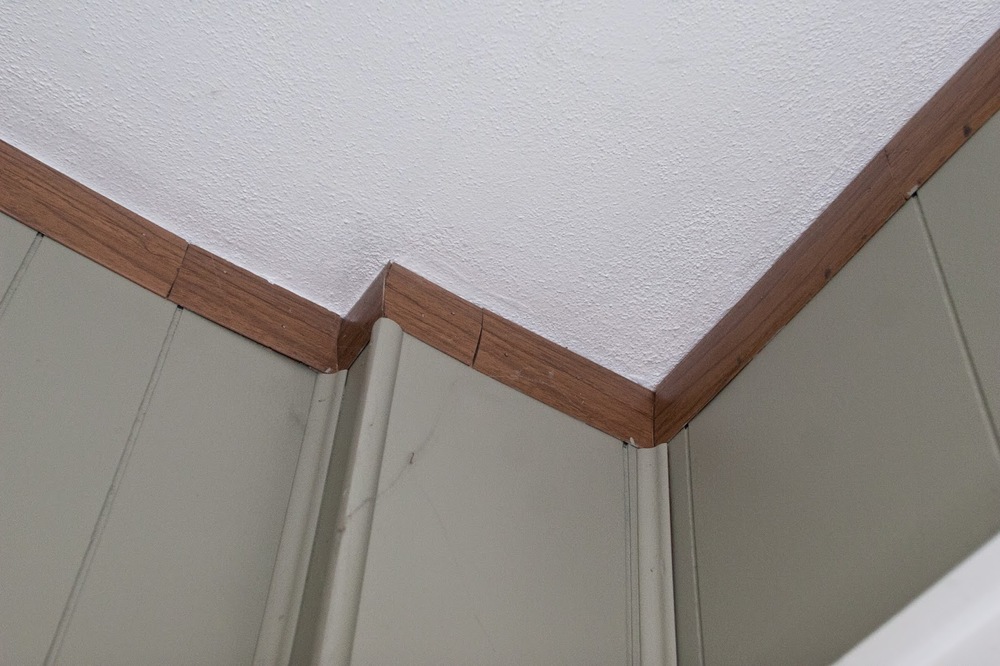
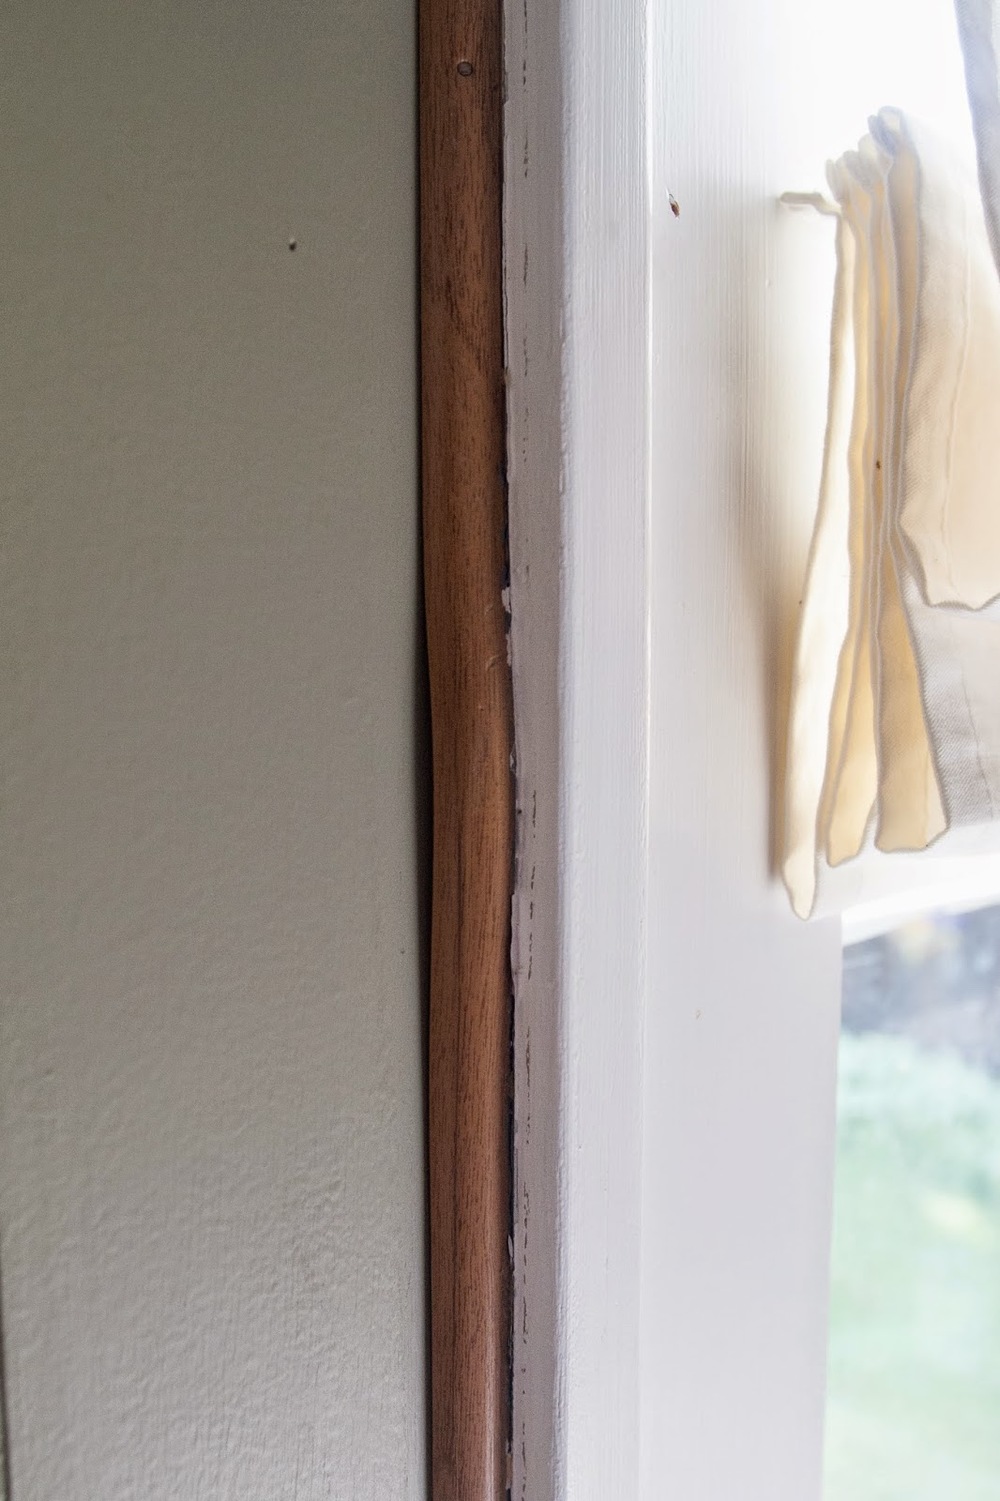
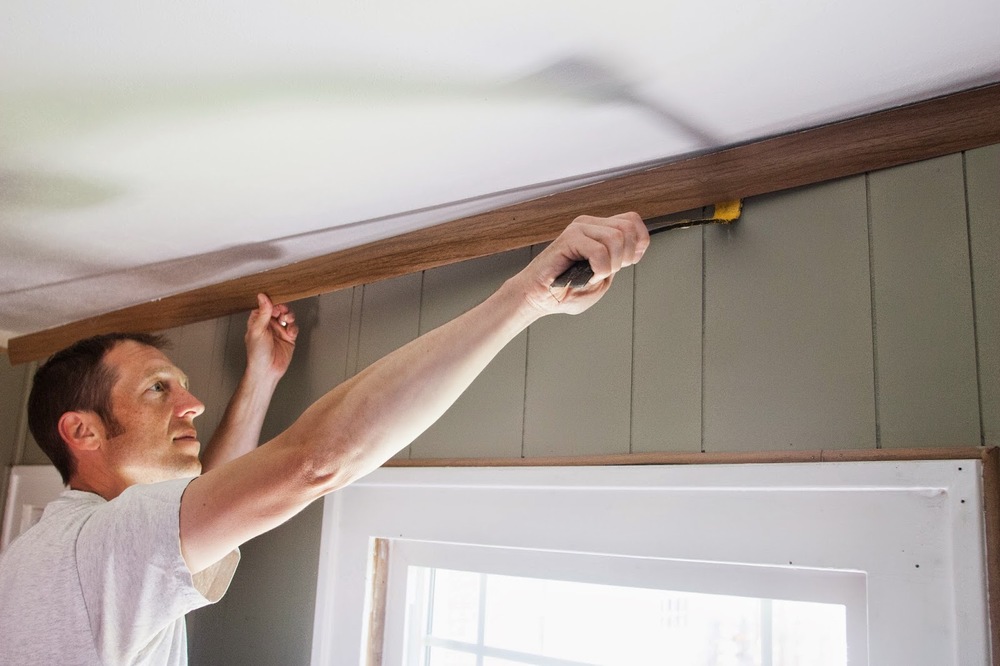
We were able to salvage most of the existing trim from the baseboards and from around the exterior of the closet door, I just needed to give each piece a quick sand and new paint.
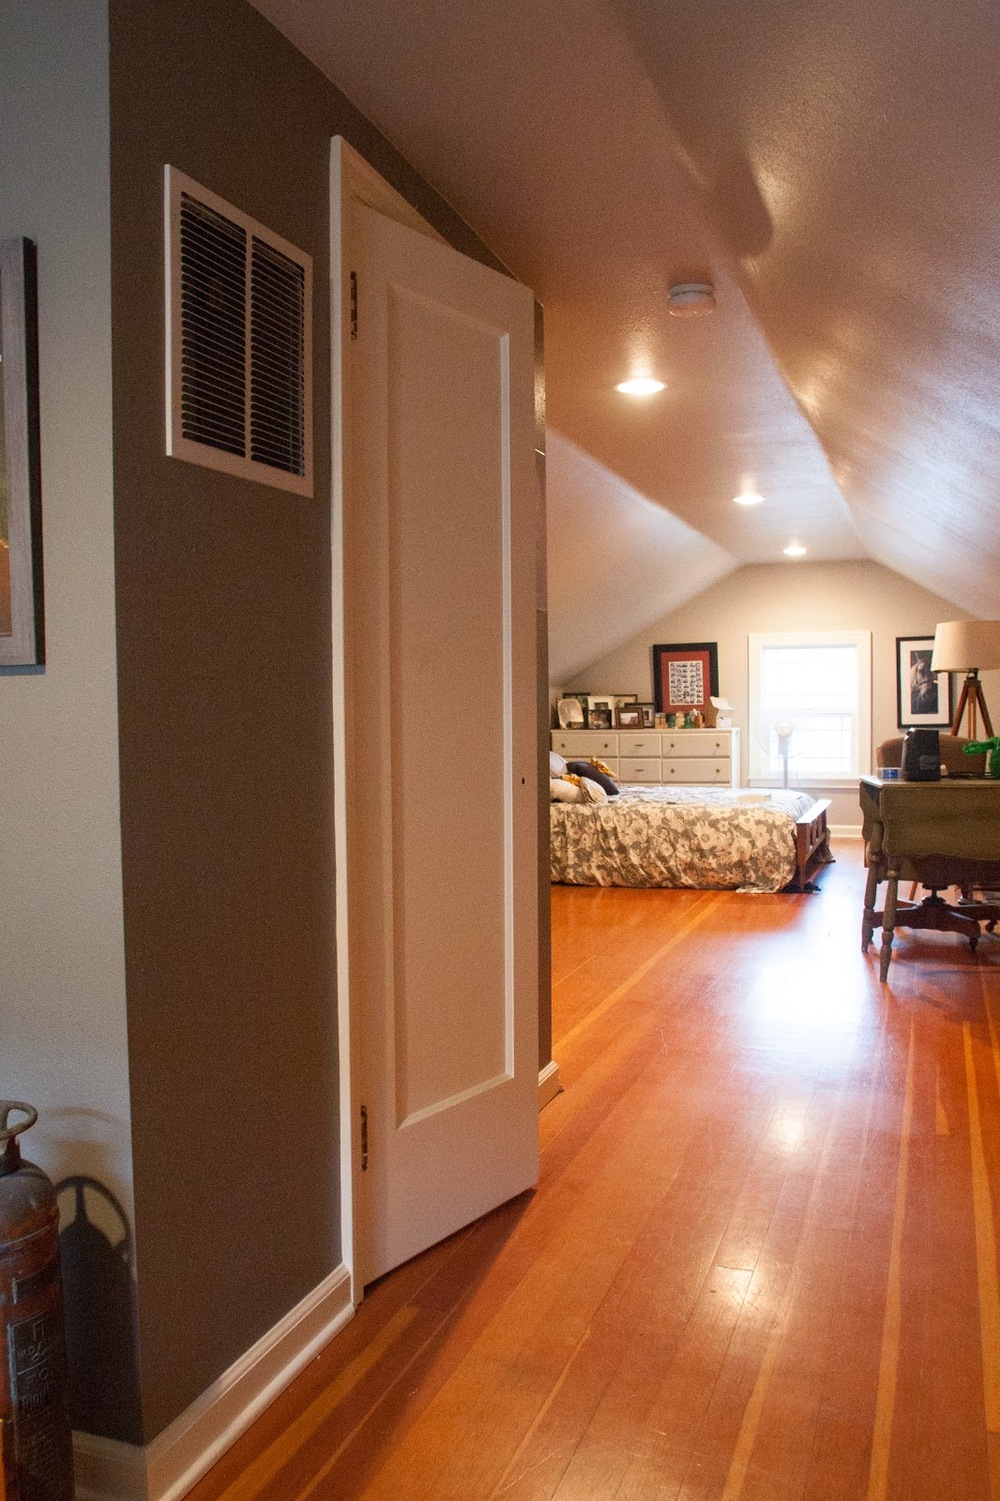
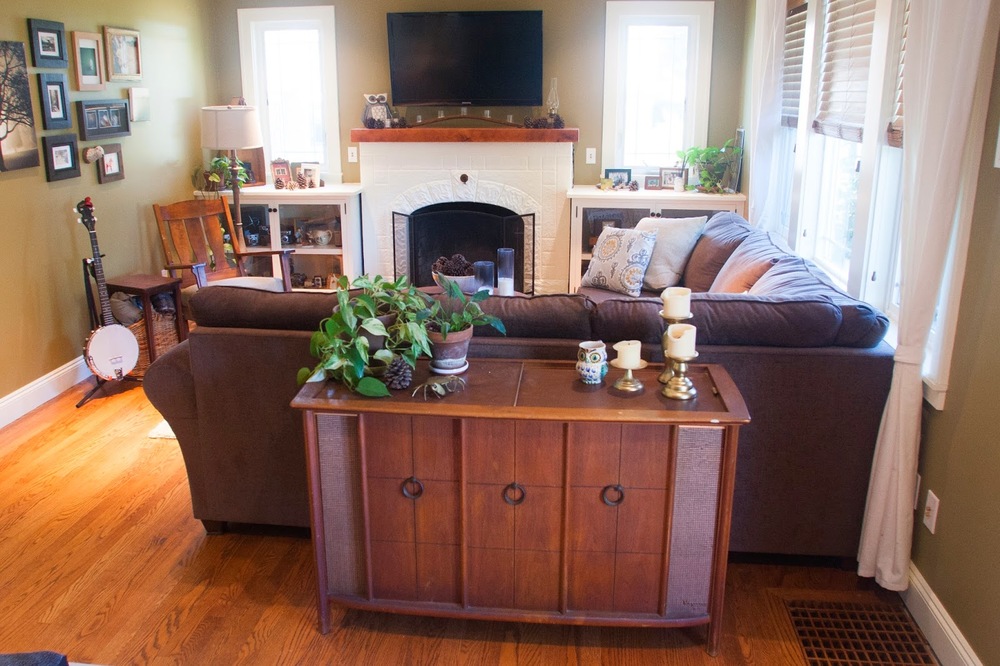
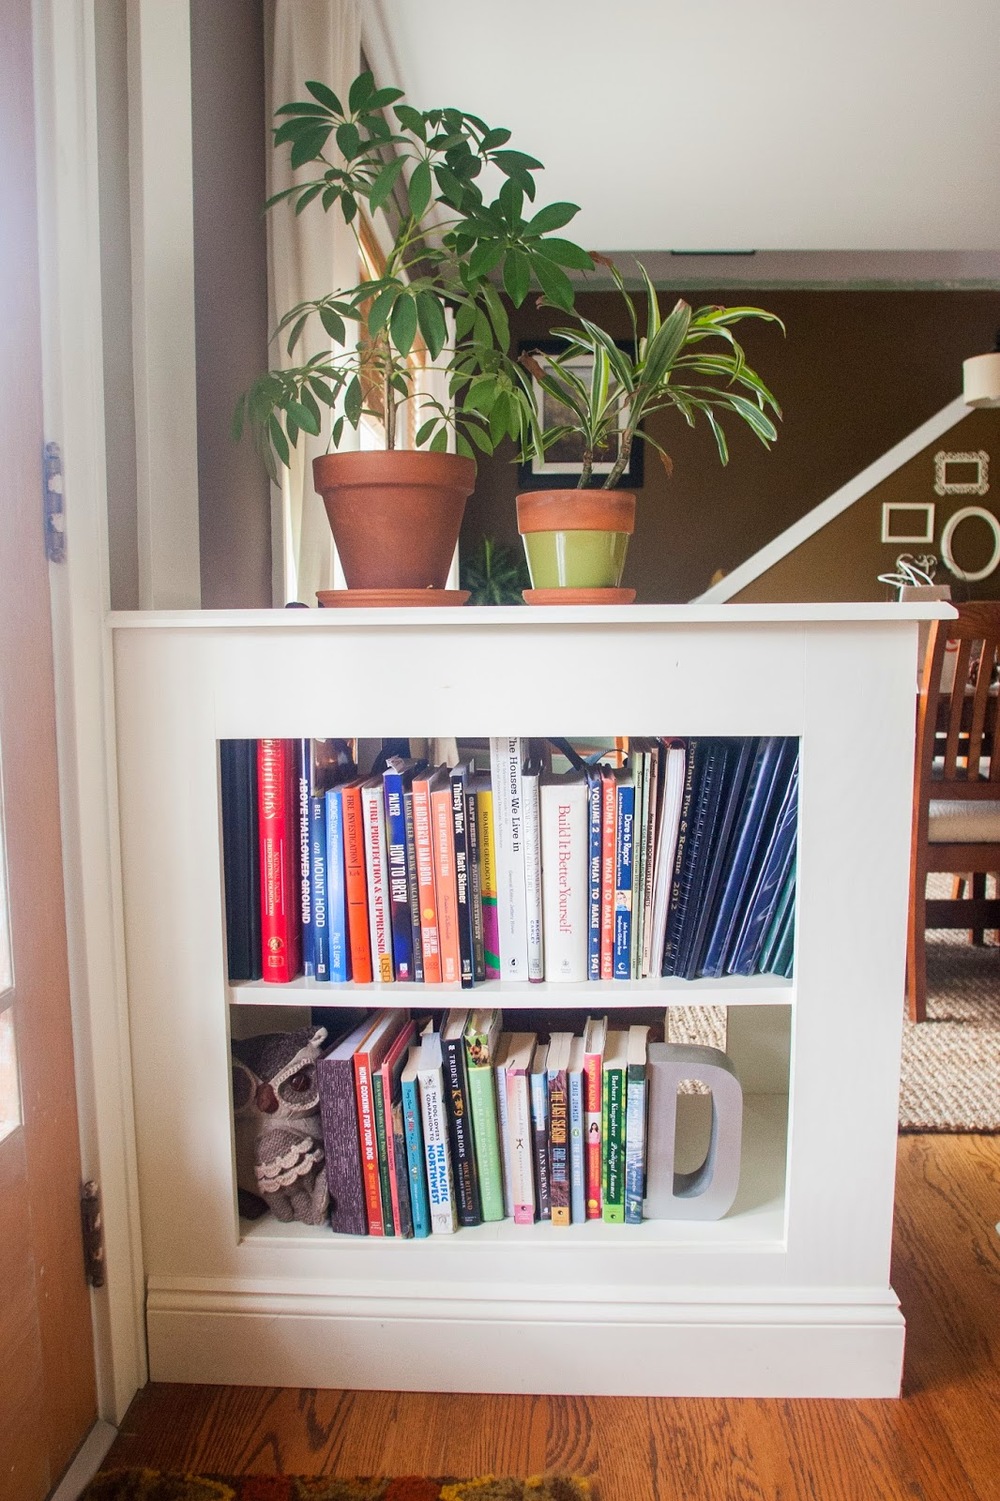
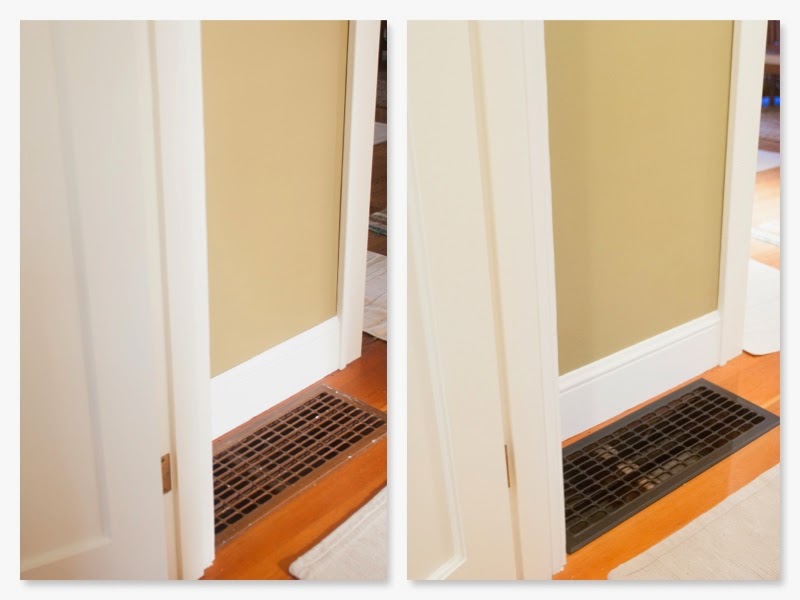
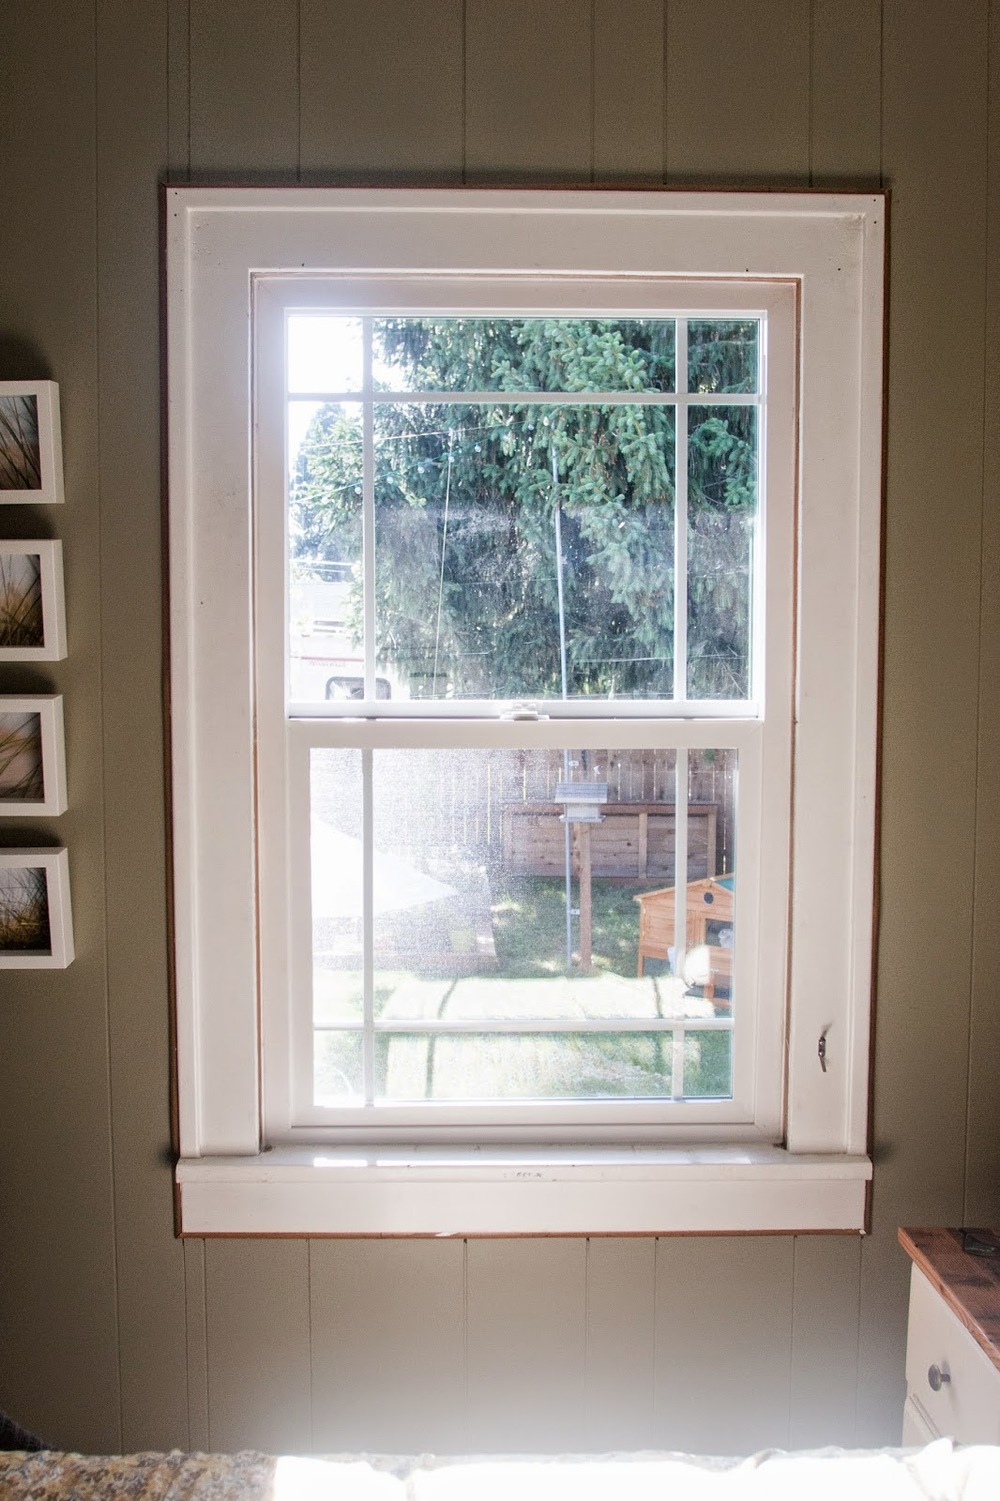
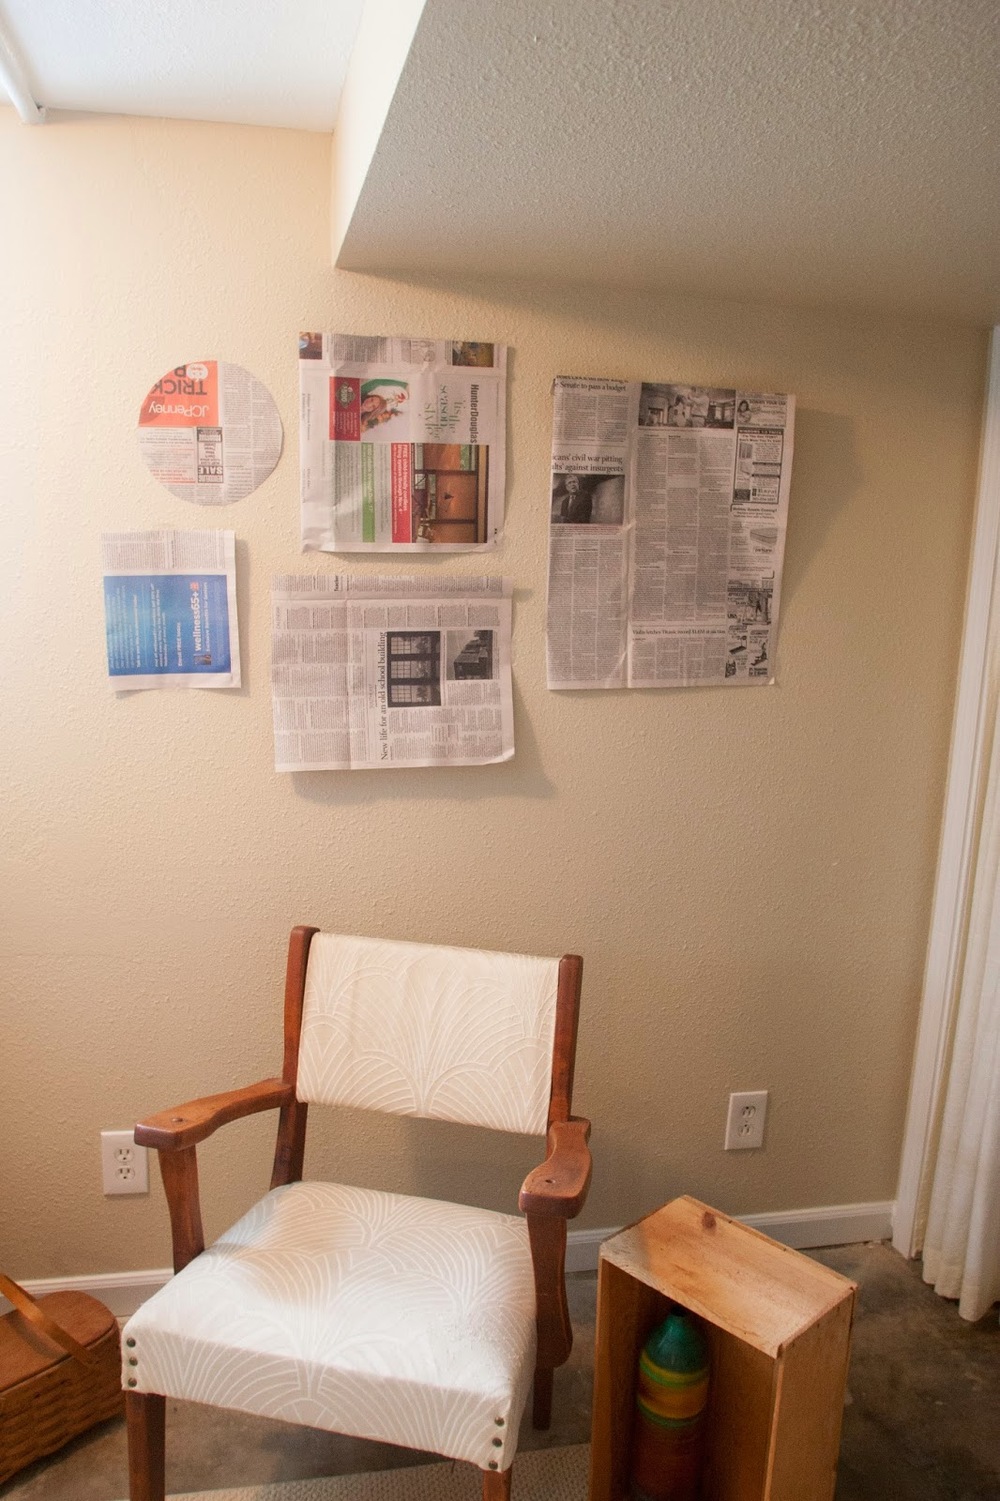
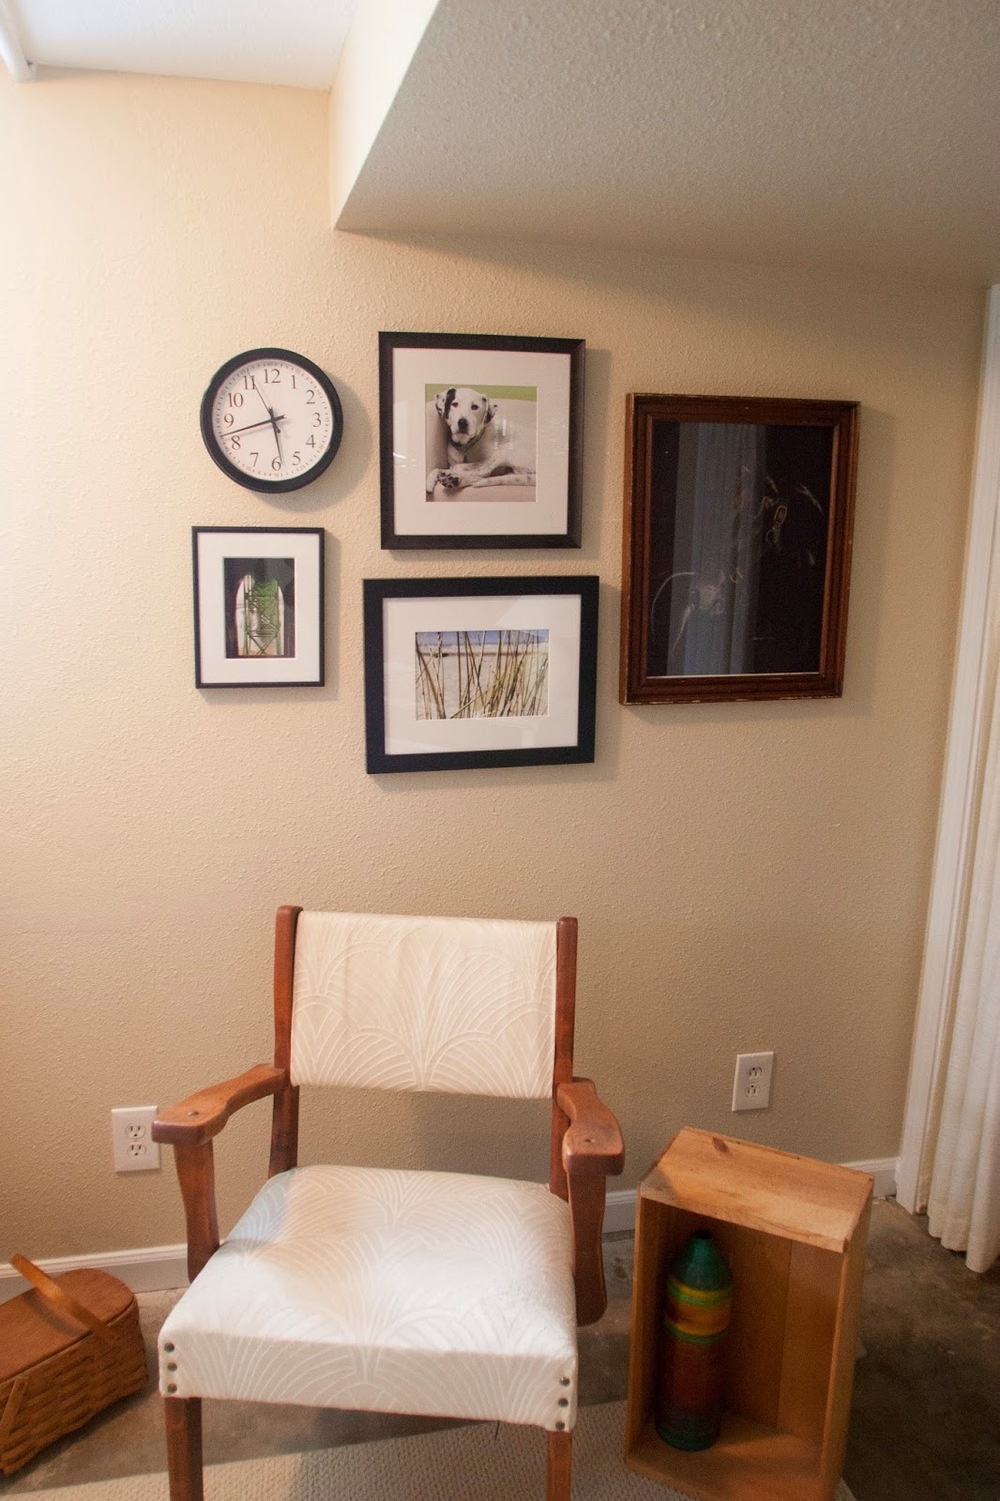
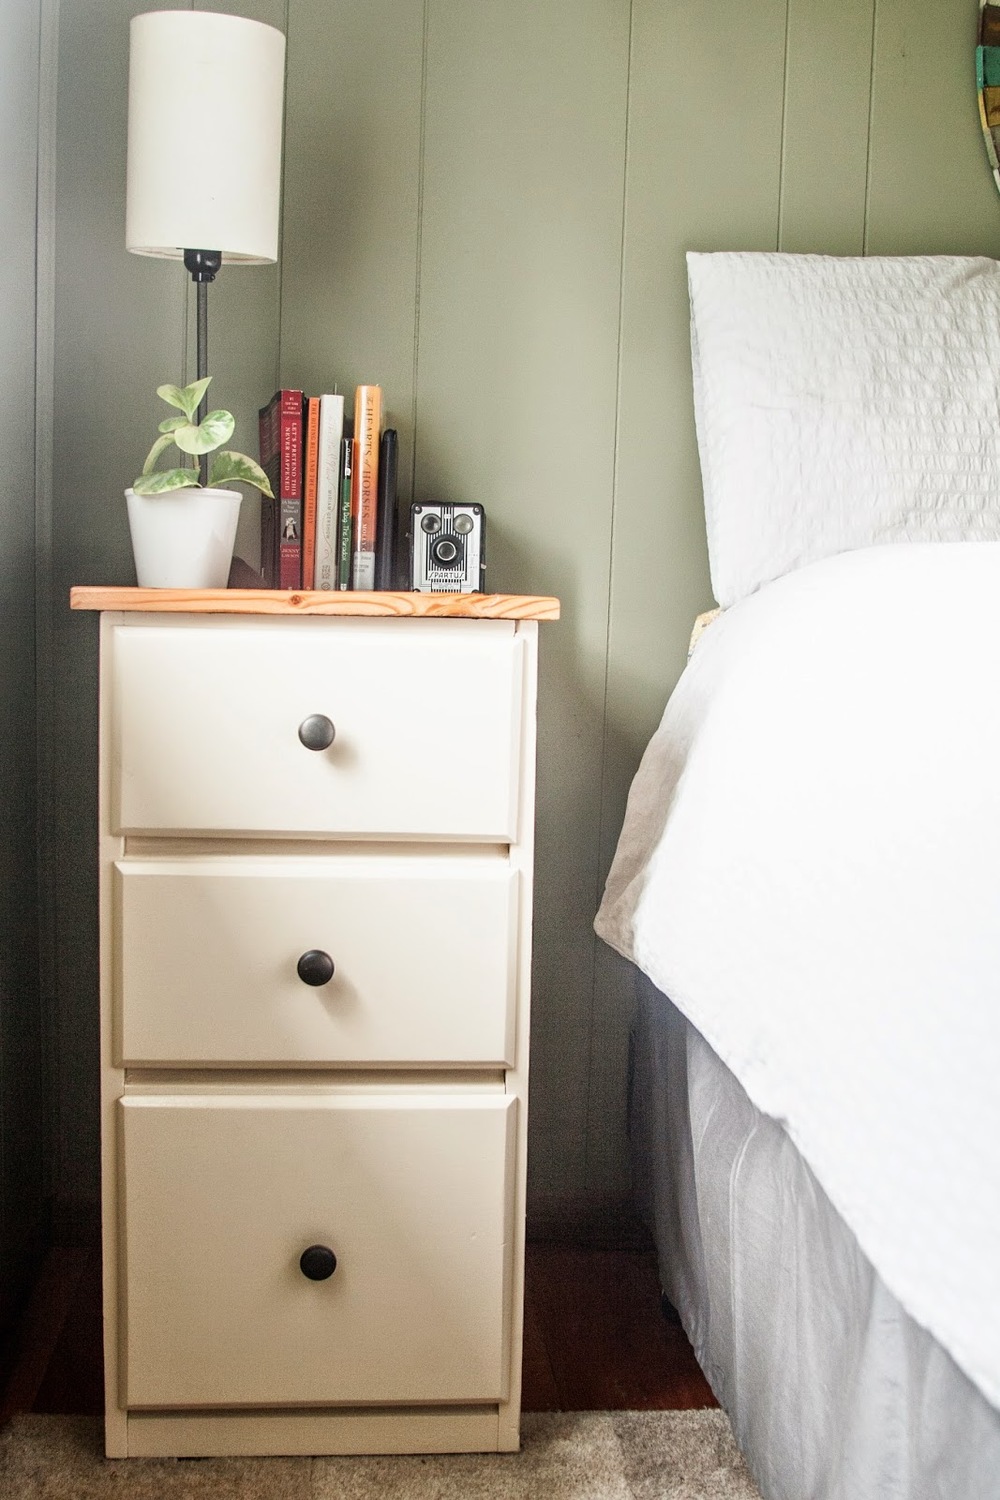
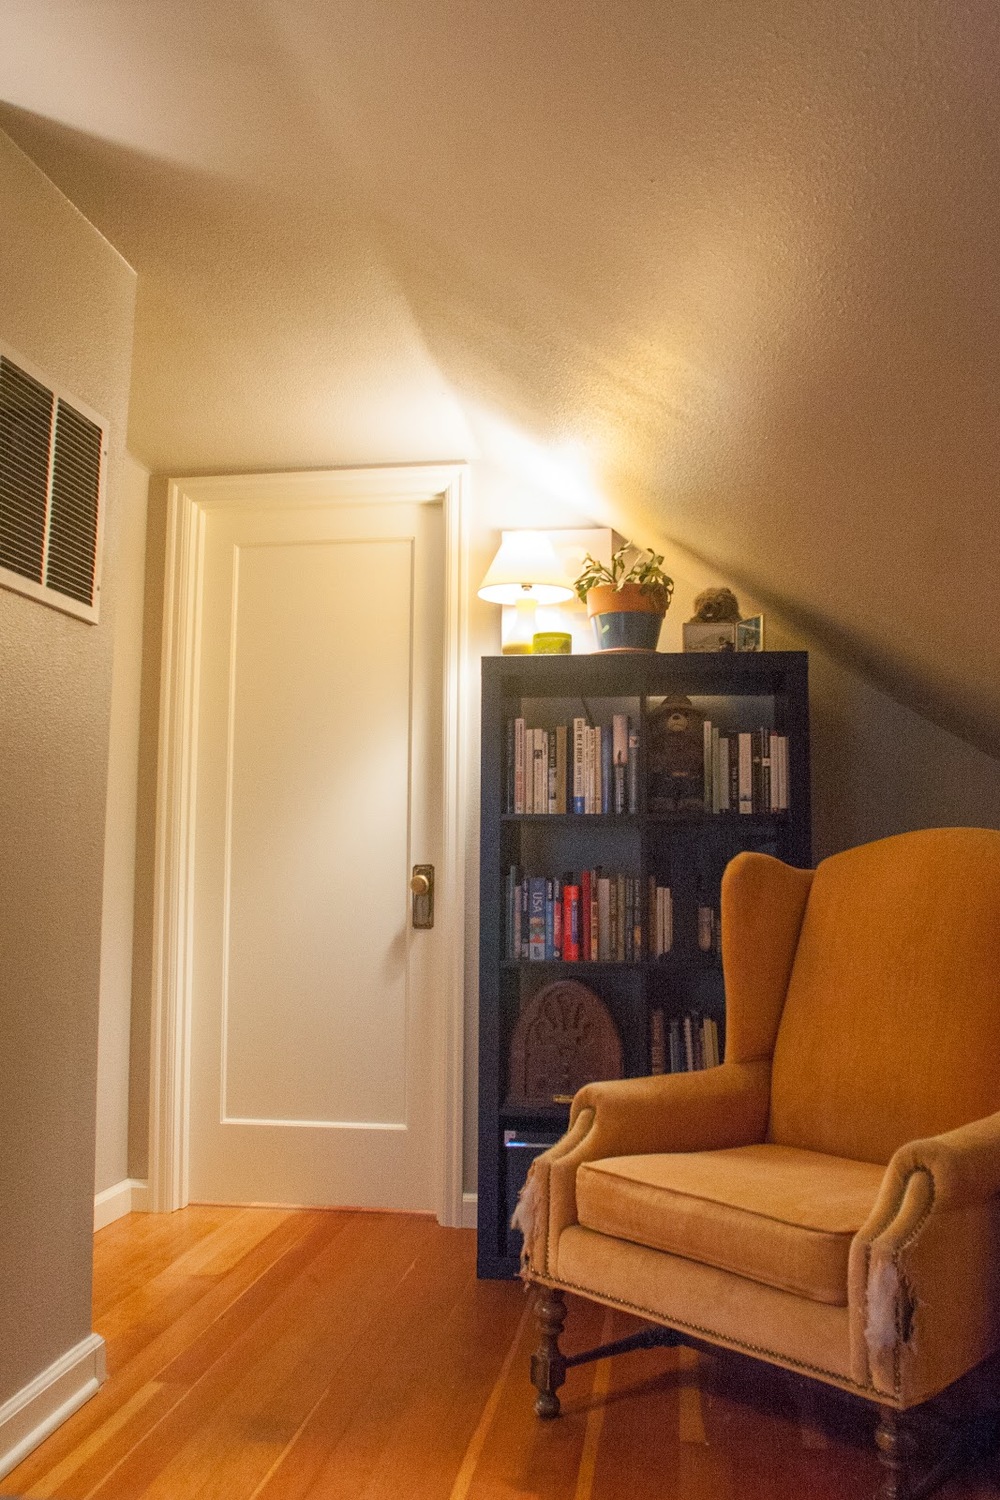
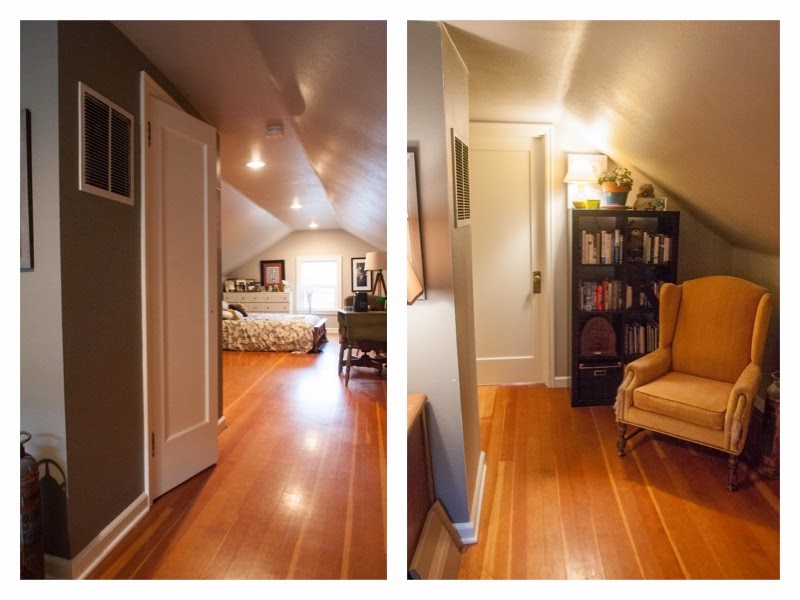
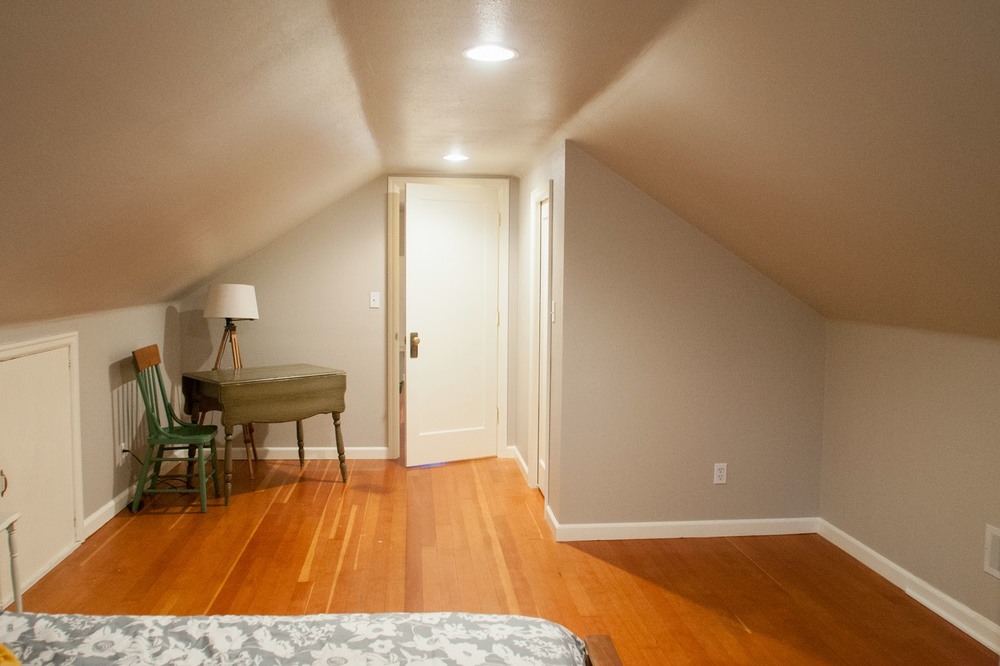
Fast forward through installing the trim and hanging the new door and voila! Here's the cute reading corner at the top of the stairs that was created by legalizing the bedroom. Pay no attention to the very comfy but very ugly chair I have yet to recover.
The view from inside the bedroom back through the door.
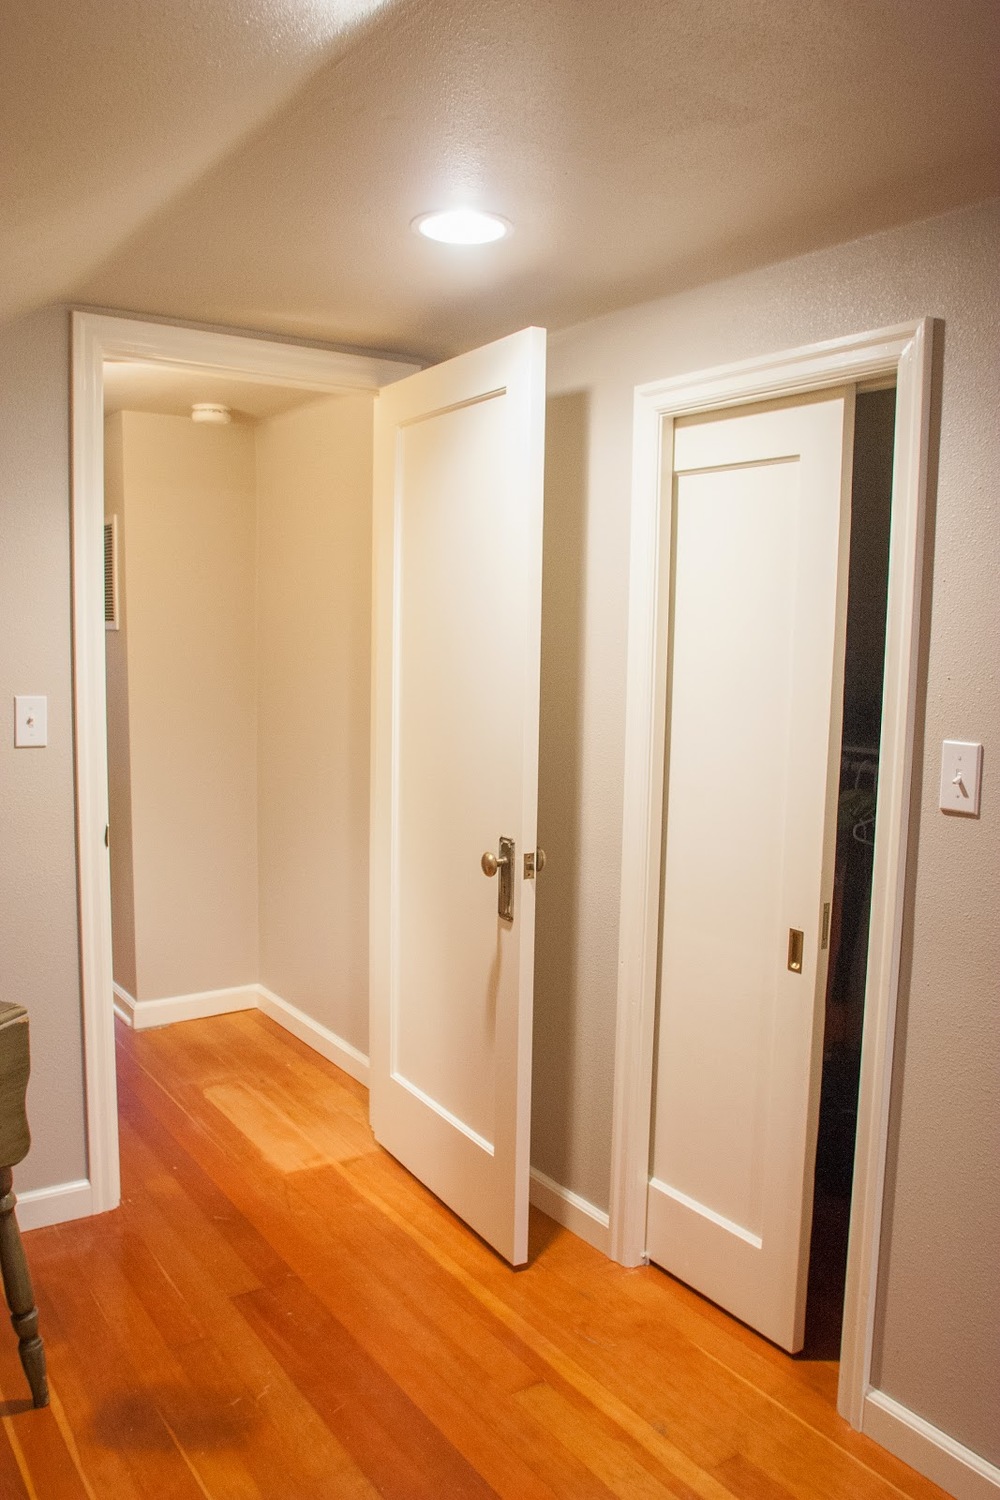
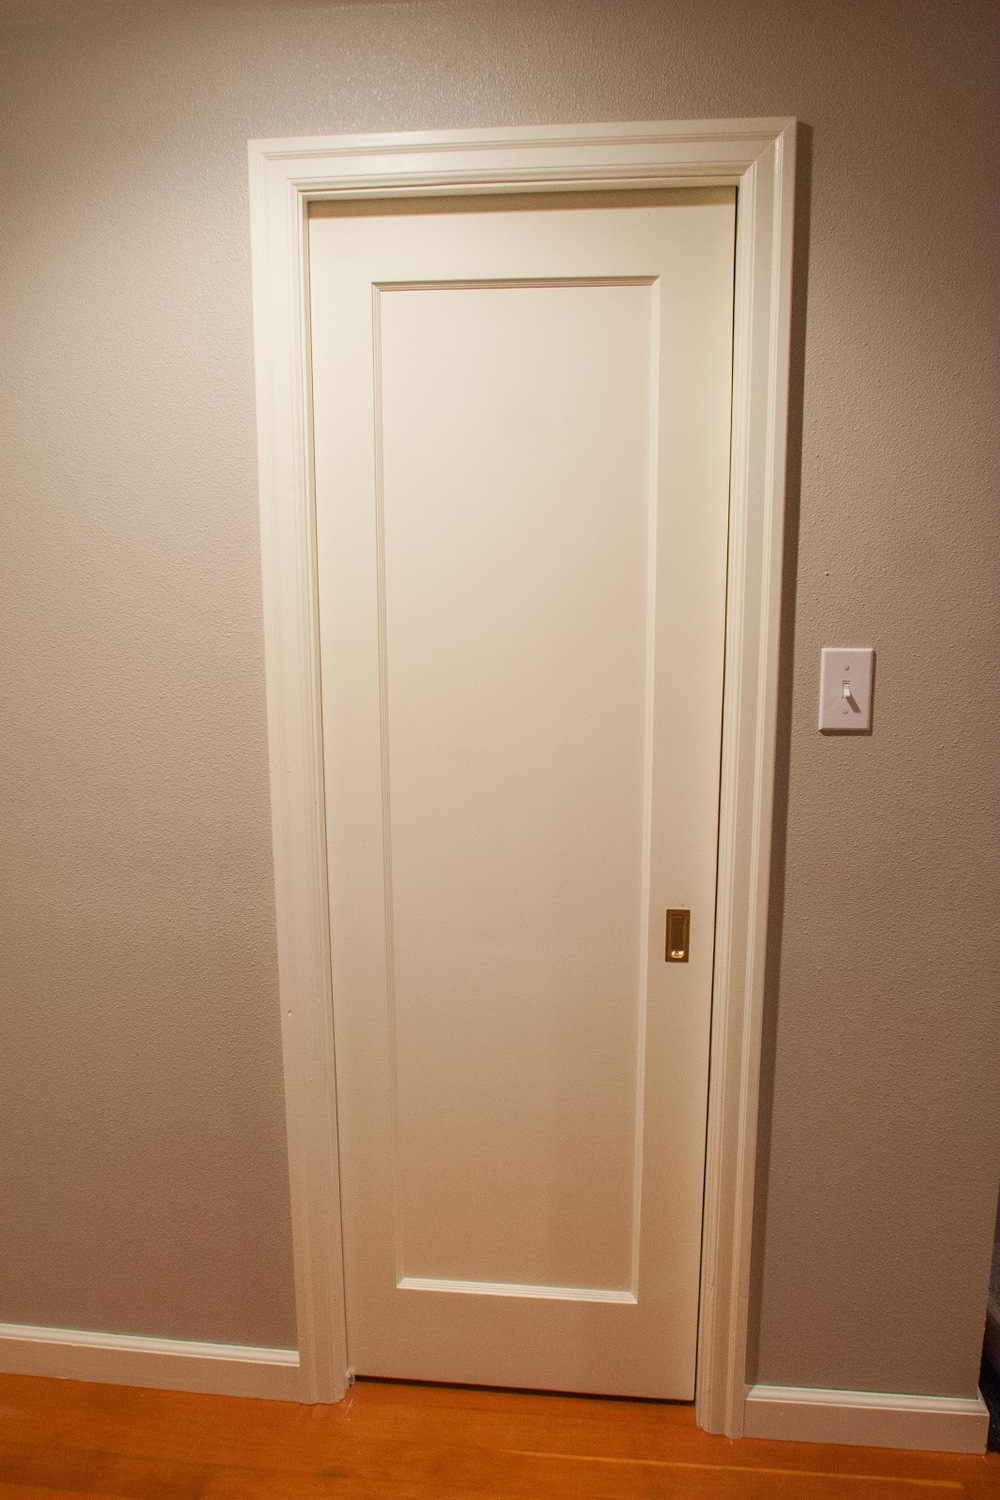
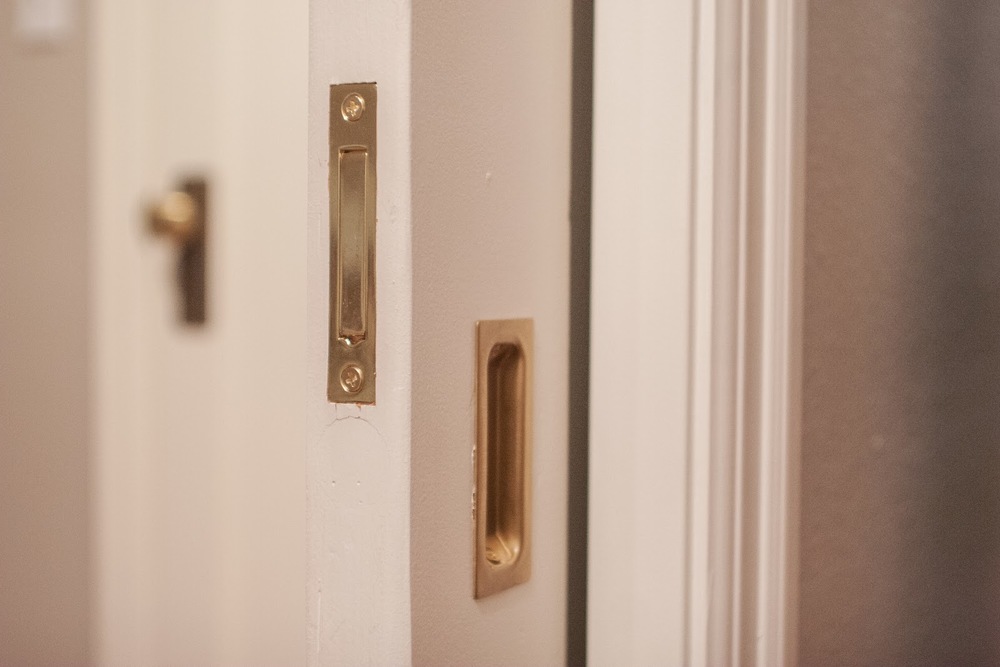
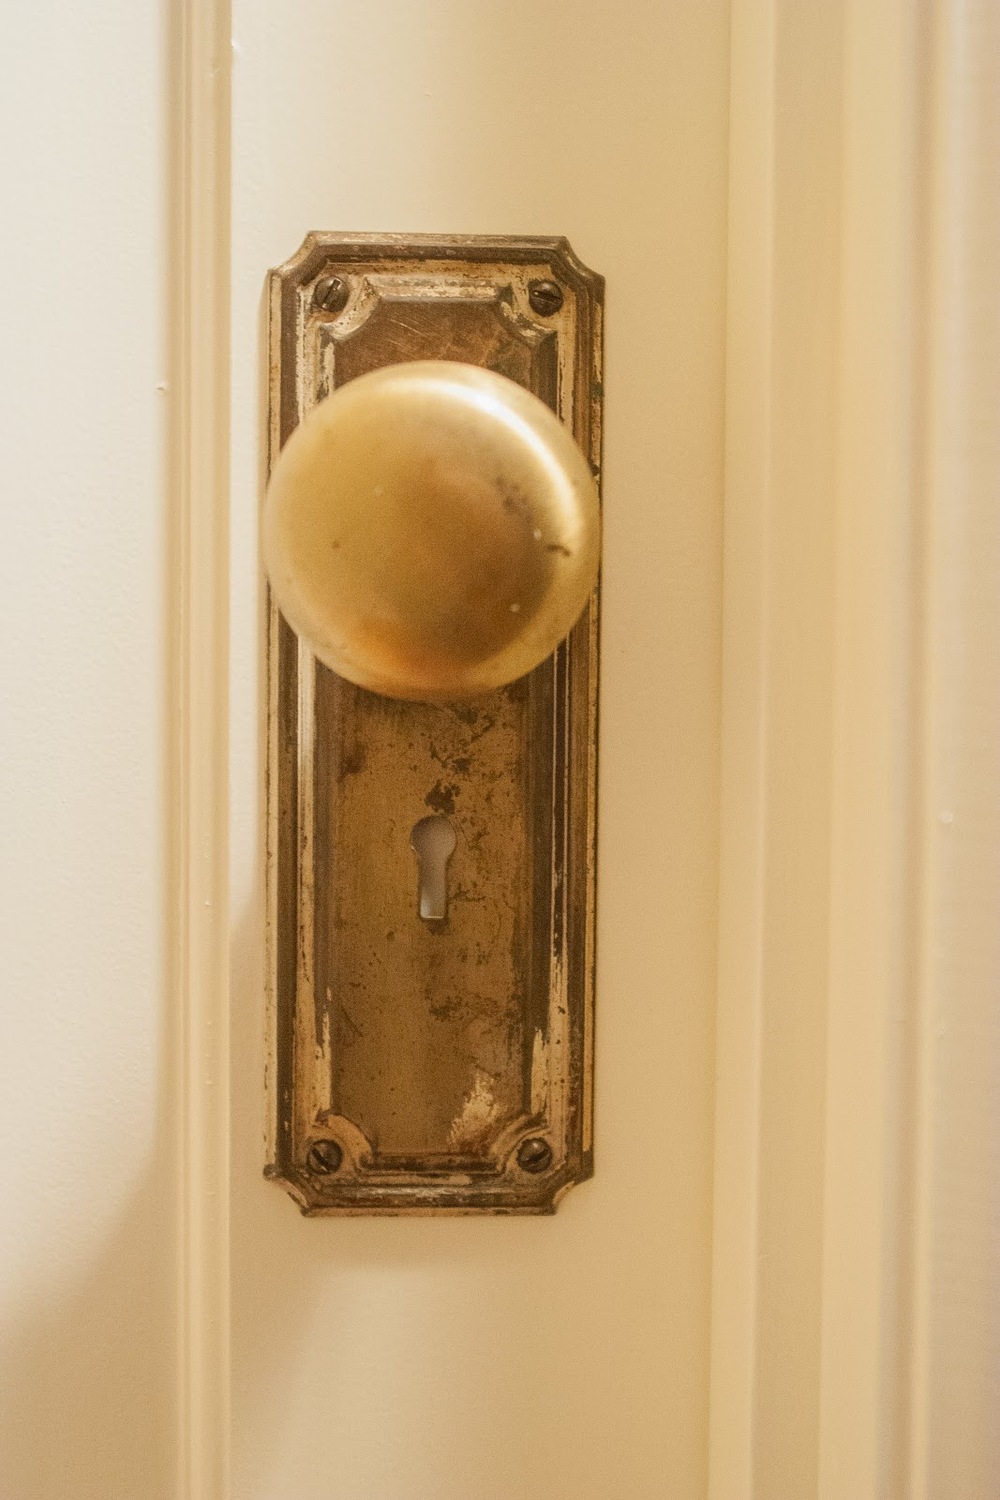
It all looks so clean and like it was always there. I think my favorite part is the pocket door with the charming little brass details Adam found for it.
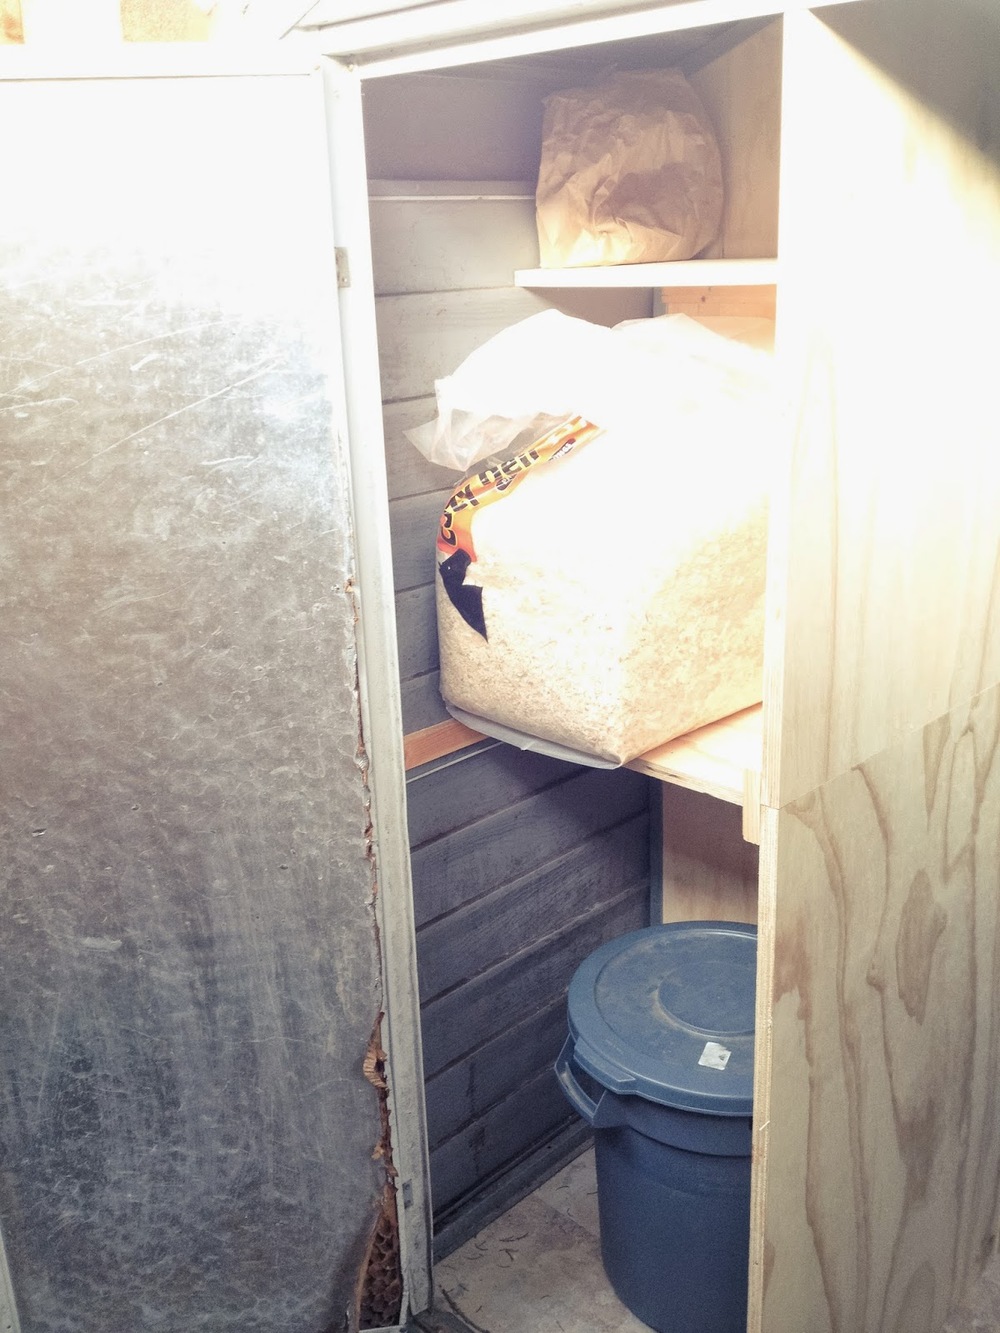
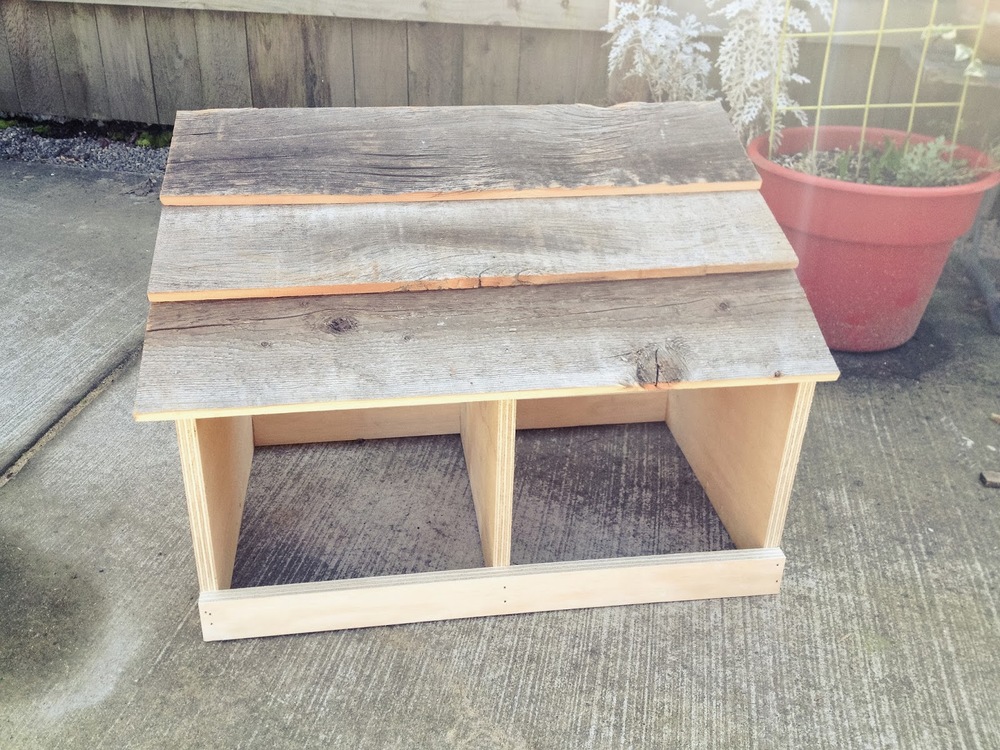
Remember that beautiful wood we salvaged from inside the closet when we demoed? Handy husband turned it into the top for the HVAC at the back of the closet, thus creating a great little bench.


What are you trying to take care of before the holidays? Finishing remodeling that guest room? Building your new dining room table? Maybe just buying and setting up the tree is enough for you? Whatever the case may be I hope it goes swimmingly!
After ripping out the existing walls Adam went to work sanding down the newly exposed floors as they stood a little higher than the rest of the floor since they'd never been refinished. (This photo was taken after we started the framing but he did the sanding beforehand.)
We also quickly threw some insulation into the ceiling and walls in the closet since there was none before.
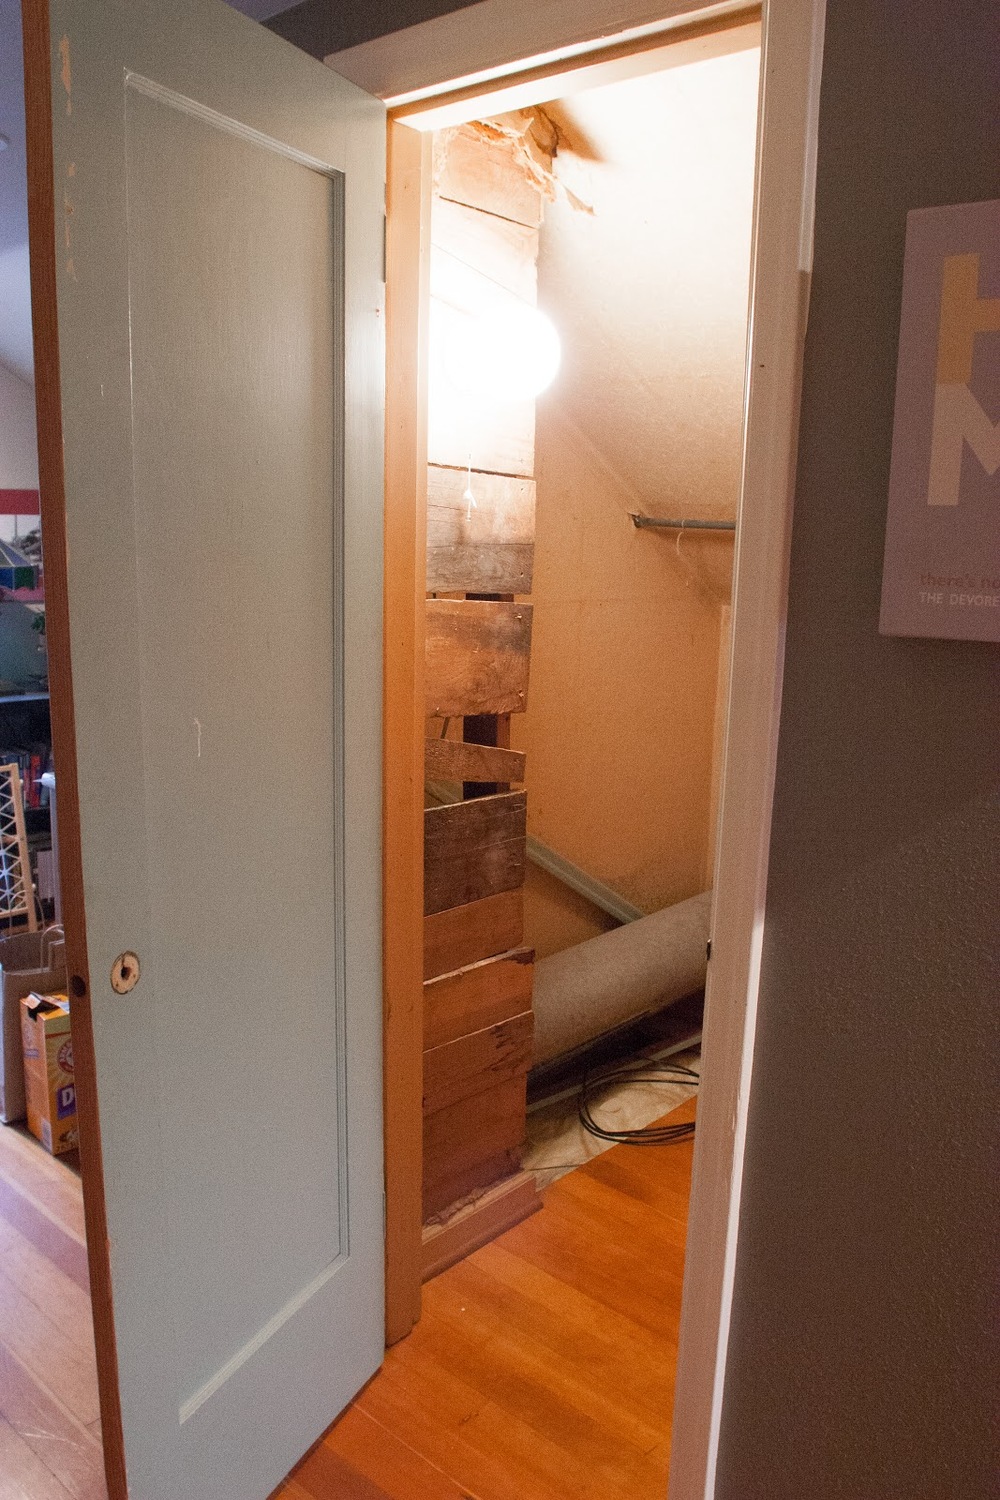
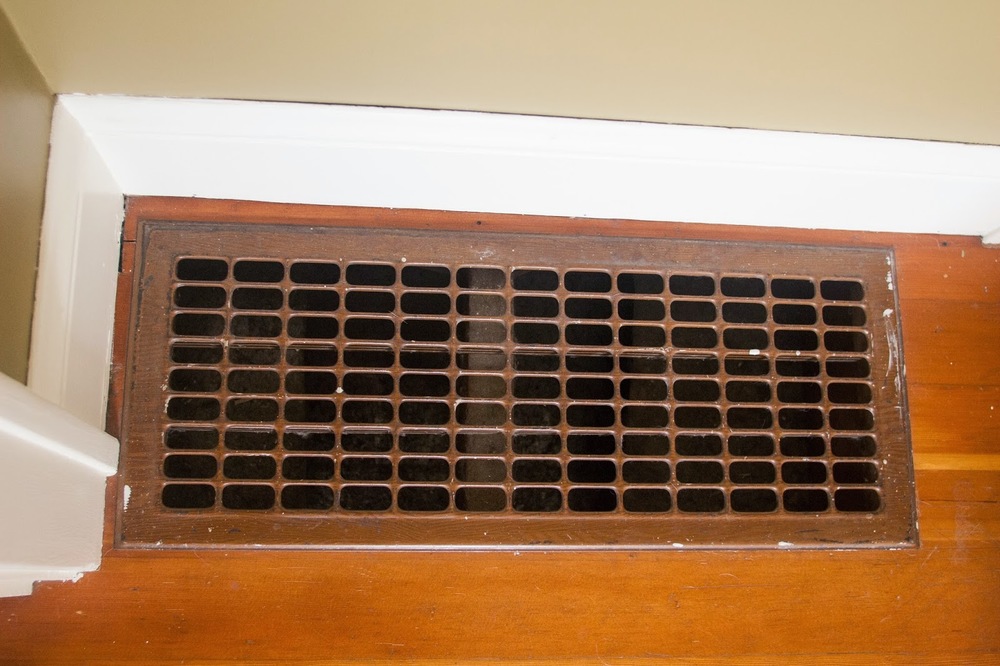
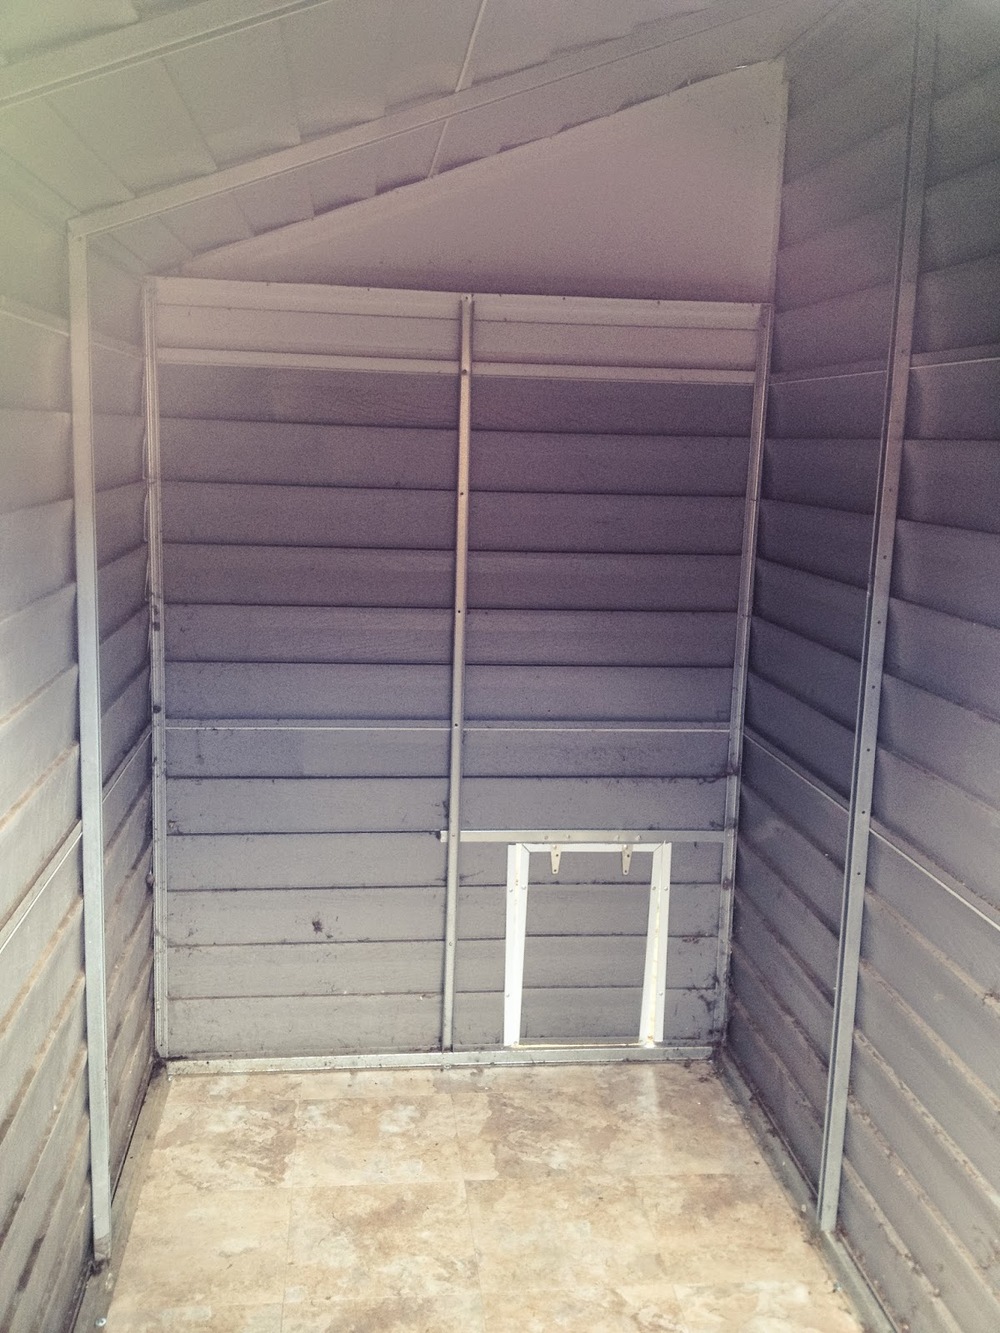
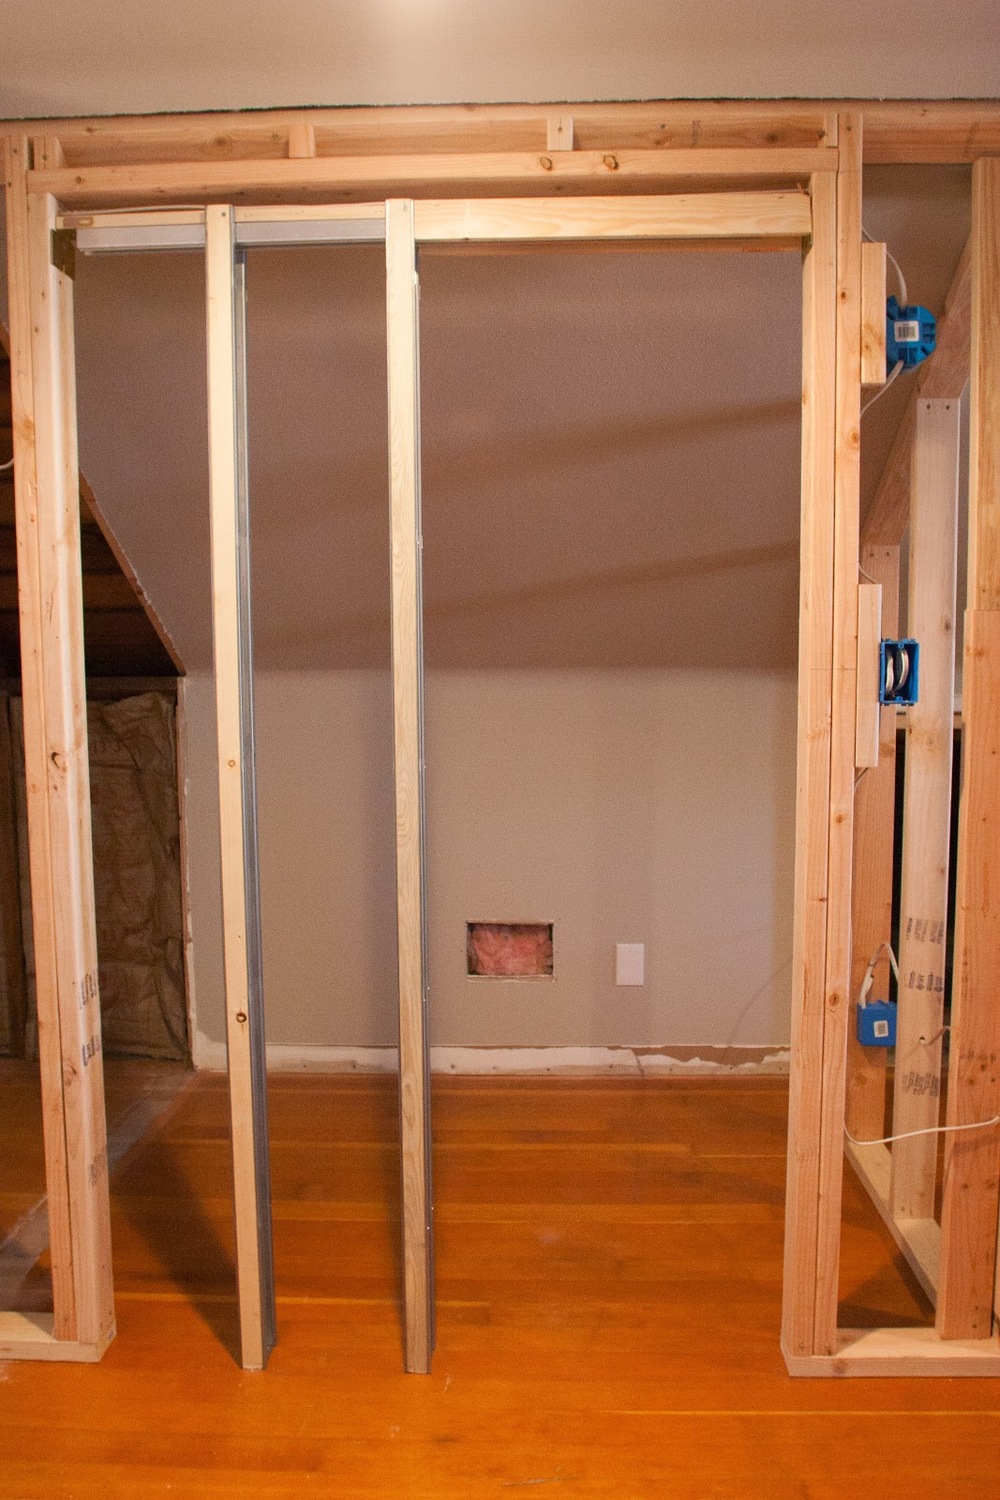
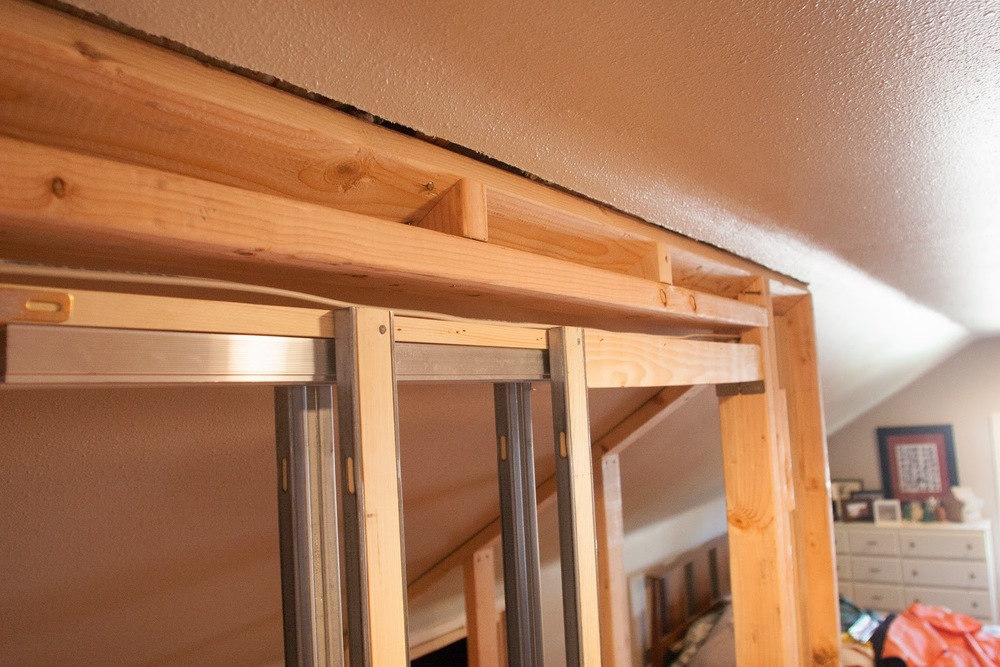
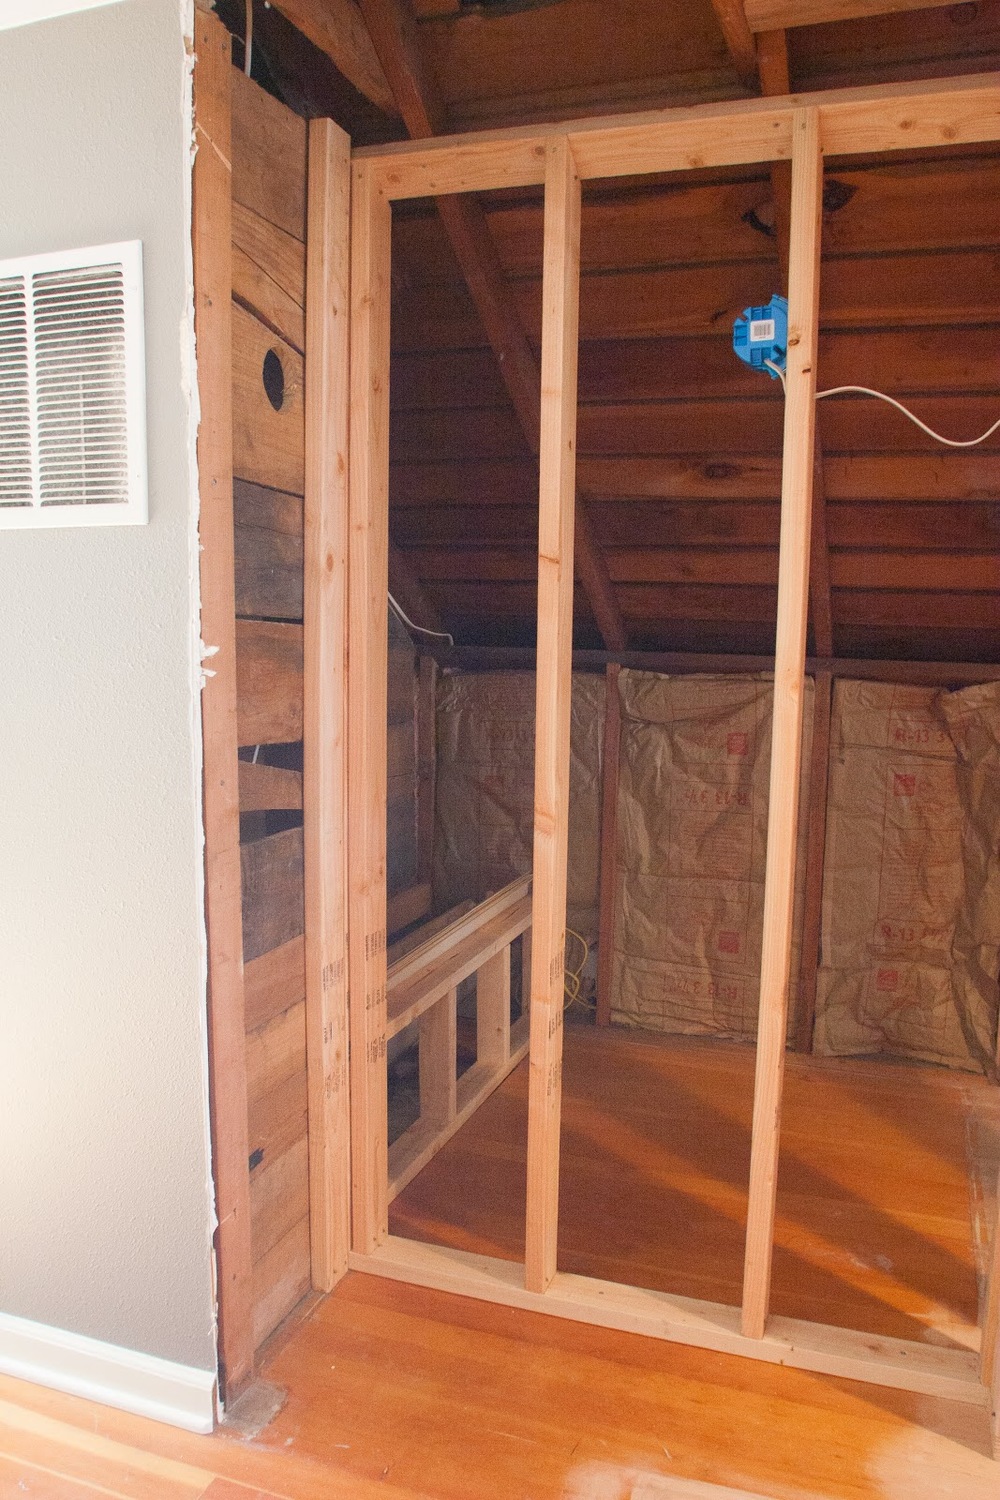
Below is the framing for the pocket door for the closet. (The rectangle in the back wall was where the heat vent used to be, but seeing as it was going to end up inside the new closet we insulated it, sheet rocked over it, and moved the vent into the bedroom.)
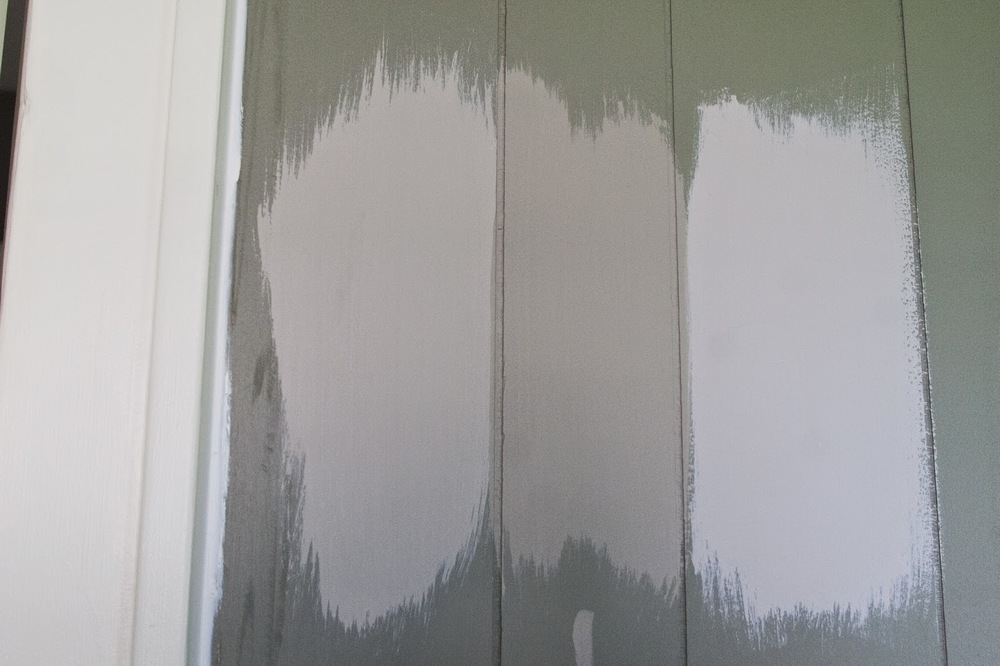
We were fortunate enough to be able to use the original closet door as our pocket door - Adam just had to take a few inches off the bottom and fill in the existing hardware holes before I gave it a fresh coat of paint.
The front of the HVAC tube will be drywalled over and then we'll build a top for it that can be removed in case in needs to be accessed.
The edges of the doorway were then trimmed in 2x4s so there was something to nail the sheetrock too and then insulated, under strict supervision... (You can also see where we moved the vent to.)
Last step before drywalling was to modify the electric slightly. Originally all the ceiling lights were operated on one switch at the top of the stairs, so Adam split that so the three lights in the bedroom are now operated by a new switch installed next to the door.
We also installed two closet lights with a switch just on the outside of the closet door.
We were able to salvage most of the existing trim from the baseboards and from around the exterior of the closet door, I just needed to give each piece a quick sand and new paint.
Fast forward through installing the trim and hanging the new door and voila! Here's the cute reading corner at the top of the stairs that was created by legalizing the bedroom. Pay no attention to the very comfy but very ugly chair I have yet to recover.
Remember that beautiful wood we salvaged from inside the closet when we demoed? Handy husband turned it into the top for the HVAC at the back of the closet, thus creating a great little bench.
We had trouble finding simple light fixtures for the closet that had a low enough profile that they didn't eat up the minimal headspace in there - but I found these gems at Lowes. I think they're meant to be used as exterior lights but they work well and look nice and simple.
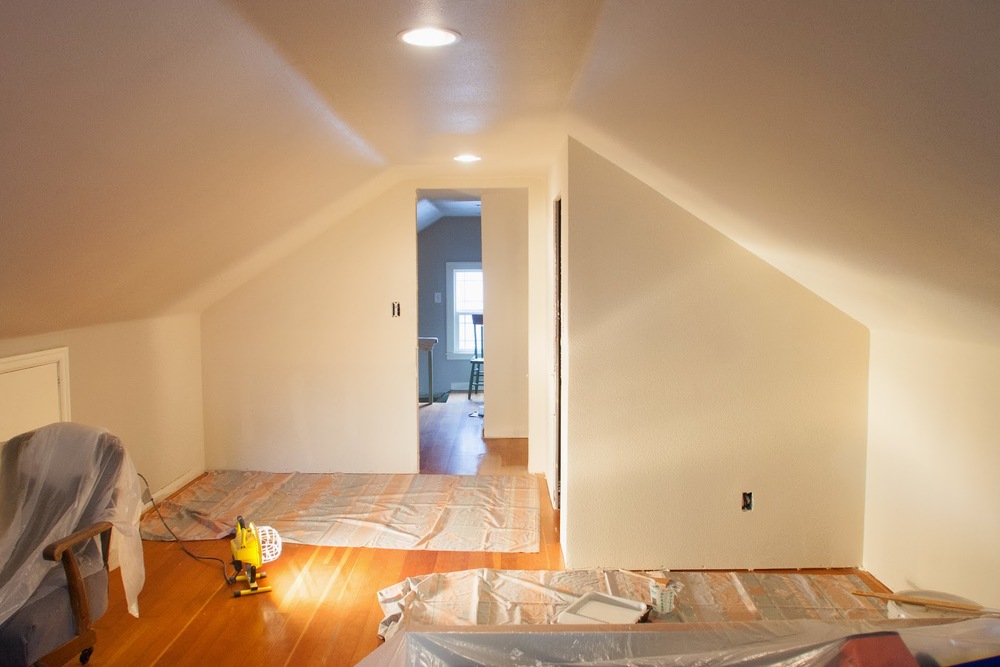
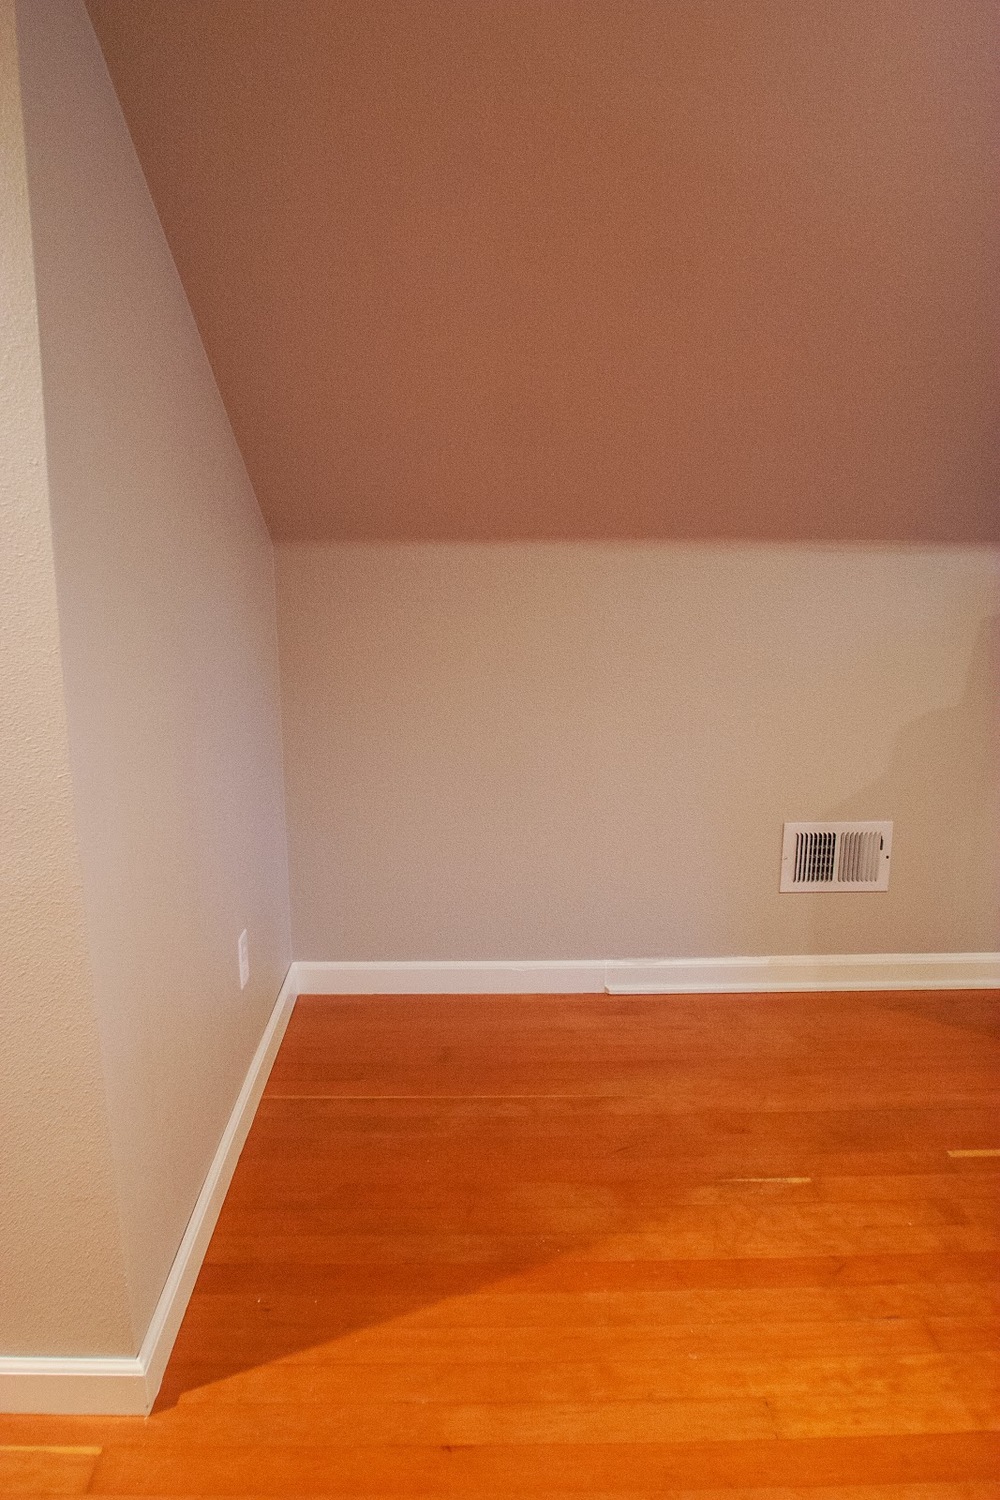
Here's the corner where the old knee-wall access door used to live. In hindsight we probably could have just moved the access into the closet so that someday we could get rid of the door in my office (which is practically the first thing you see when you get to the top of the stairs) but again, being as this isn't our forever home we're not too worried about it.
Speaking of brass details, can we take a moment to soak in these door knob backplates that Adam found at a local shop in town? Such great detail. And the knobs are reused from another old door in our house that we decommissioned. I love it.
It's not a HUGE change, but it's significant - it increases the functionality of the space and the sellability of our house when the time comes.