
Becoming our own Yard Crashers
/One of our biggest priorities before we moved into our new home was creating a yard space where we could comfortably let the dogs without worry they would 1. Hurt themselves on some unknown danger 2. Disappear into the abyss that was the existing yard.
So bribed with bagels and bloody mary's - a handful of dedicated friends set about helping us demo our back yard in order to find out just what we were dealing with.


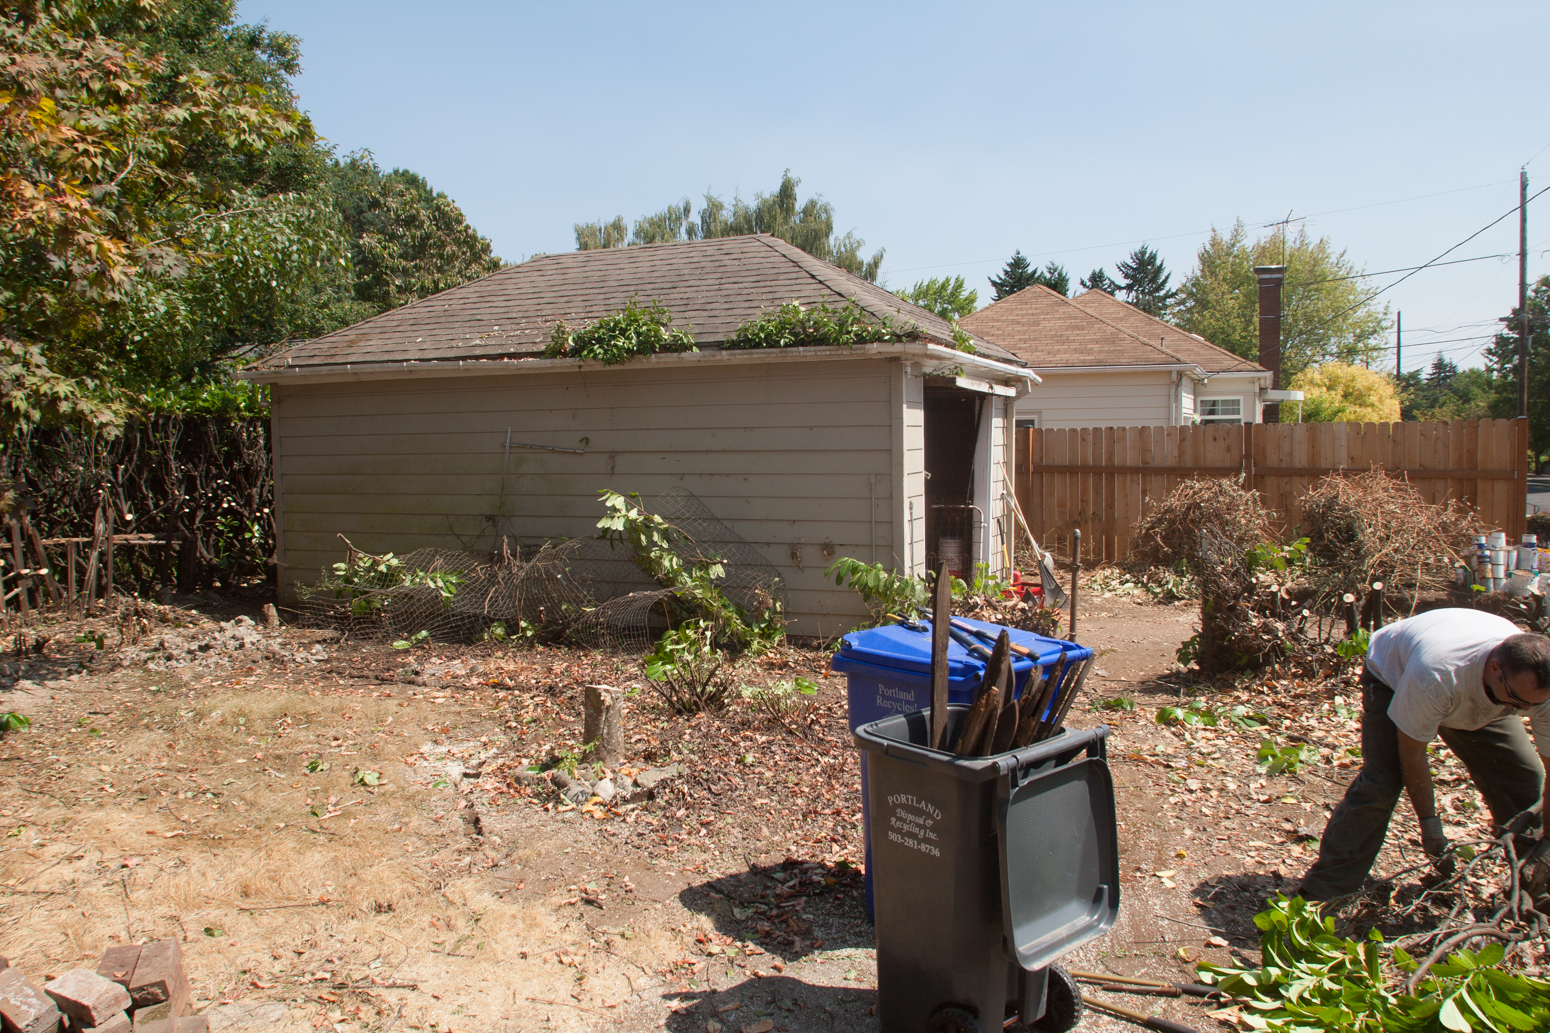
View from our driveway back towards the back door.

All that ran along the east side of our garage were blackberry bushes.
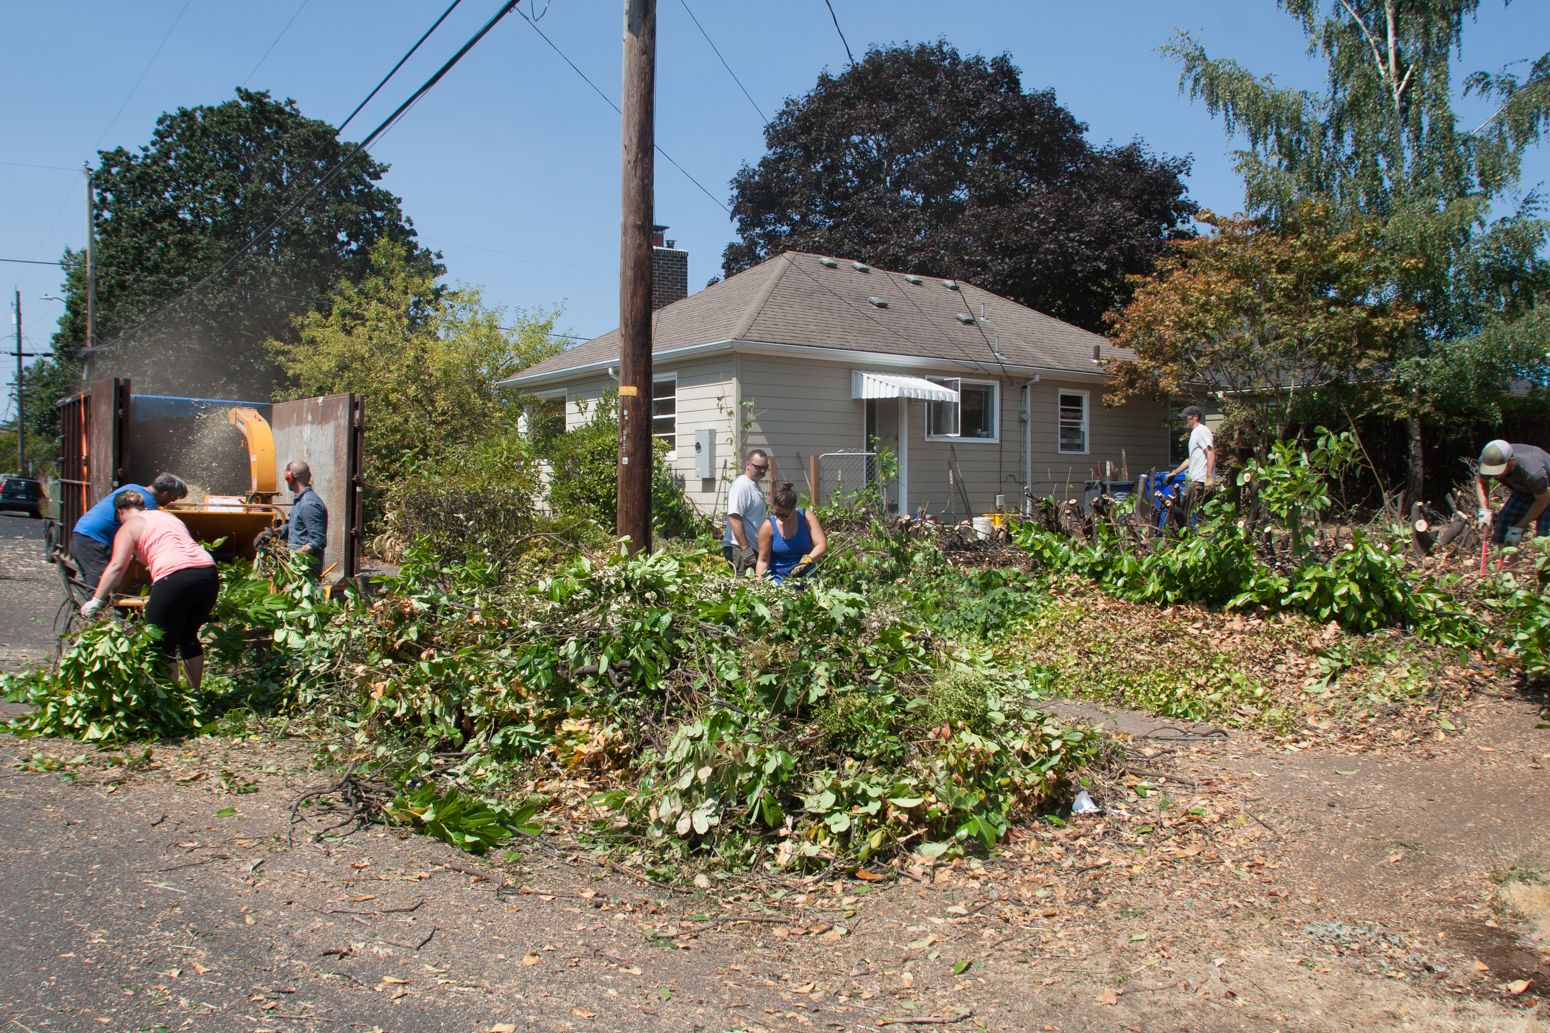
In order to accommodate the 12' tall by 8' wide laurel hedges that surrounded half the yard as well as a small tree we removed, a half dozen shrubs along the street and countless misc. foliage scattered around the yard, we rented a yard debris dumpster as well as a chipper - turned out to be worth every penny as we filled that baby to the brim.
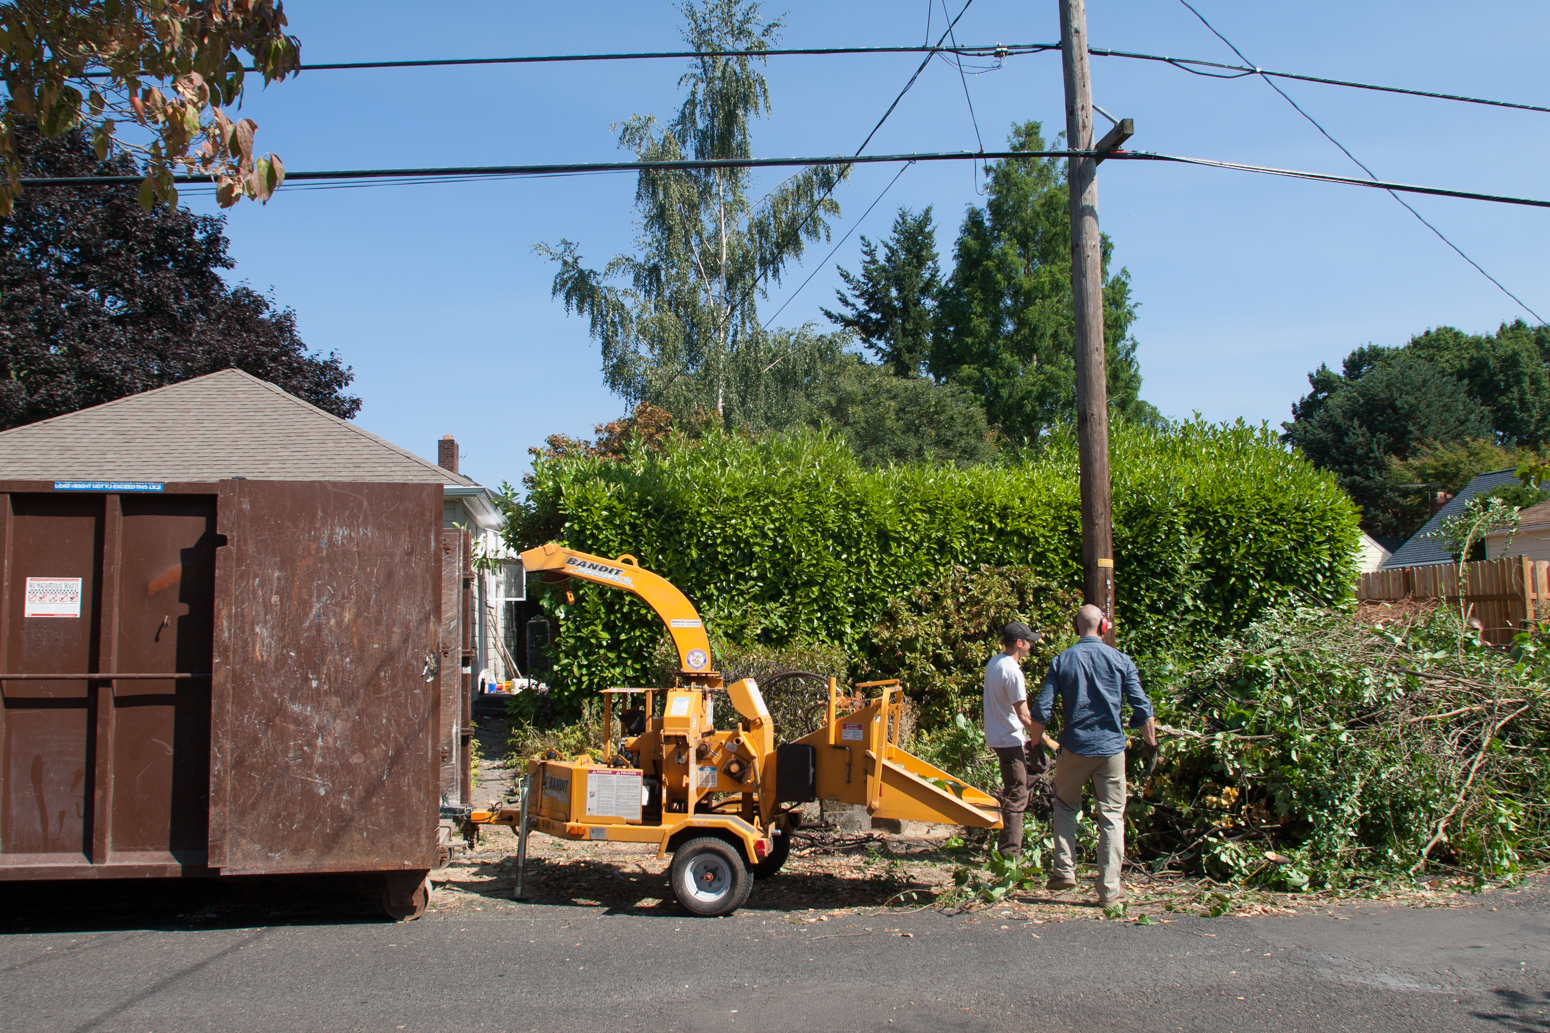
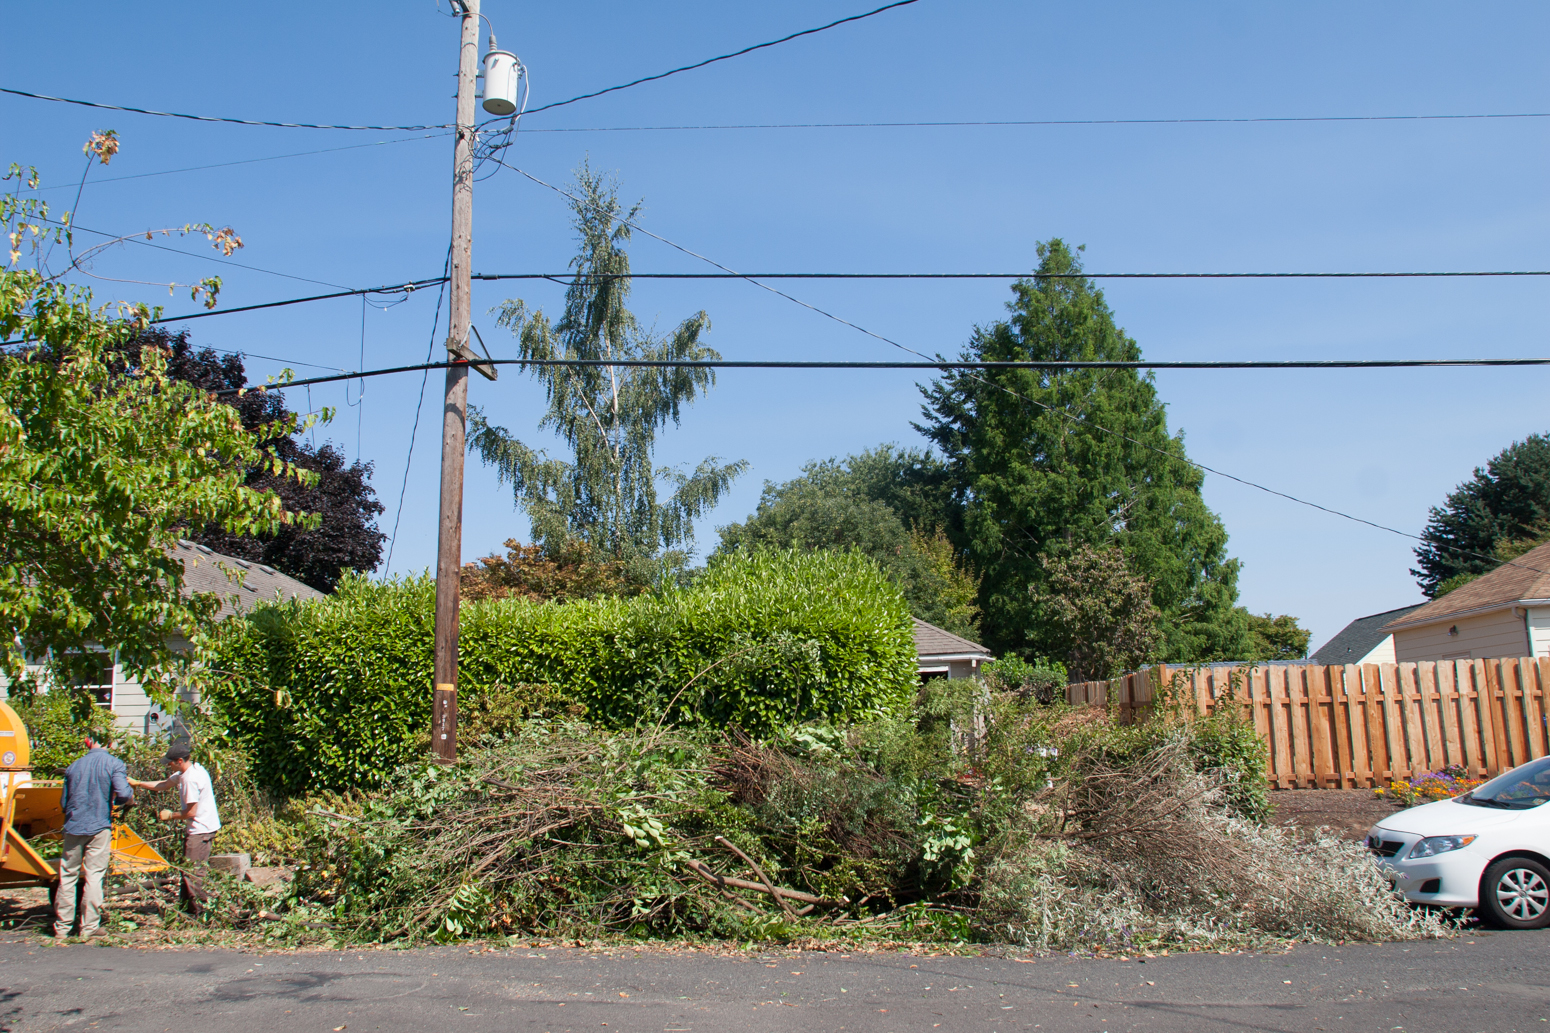

Using a mix of all the yard tools (chainsaws, loppers etc.) it took a team of about 8 people approximately 5 hours to take out everything we wanted down to the ground. And with only one wasps nest upturned! Fortunately it was discovered by yours truly and not one of our kind friends.
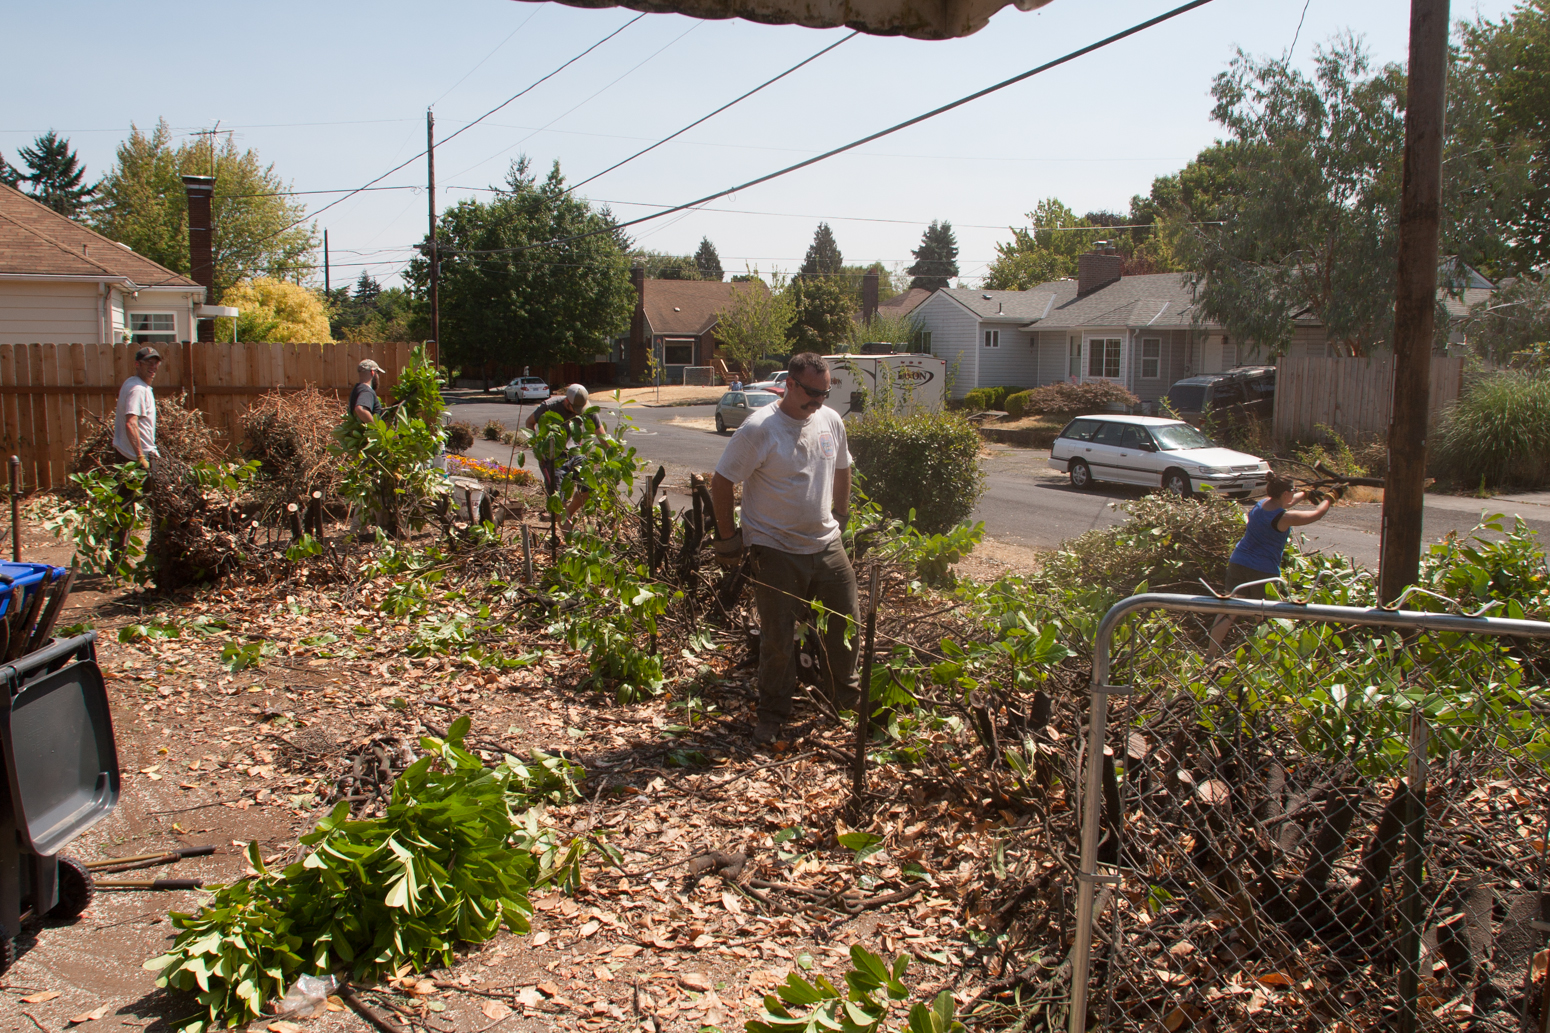
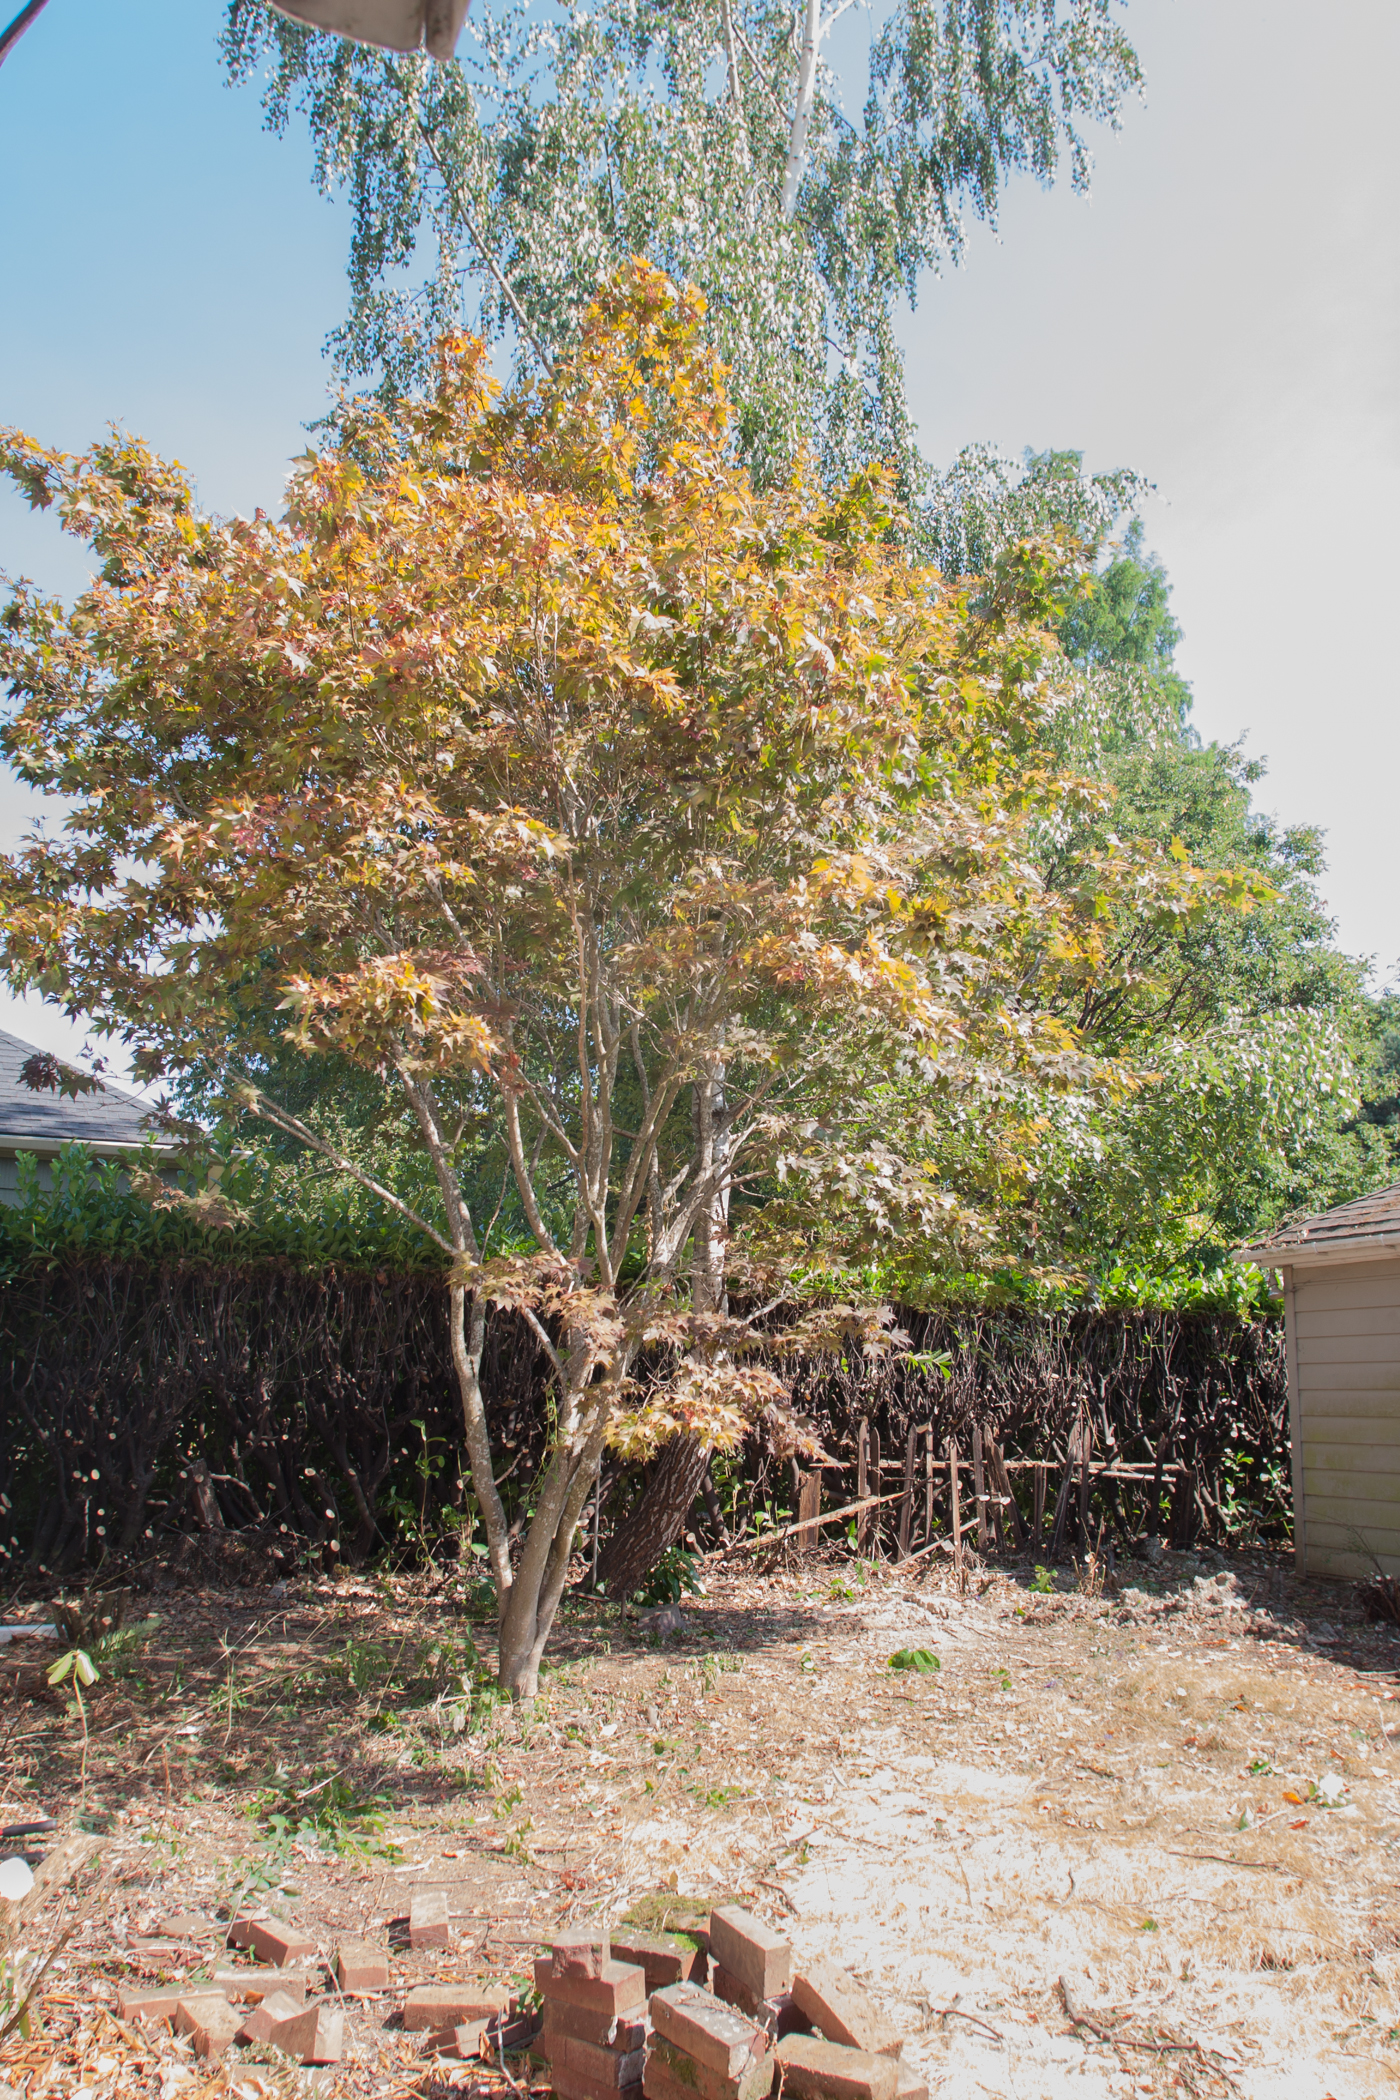
When we first made plans for what would be removed we thought we'd need to take errrything out - including the cute maple and the beautiful birch. But as we started removing all the excess crap from around those two trees we realized that they were further from the house and further from each other than we had initially thought and therefore could be kept! Hoo-ray!
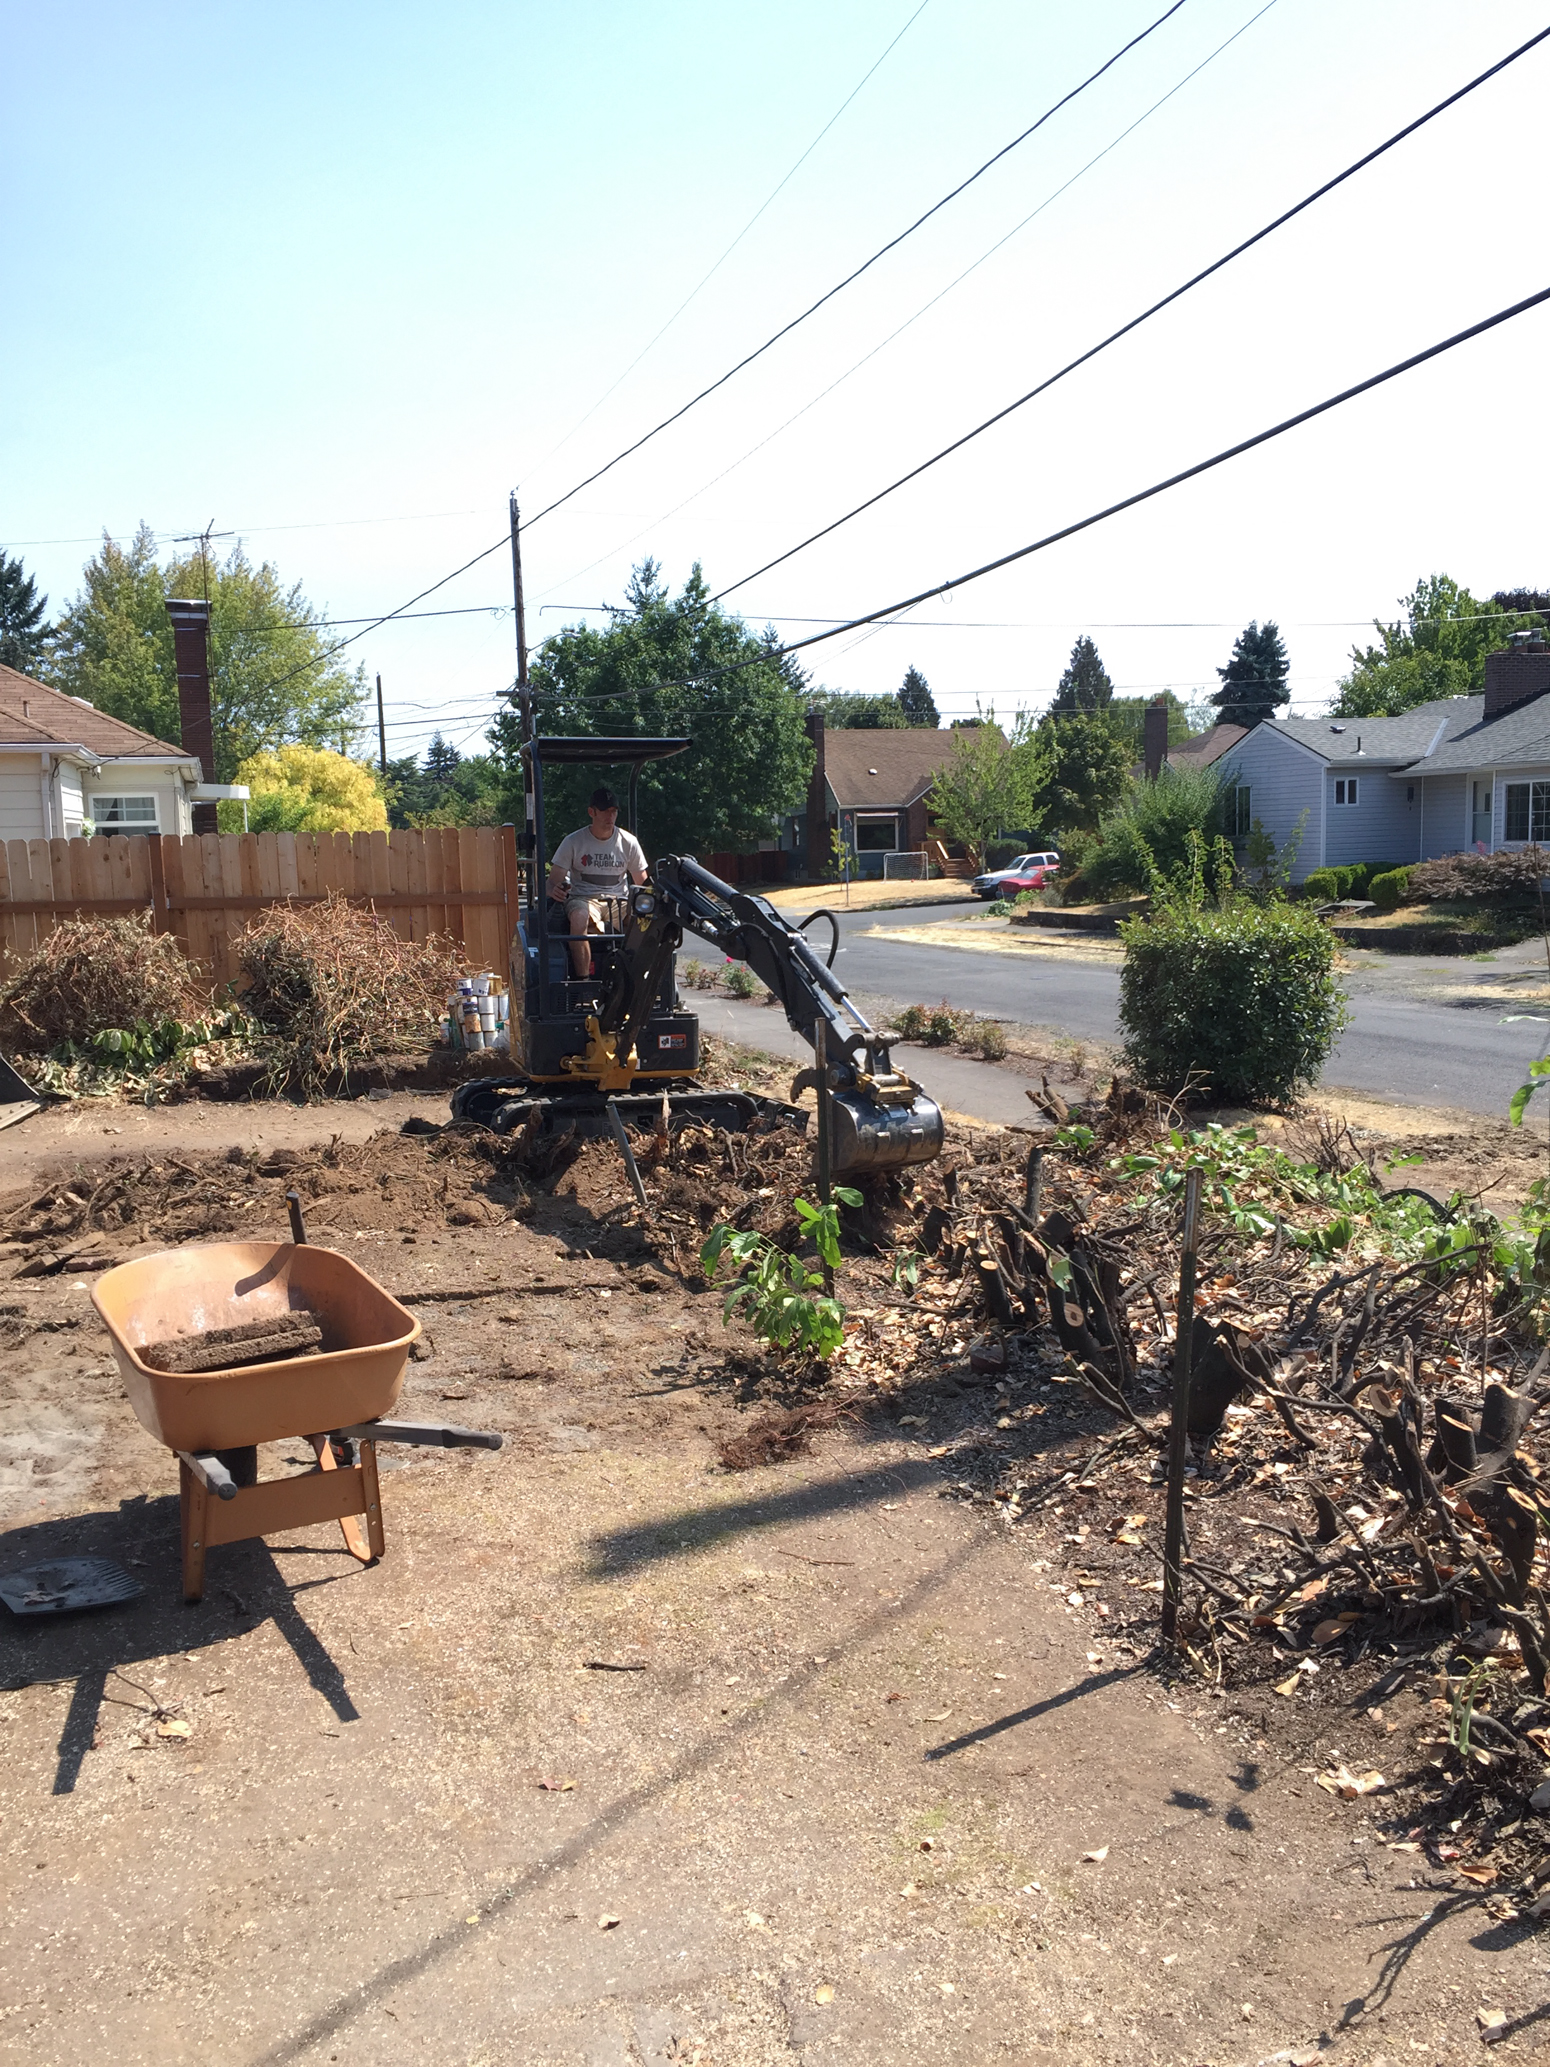
The following day Adam rented a front-end loader (the 8 year old boy living inside of him was beside himself) and set about removing the laurel stumps from the ground. Not as easy a feat as we had hoped but with the help of a friend they found a way for Adam to remove the majority of it with the machine and our friend stepped in to cut it loose and pitch it into the dumpster.
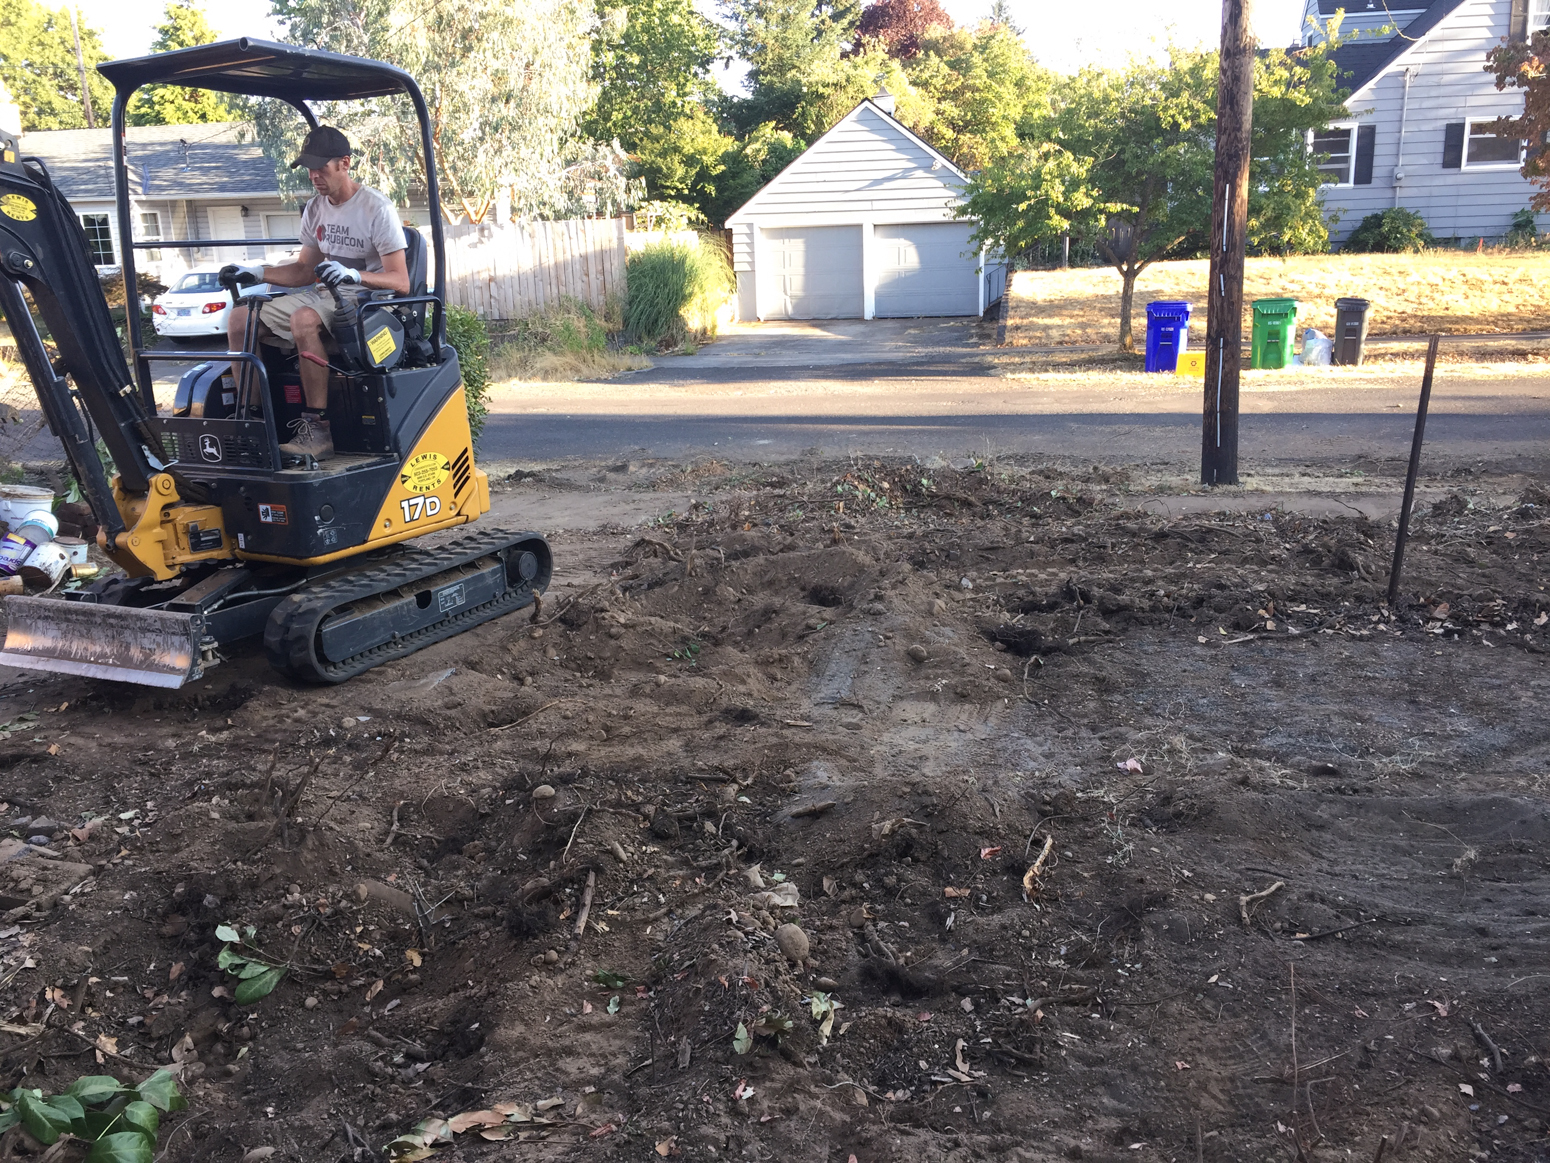
After removing the stumps we raked through the dirt to remove the remaining yard debris before our concrete guys came in to pour our retaining wall. The plan being the wall would run the length of the yard along the sidewalk here the laurel hedges once stood and up our driveway until it became level with the rest of the yard. Then - A PATIO! But until then we lived on what was unearthed as the previous tenant's paver patio and this was the view from the kitchen window.

Stay tuned for phase two of our backyard reno where we talk concrete walls and patio plans plus how to put up a fence that says "we like to drink beers in the privacy of our back yard, but hey! We're still friendly!"