

Bedroom Revamp - Part I
/
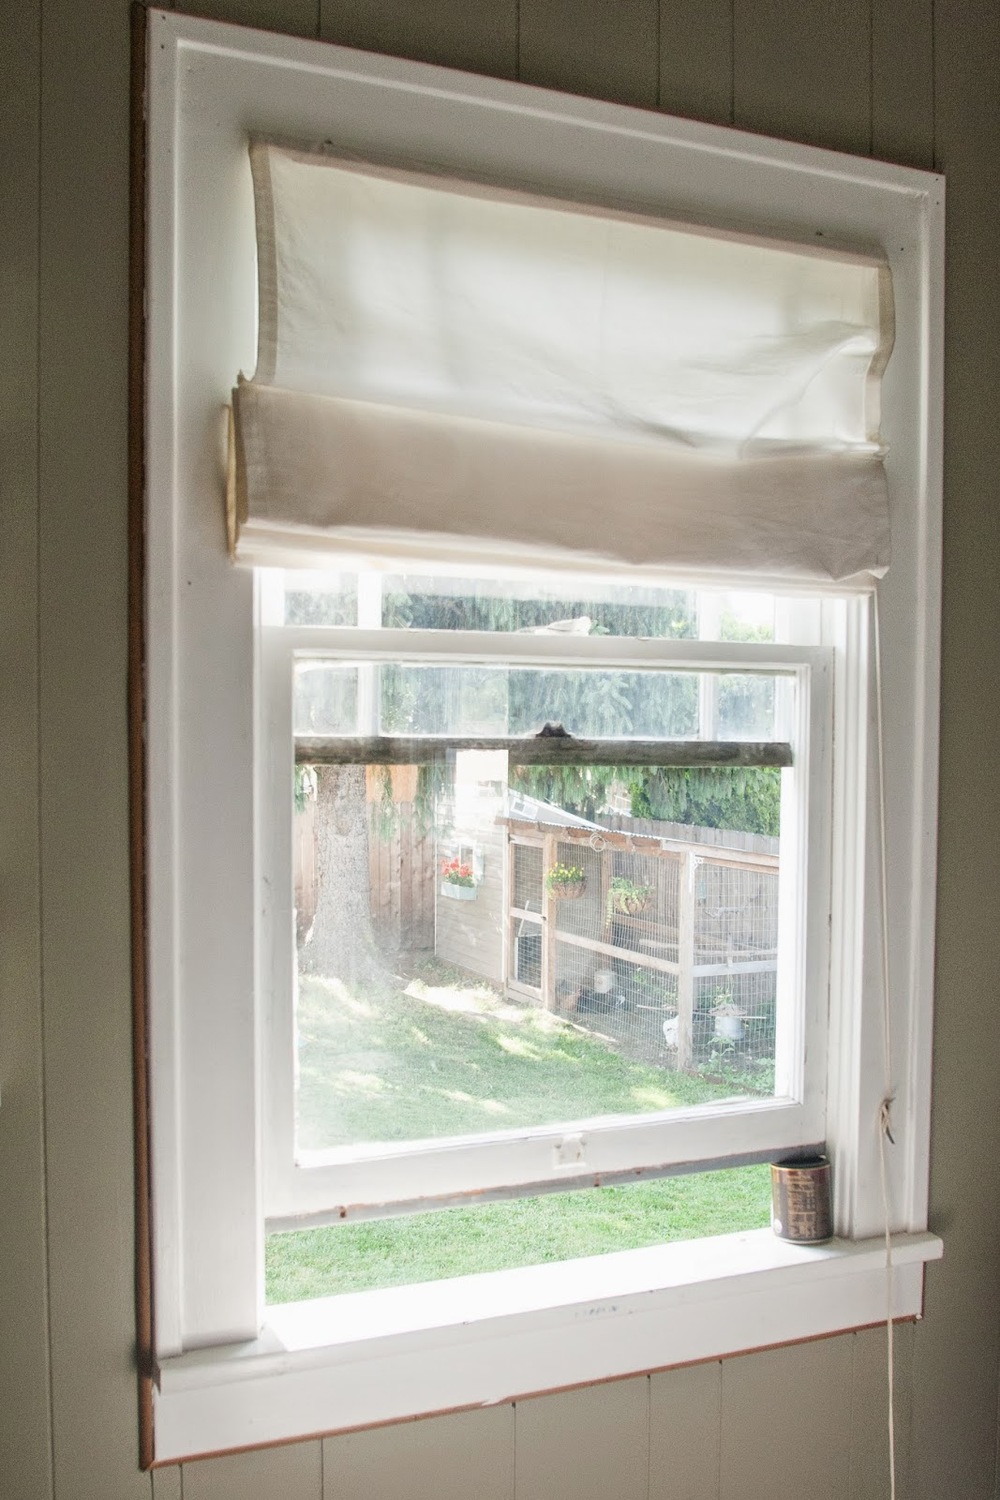
With summer narrowly approaching - full of warm days and cool nights - all a girl wants is to be able to open and close her bedroom window as she pleases. Instead I wrestle, bracing myself against 90 year-old windows in the hopes that this time I'll be able to open it enough to allow some air in but not so much as to attract the attention of bugs. These are fortunately the last two windows in our house that need upgrading.
The time has come friends, the time has come, and with this little update I again coerced Adam into making a small project bigger by replacing our faux-wood trim and molding and painting the room. Again.
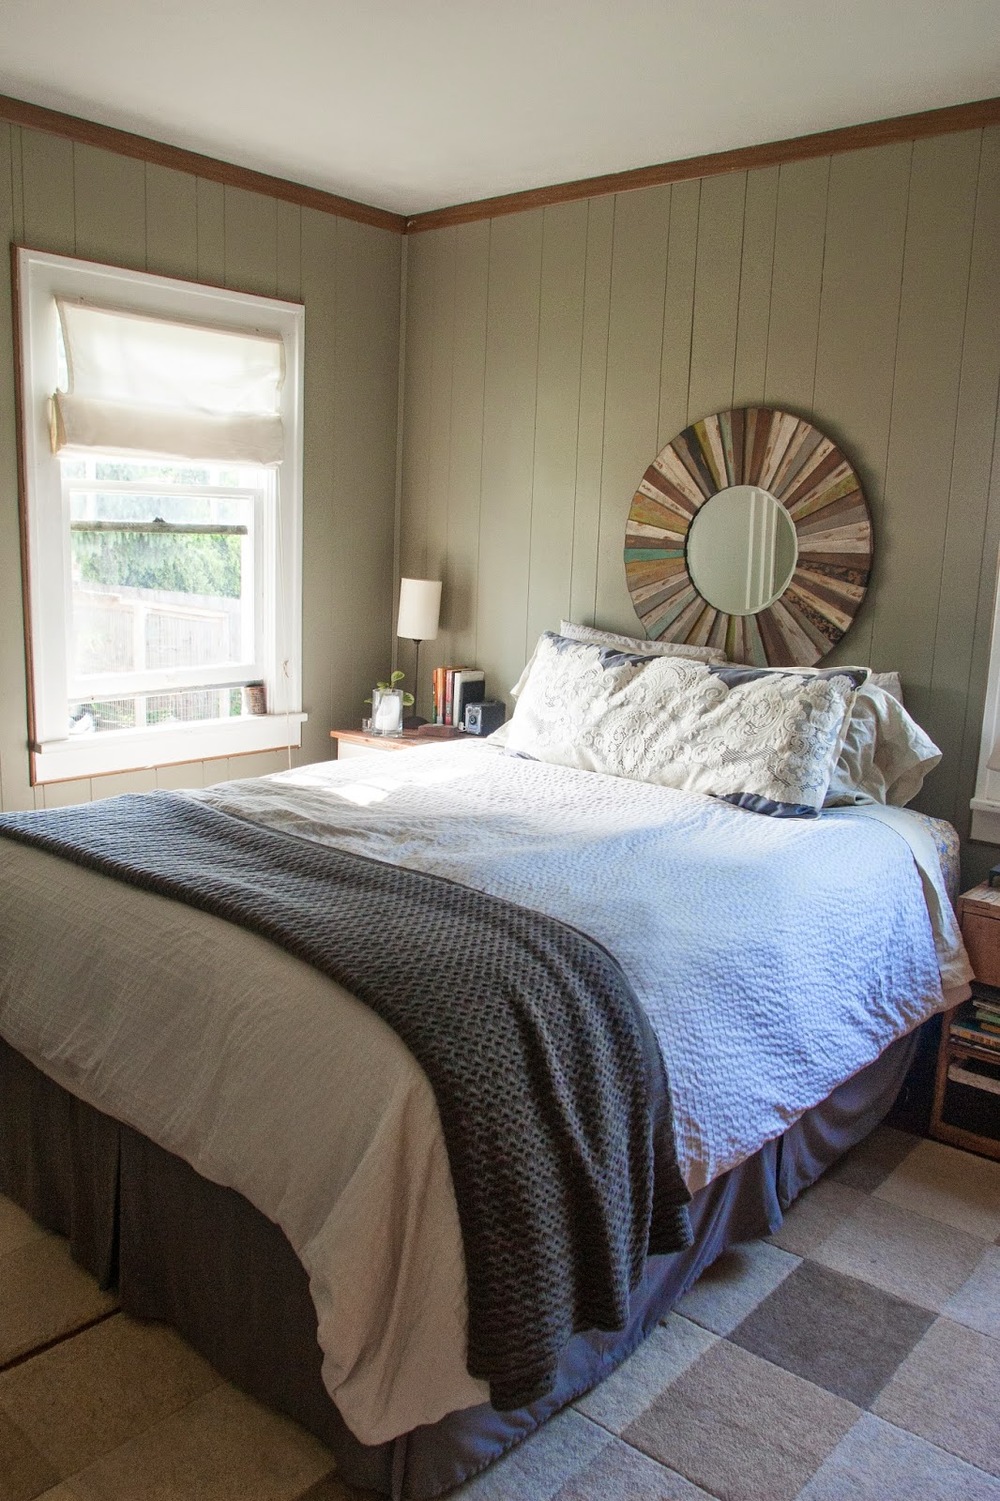
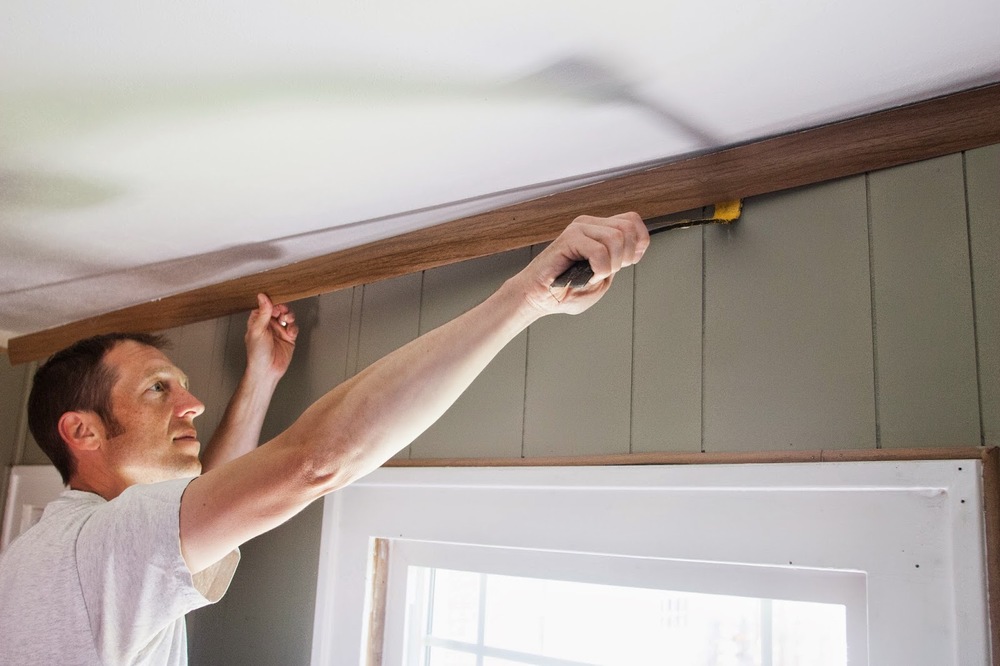

The time has come friends, the time has come, and with this little update I again coerced Adam into making a small project bigger by replacing our faux-wood trim and molding and painting the room. Again.
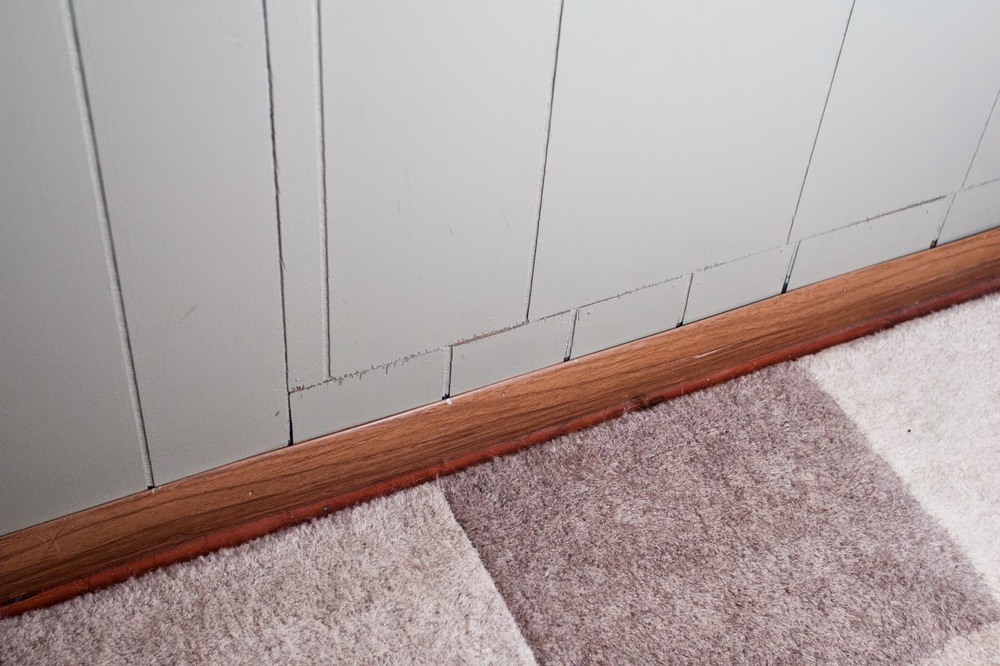
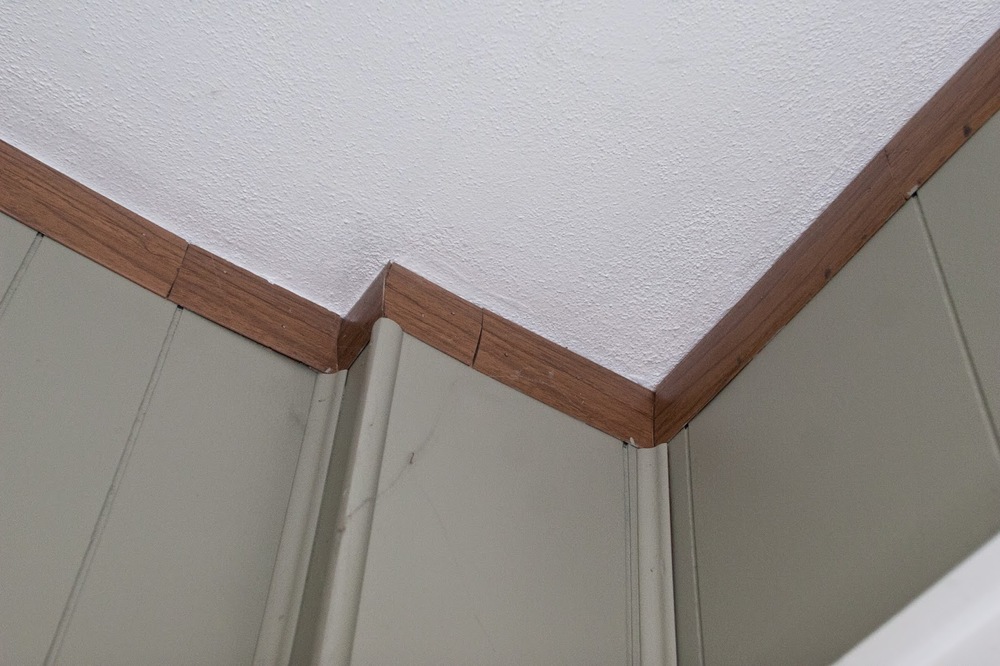
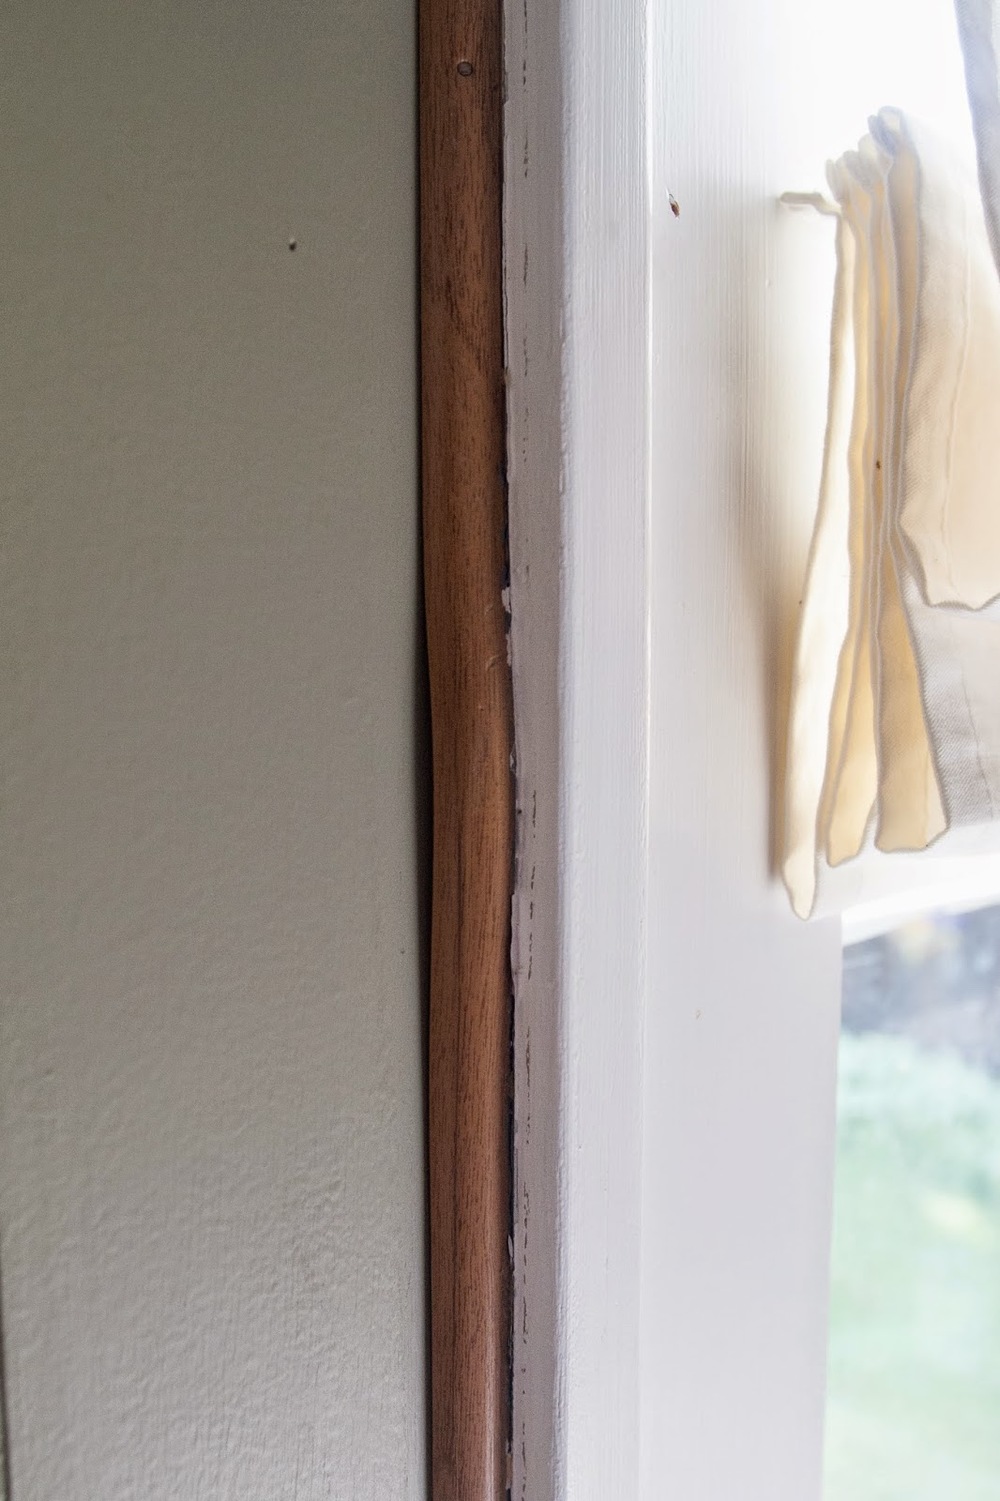
There are some real hi-lights to this trim and paneling - fortunately our new baseboards will be tall enough to cover this minor miscalculation.
How many pieces of plastic trim do you need to cover a span of less than 8 inches? Apparently a minimum of 2.
Each window was wrapped in plastic "wood" quarter round - we assumed to hide giant gaps between the paneling and the trim.
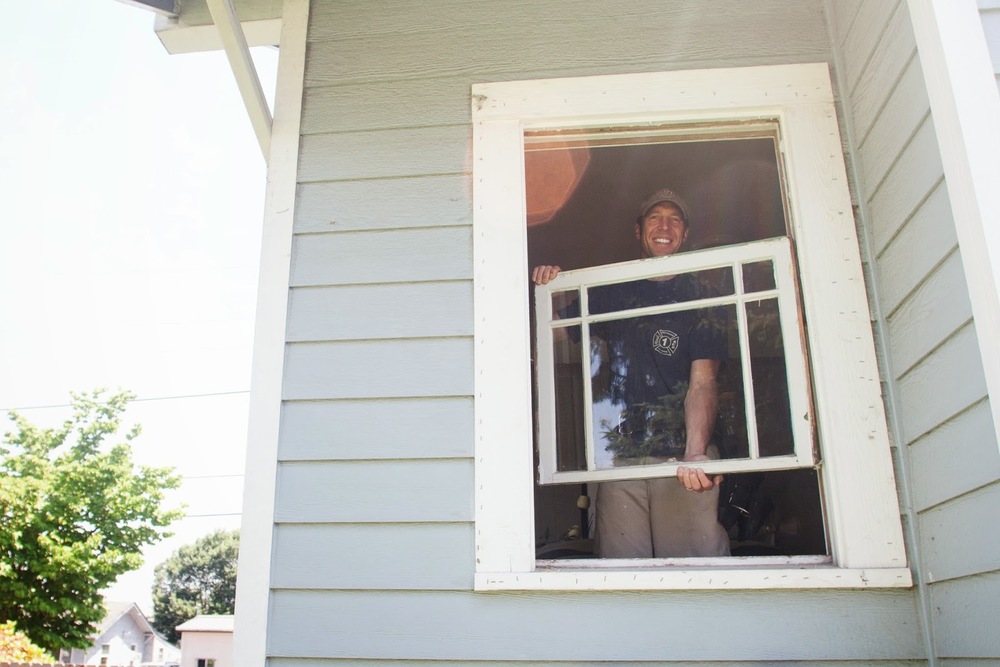
First things first - after measuring, ordering, and picking up our new windows we set about removing the old ones. Adam removed the interior stops from each frame as well as each sash pulley. Both windows came out with little fuss which was a welcomed surprise.
Then we dry-fitted each to make sure everything fit correctly and snugly. Next Adam applied caulk to the inside of the exterior stop, we popped them in, and he proceeded to caulk the exterior from the outside as well as the final interior seam.
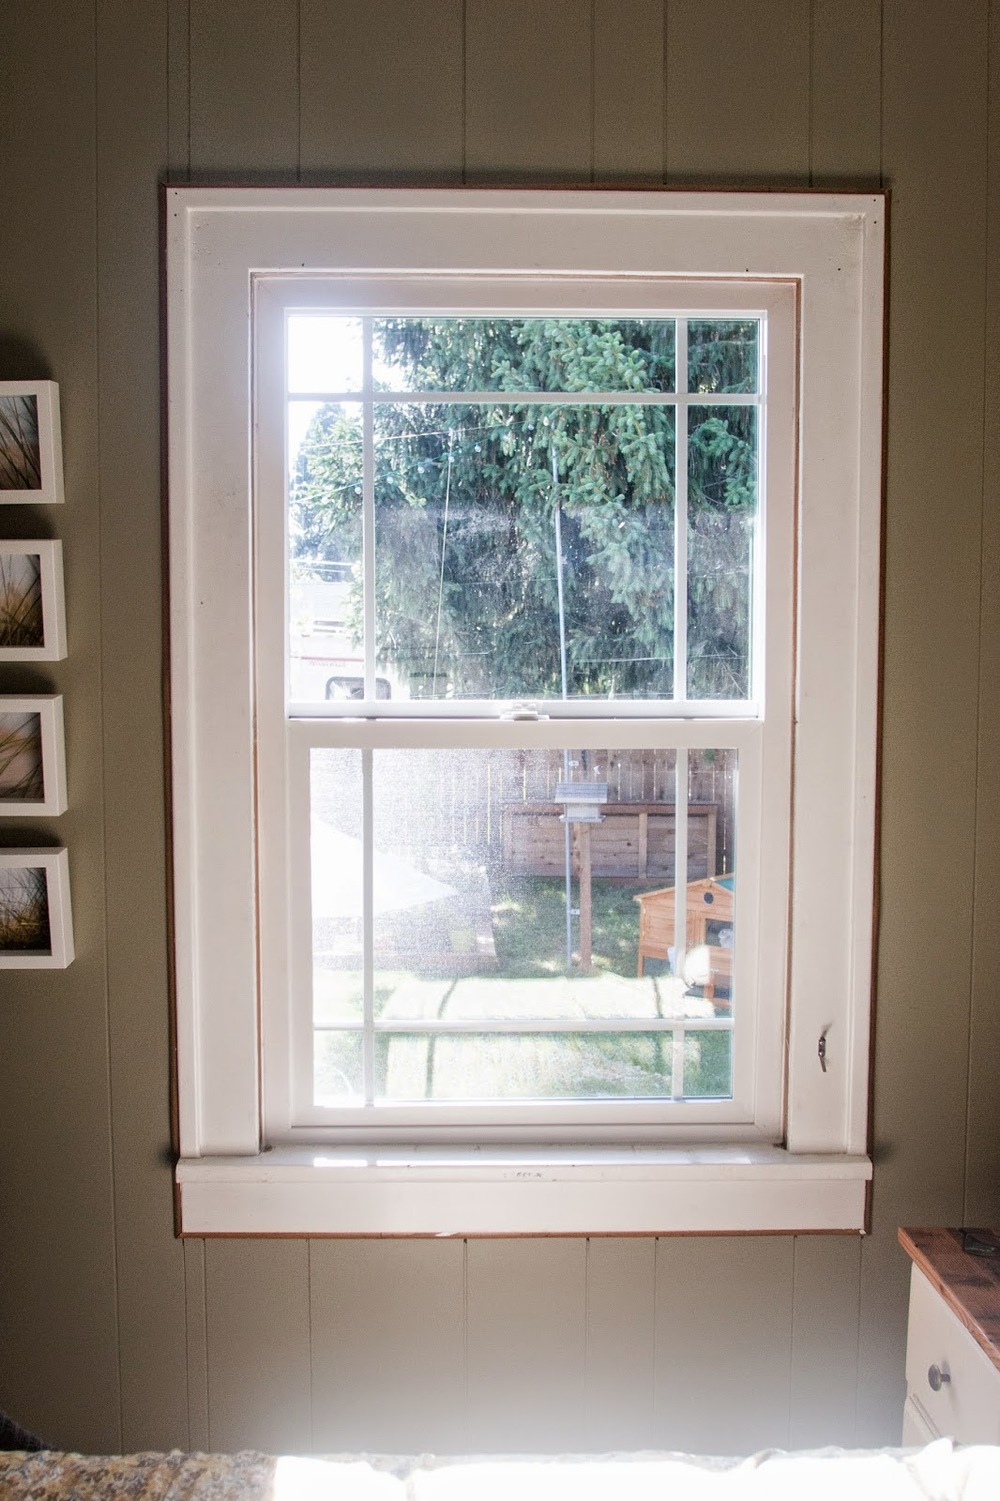
You guys, these windows practically open themselves! I'm over the moon. Now for the trim.
Fortunately non of it was glued so with a small pry-bar, a molding bar and a hammer we were able to remove it and all the nails fairly quickly.
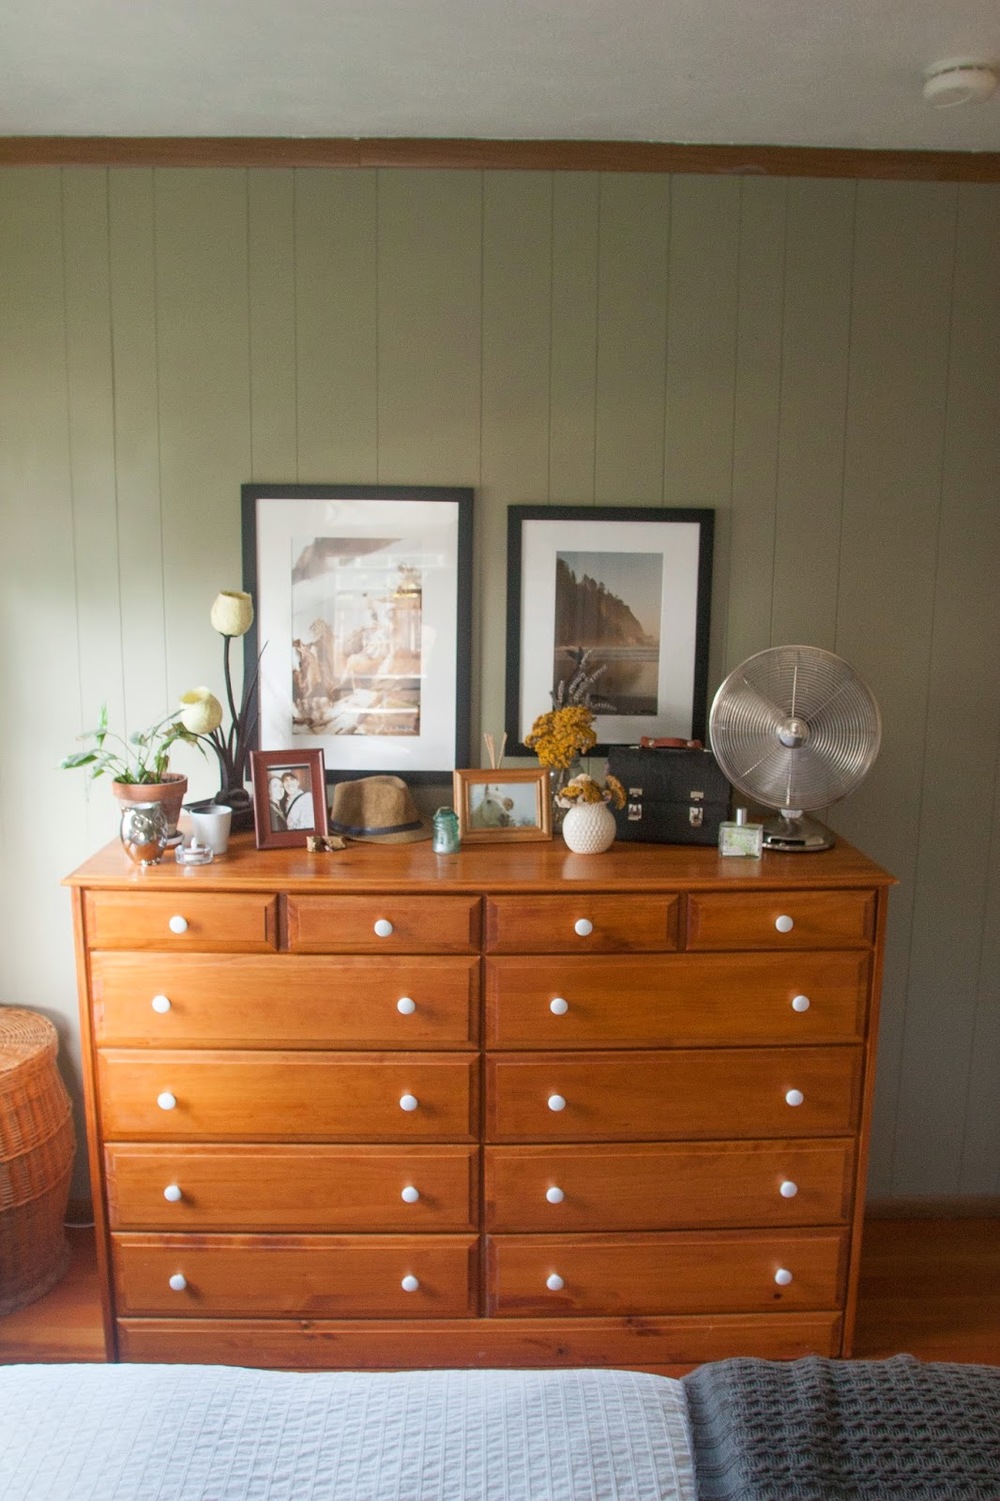
"Why don't you take the wood-paneling off too while you're at it?" you might be asking right now. Well let me direct your attention to the following:
Behind that paneling lies at least 2, potentially 3, layers of wall paper which are covering original (pepto bismol pink) lath and plaster walls that would need a lot of attention. If this were our "forever" home we would tackle this project, but being as we don't see ourselves being here for more than another couple of years, we're going to keep it simple and paint over the paneling.
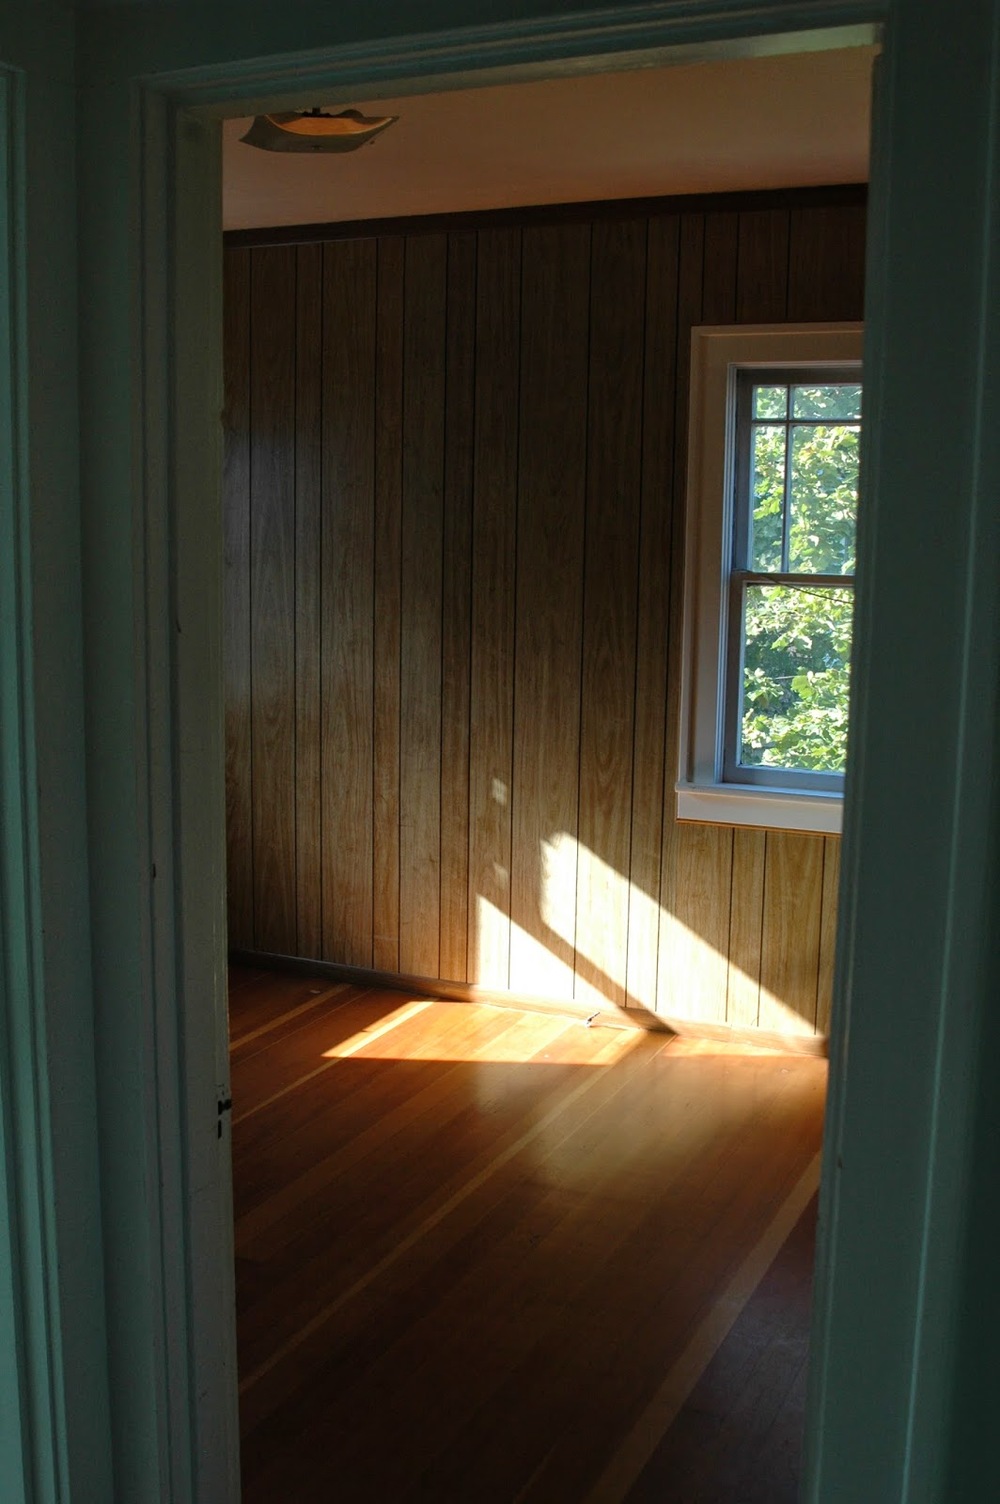
Just for fun, let's go back in time to when I first met Adam and this bedroom looked a little something like this.
At the time his goal was to eventually re-surface the walls in this room with new dry-wall, but until then he was rocking the paneling, complete with a futon and a TV/VHS player combo. (This was due to the fact his living room was stripped down to the studs - more on that at a later date.)
As someone who had only rented in her adult years, my first question to him was - why not slap a coat of paint on these hideous walls until you're ready to re-do it? Well he was of the mind-set that if he was going to do something, he was only going to do it once. And then along came me.
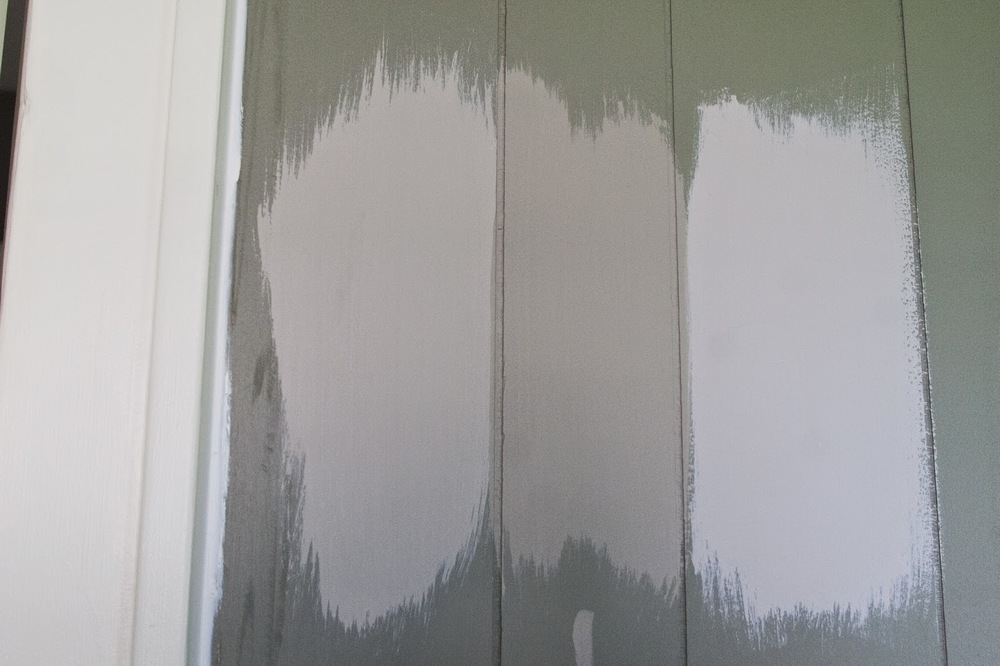
So now here we are, gearing up to paint this little room once again. And here are the contenders...
What do you think of our color options? Have a favorite? Any projects you're prepping to tackle this weekend? We hope to be back here next week with the rest of the revamp!