Too Hot to Handle

It's hot. Like H-O-T hot. Which means the last few days have found me inside, reveling in the air-conditioning, pouring over my favorite design blogs and thinking to myself, "you're overdue for a blog post." And what stares back at me as I sit on our couch but our gaping dark hole of a fireplace. The red fireplace I've been threatening to paint for the last six months. It's the focal point of our living room and it's where light goes to die.


Don't get me wrong, it's leaps and bounds better than it was when Adam bought the house and the previous owner's passion for all things pink and mint green was still going strong...

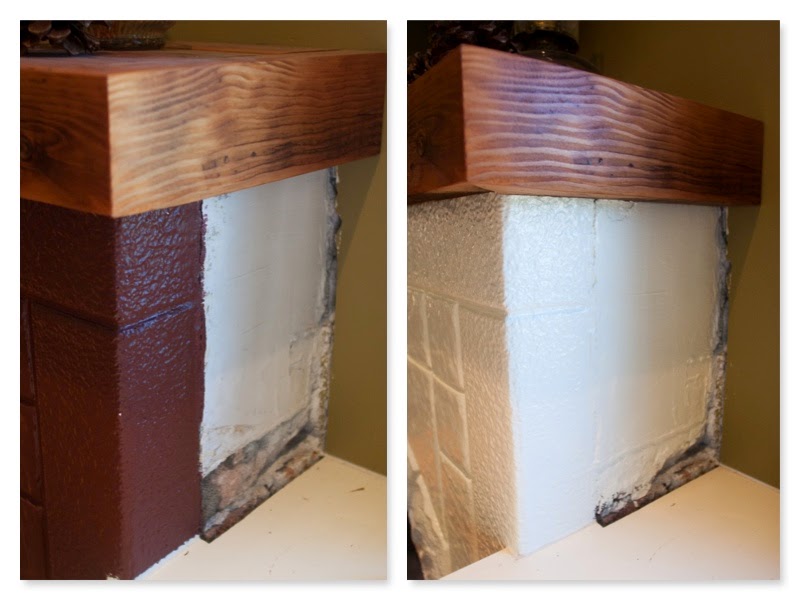
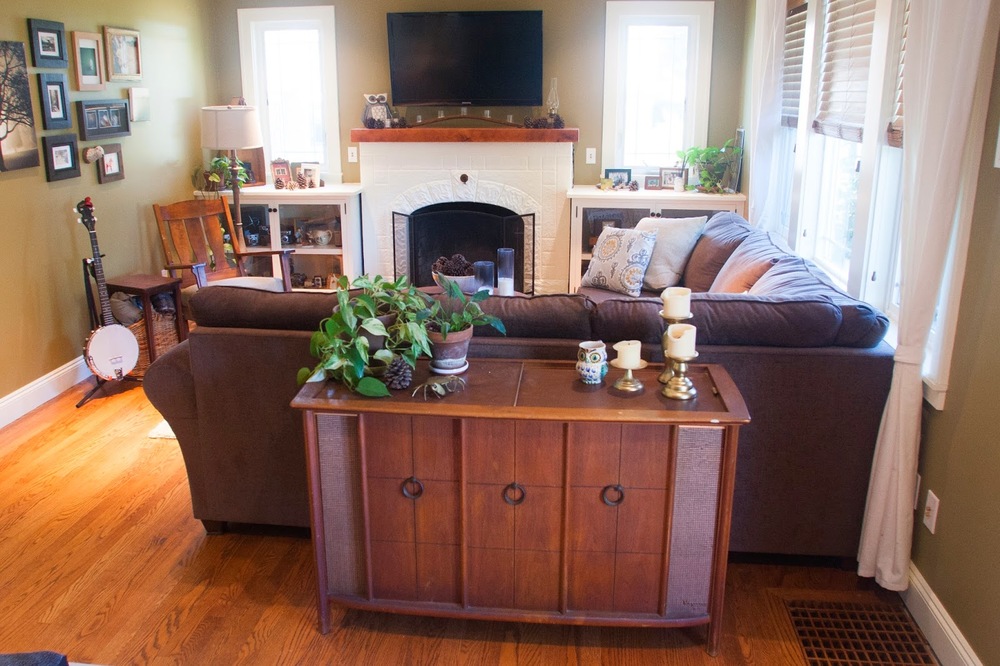
If this were our forever home I think we'd sit down and brainstorm a plan to eventually reface this guy as there are no fewer than three different textures of manufactured stone going on here - from the Rockies to the plains to the beach after a rain storm - but we wanted to do this quickly and on a budget. In trying to keep with the traditional craftsman vibe we chose to paint the stone facade a deep brick red and at first we loved it because it was such an improvement. But eventually I began to feel like it was sucking all the light from the room, and being as our living room is in the northeast corner of our house with hedges outside the largest windows, we could use all the light love we can get. Then when we added the new reclaimed-wood mantle that Adam built it became a little too "cabin cozy" for me. The pine cones and the owl don't help, I know.


The built-ins flanking the fireplace are painted the same color as the trim throughout the better part of our house and I had most of a gallon left over from when we did the trim in our bedroom.

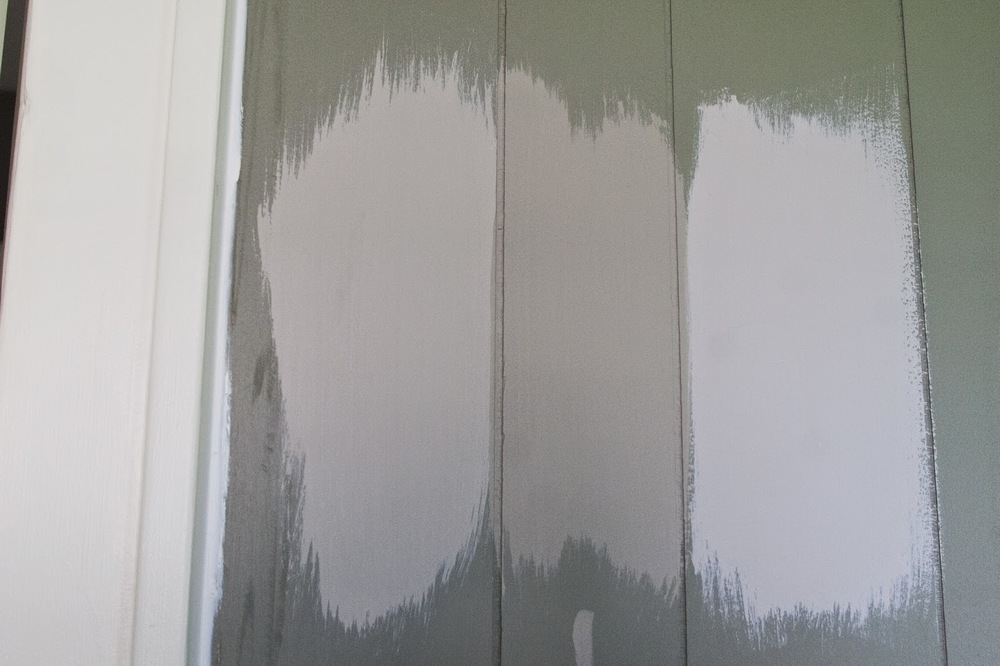
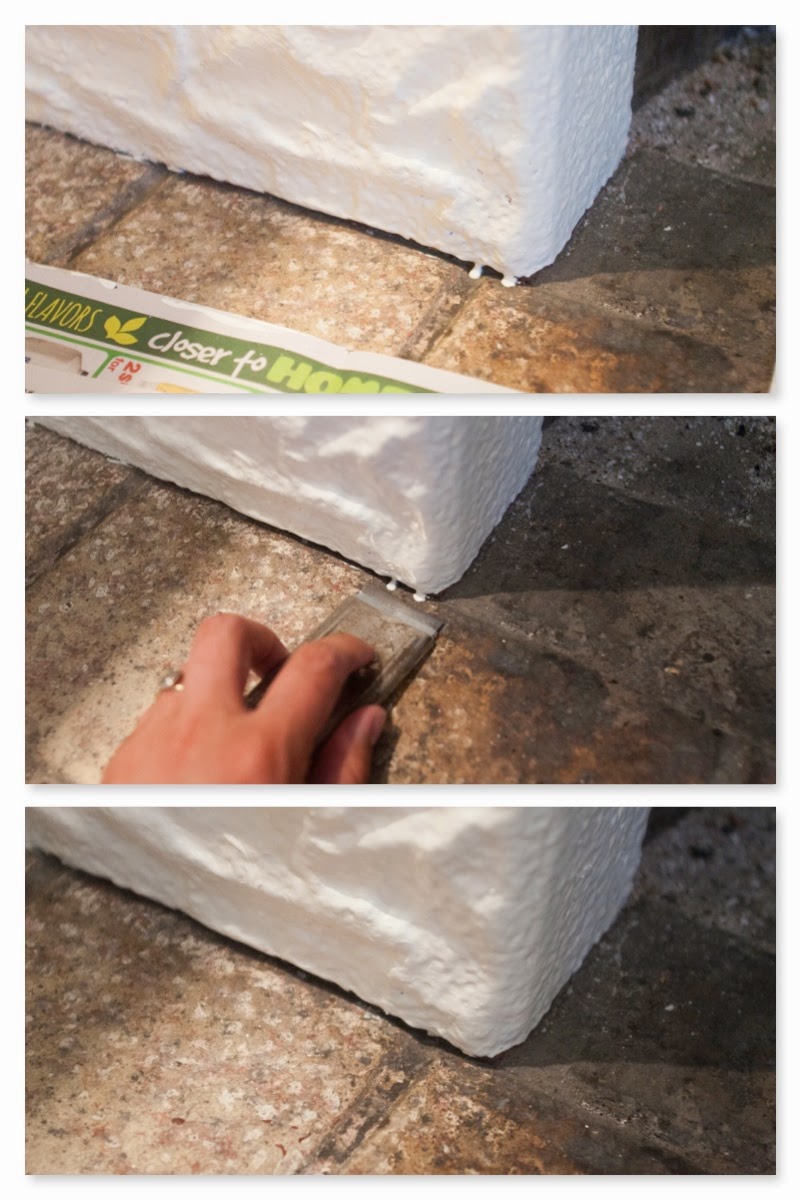
It took me two coats to complete and because of the "terrain" of some of the stones I had to apply my paint pretty thick to get into all the crevices, which led to some drips. I've learned that often times it's best to let a drip dry completely and pop it off with a straight blade later rather than to try and wipe it away, especially in hard-to-reach areas like under these bricks.


I'm in love! Friends, this thing literally bounces light back at you! I'm so happy with the result and I hope Adam is too (I pulled this off while he's been at work - danger.)


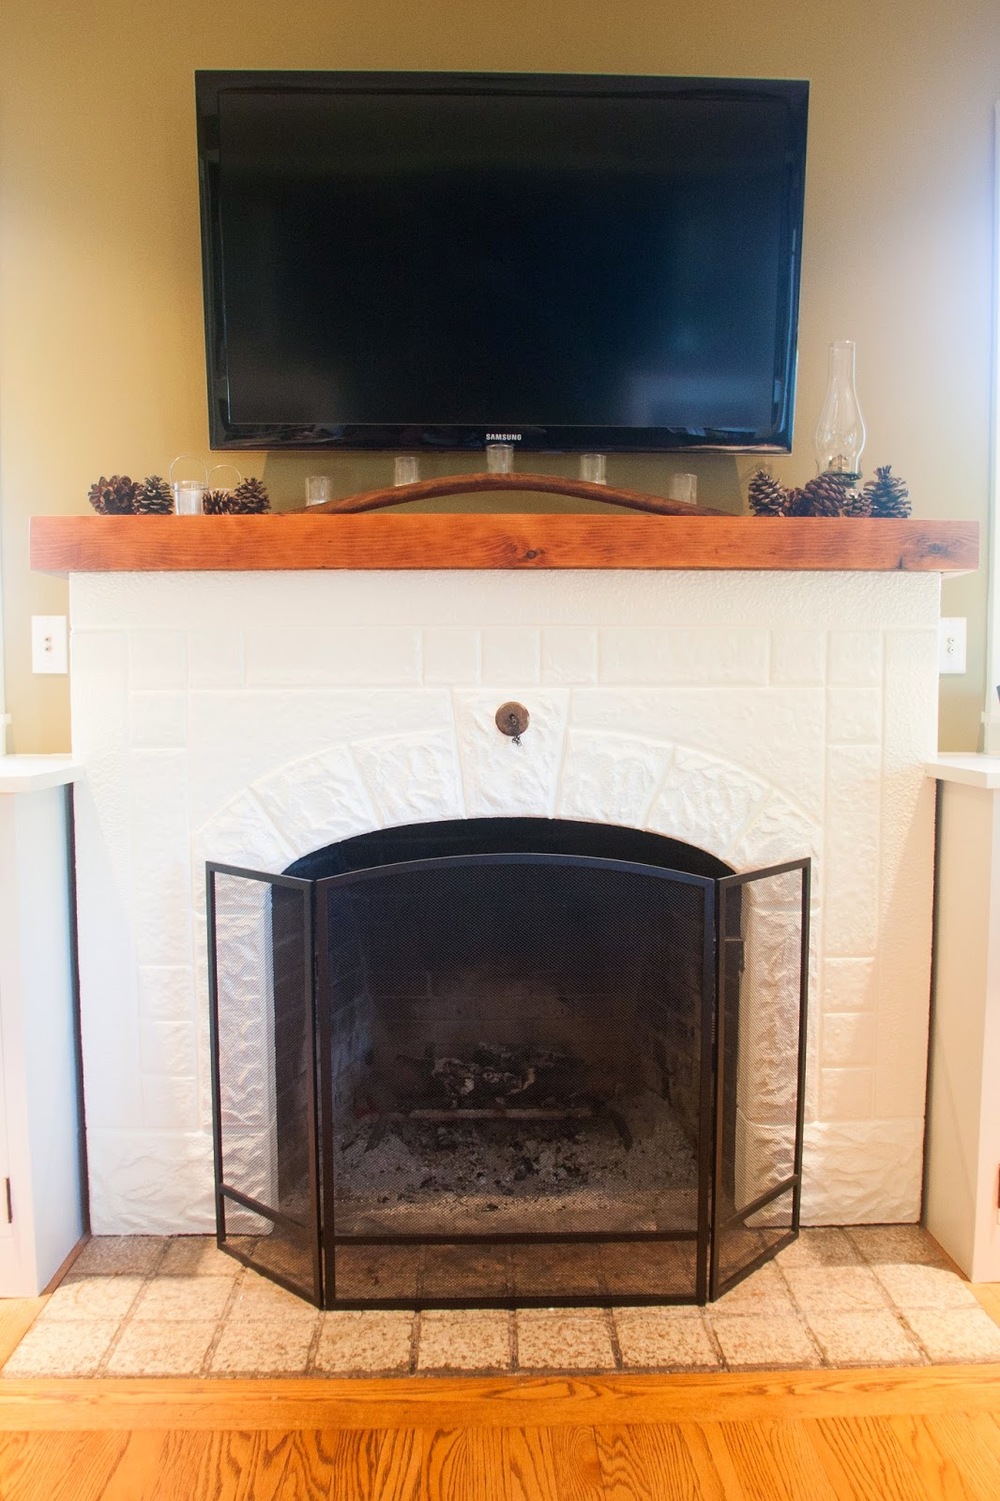
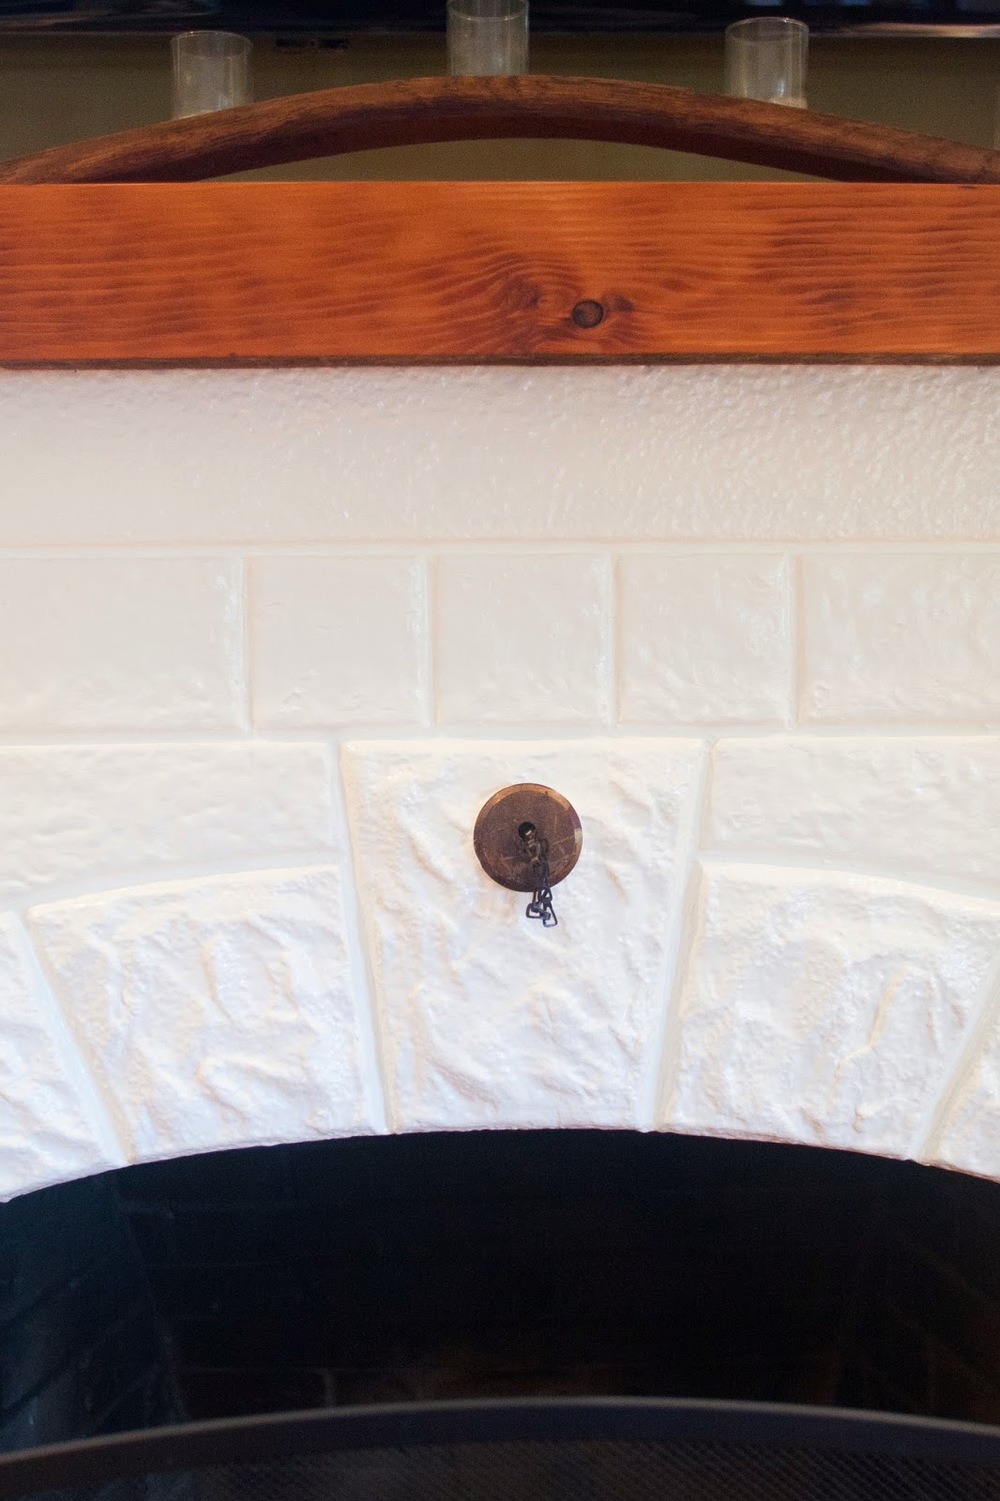
There's just something about the way the mantle pops off the white stone - it makes a bolder, cleaner statement. Now to scrub the hearth and update the decor up top.


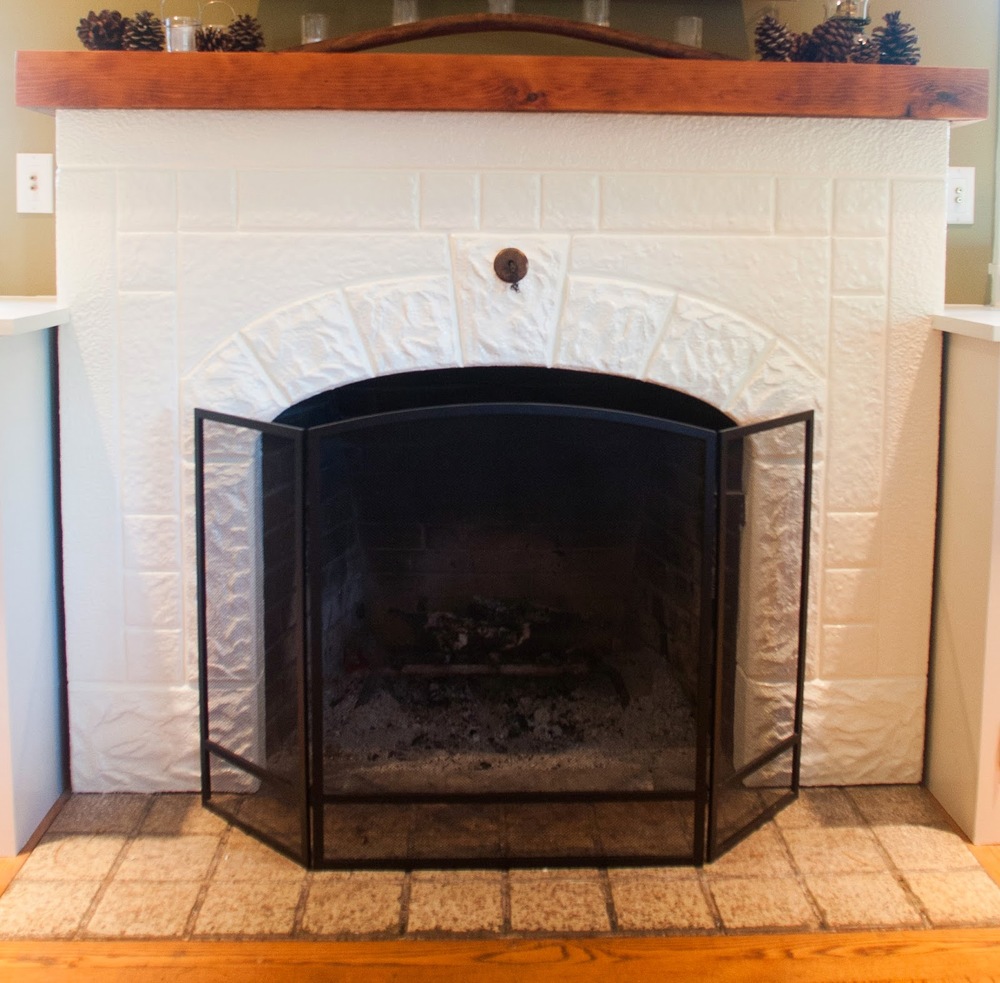
We still have some trim work to iron out around the sides but for the time being the paint job cleans that area up substantially.
And in honor of #throwbackthursday...


What do you have in the way of throw back Thursday? Any awesome shots from your home before you started working on it? Or midway through a big project?


Bedroom Revamp - Part I

With summer narrowly approaching - full of warm days and cool nights - all a girl wants is to be able to open and close her bedroom window as she pleases. Instead I wrestle, bracing myself against 90 year-old windows in the hopes that this time I'll be able to open it enough to allow some air in but not so much as to attract the attention of bugs. These are fortunately the last two windows in our house that need upgrading.


The time has come friends, the time has come, and with this little update I again coerced Adam into making a small project bigger by replacing our faux-wood trim and molding and painting the room. Again.


There are some real hi-lights to this trim and paneling - fortunately our new baseboards will be tall enough to cover this minor miscalculation. 


How many pieces of plastic trim do you need to cover a span of less than 8 inches? Apparently a minimum of 2. 


Each window was wrapped in plastic "wood" quarter round - we assumed to hide giant gaps between the paneling and the trim.


First things first - after measuring, ordering, and picking up our new windows we set about removing the old ones. Adam removed the interior stops from each frame as well as each sash pulley.  Both windows came out with little fuss which was a welcomed surprise. 


Then we dry-fitted each to make sure everything fit correctly and snugly. Next Adam applied caulk to the inside of the exterior stop, we popped them in, and he proceeded to caulk the exterior from the outside as well as the final interior seam. 


You guys, these windows practically open themselves! I'm over the moon. Now for the trim.


Fortunately non of it was glued so with a small pry-bar, a molding bar and a hammer we were able to remove it and all the nails fairly quickly. 

"Why don't you take the wood-paneling off too while you're at it?" you might be asking right now. Well let me direct your attention to the following:


Behind that paneling lies at least 2, potentially 3, layers of wall paper which are covering original (pepto bismol pink) lath and plaster walls that would need a lot of attention. If this were our "forever" home we would tackle this project, but being as we don't see ourselves being here for more than another couple of years, we're going to keep it simple and paint over the paneling. 

Just for fun, let's go back in time to when I first met Adam and this bedroom looked a little something like this.


At the time his goal was to eventually re-surface the walls in this room with new dry-wall, but until then he was rocking the paneling, complete with a futon and a TV/VHS player combo. (This was due to the fact his living room was stripped down to the studs - more on that at a later date.) 

As someone who had only rented in her adult years, my first question to him was - why not slap a coat of paint on these hideous walls until you're ready to re-do it? Well he was of the mind-set that if he was going to do something, he was only going to do it once. And then along came me.

So now here we are, gearing up to paint this little room once again. And here are the contenders... 


What do you think of our color options? Have a favorite? Any projects you're prepping to tackle this weekend? We hope to be back here next week with the rest of the revamp!


Couch Potato

It must be the weather - long, sunny days start to shine light on the little corners of the house that need a small facelift, a little freshening-up. We have a really great, locally made sofa that Adam bought when we first started dating, and I love it, I really do. I just wish it was grey instead of brown.

But until that happens I'm taking a stab at integrating some grays in with the brown (gasp!) and getting rid of our super shiny, floral, green and yellow throw pillows.


These delightful little pillows came my way via a good friend who is moving and purging everything - and while I'll be sad to see her go I'm really excited about these pillows.


My hope is to recover all of the offending pillows in a mixture of beiges and grays in order to create the illusion of my new favorite color, "Greige." Look it up, it's a real thing.

This remnant of off-white linen was from another throw pillow project for our bedroom and it was the perfect size to wrap around the smaller sofa pillow.


One thing about the original pillow I knew I might miss was the little bit of visual interest in the embroidery so I played with ideas on how to bring something similar into the new cover. I settled on a simple set of chevron stripes that I lightly sketched with pencil on the back of my fabric before I assembled the slip cover.


Then I ran it through my sewing machine, going over each line three times with a medium grey thread and then finished assembling the cover.


Looks pretty nice, it's a little simple but I think it will live nicely with the new grey and yellow ikat pillows.

And here he is - living with his new neighbors. The pillow to the left was snagged from our bedroom and you can see my first attempt at the "poor woman's embroidery" technique.


What are your thoughts on mixing gray and brown? Appalling? Or is it an antiquated rule like no white shoes before Memorial Day? Speaking of, Happy Memorial Day weekend to everyone! Let the white shoes reign! 

Be My Guest

The folks are coming to visit next month so naturally we're compiling a list of things we feel like we should get finished before they arrive. Nothing like hosting to motivate you to get things done.

We have a little guest "suite" downstairs that gets a fair amount of natural light and has a small sitting area as well as a full bathroom. It's a cute little corner but it still needs some personality.


Deep in a closet there is a box of things that moved with me from my old house that still haven't found a place to live on these walls. This was my first stop and I came up with enough items to adorn this space.


I laid everything out on the floor in a configuration I liked and then because my fall-back style of guessing, hammering, and realizing the position was wrong would have made for a far less interesting story, I busted out my newspaper, scissors, and tape.


After I had cut out shapes for each of my pieces and placed them on the wall the first time I decided the grouping was a little high and a little too far to the left than I wanted.


My next placement was better, pulling everything down a little closer to the chair and over to the right as well as spacing some of them apart a little more. 


Comfortable with this arrangement I went ahead and began hanging, starting with the center top piece (the portrait of our adorable pooch, Xia) and working my way out.


This was the placement that I had been trying for but the black print in the dark frame dragged the whole arrangement down, so I tried an old mirror that was hanging on an opposite wall.


This had the desired effect of brightening up that corner but it felt a little too bright since every other piece had at least a little black in it. Plus I liked the mirror on the wall going into the bathroom better than in a corner.

So I sacrificed a white frame I had and tried for the black horse print again.


Better - the look of the black image in a white frame is a fun contrast to the lighter images in the black frames - but I'm not sure I'm sold. It's great for now because it's 1. Done and 2. Didn't cost me anything. Now to remember to put a battery in that clock. 


Do you have a corner in your home that needs a little love? What are your plans for it? Are you trying to do it on a budget or is it something you've been saving for?